Growing squash from seed is one of those gardening adventures that feels like a small miracle every time a sprout breaks through the soil. But let’s be honest—getting from seed to harvest isn’t always a walk in the park. If you’re aiming to nurture squash seeds for healthy growth, you’ve got to roll up your sleeves and give those little seeds the best start possible. Whether you’re a newbie gardener or someone who’s been at it for years, there’s always a trick or two to learn. I’ve spent countless seasons experimenting in my own backyard, and I’m excited to share what I’ve discovered about fostering robust squash plants—from seed selection to dodging common pitfalls. Let’s dig in and explore how to make your squash seeds thrive!
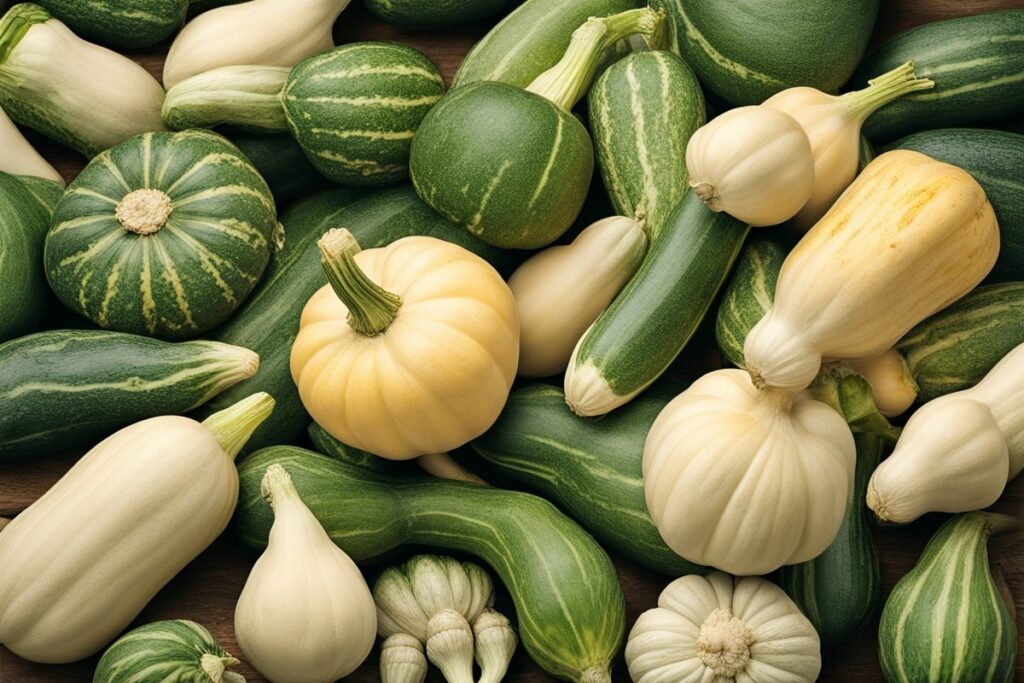
Choosing the Right Squash Seeds for Success
Before you even think about planting, the first step to nurture squash seeds for healthy growth is picking the right seeds. Not all squash seeds are created equal, and trust me, I’ve learned this the hard way. A few years back, I grabbed a cheap packet of seeds from a discount store, only to end up with spindly plants that barely produced. Lesson learned: quality matters. Opt for seeds from reputable suppliers or, even better, heirloom varieties suited to your climate. Heirloom seeds often have better adaptability and flavor, though hybrids can offer disease resistance if that’s a concern in your area.
Consider your growing zone and the type of squash you want—zucchini, butternut, or acorn, for instance. Check the seed packet for details like days to maturity and space requirements. If you’re in a short-season area, go for quicker-maturing varieties. And here’s a pro tip: if you’ve got a local farmers’ market, chat with growers there. They often know which varieties perform best in your region. Starting with the right seeds sets the tone for everything that follows.
Preparing the Perfect Environment for Germination
Once you’ve got your seeds, it’s time to create a cozy home for them to sprout. Squash seeds need warmth, moisture, and a little TLC to kick off their journey. Think of germination as the first big test for your seeds—pass this, and you’re on your way. I like to start my seeds indoors about 3-4 weeks before the last frost date. Why? Because squash loves heat, and giving them a head start indoors means they’re ready to hit the ground running when the weather warms up.
Use a seed-starting mix in small pots or trays—regular garden soil can be too heavy and might harbor pests or diseases. Keep the soil consistently moist but not waterlogged; a spray bottle works wonders for this. Place your trays in a warm spot, ideally between 70-85°F (21-29°C). I’ve found that setting them on top of a heat mat speeds things up dramatically. Within 5-10 days, you should see those first green shoots. If nothing happens after two weeks, don’t panic—check your setup. Are they warm enough? Too soggy? Adjust and try again. This stage is all about patience and fine-tuning.
Planting and Early Care: Setting the Stage for Growth
Once your seedlings have a couple of true leaves, it’s time to move them outdoors—but only if the danger of frost has passed. Squash plants are tender, and a cold snap can wipe them out faster than you can say “zucchini bread.” Harden them off first by gradually exposing them to outdoor conditions over a week. Start with an hour or two in the shade, then build up to full sun. I once skipped this step in a rush, and half my seedlings drooped from shock. Don’t make my mistake!
Choose a sunny spot with well-draining soil rich in organic matter. Squash are heavy feeders, so I always mix in compost or aged manure before planting. Space them out—most varieties need 3-6 feet between plants because they sprawl like nobody’s business. Water deeply after transplanting, and mulch around the base with straw or wood chips to retain moisture and keep weeds at bay. Early care is crucial to nurture squash seeds for healthy growth, so keep an eye on them. Are the leaves wilting? That’s often a cry for water. Yellowing? Could be a nutrient issue. Stay observant.
Feeding and Watering: Fueling Healthy Squash Growth
Squash plants are like hungry teenagers—they need a lot of fuel to grow. If you want to nurture squash seeds for healthy growth, feeding and watering are non-negotiable. Watering should be consistent, especially during flowering and fruiting. Aim for about an inch of water per week, more if it’s scorching hot. I use a soaker hose to deliver water right to the roots, avoiding wet leaves that can invite fungal diseases like powdery mildew. Imagine you’re dealing with a thirsty plant on a 90-degree day—don’t let it suffer!
For feeding, a balanced fertilizer (like a 10-10-10) works well at planting, but switch to a higher-potassium mix once fruits start forming to boost yield. I’ve also had great success with organic options like fish emulsion or compost tea. Apply every 2-3 weeks, but don’t overdo it—too much nitrogen can lead to all leaves and no fruit. It’s a balancing act, and you’ll get the hang of it with practice. Remember, healthy growth isn’t just about quantity; it’s about giving your plants what they need when they need it.
Pest and Disease Management: Protecting Your Investment
Here’s where things can get tricky. Squash plants attract pests like moths to a flame—think squash bugs, vine borers, and aphids. Diseases like powdery mildew or bacterial wilt can also crash the party. To nurture squash seeds for healthy growth, you’ve got to play defense. Start by inspecting plants regularly. I make it a habit to stroll through my garden every morning with a cup of coffee, looking for chewed leaves or suspicious spots. Catching issues early is half the battle.
For pests, hand-picking works for small infestations—squash bugs are slow and easy to nab. Floating row covers can protect young plants from vine borers, though you’ll need to remove them during flowering for pollination. If mildew shows up (those telltale white spots on leaves), improve air circulation by pruning crowded foliage and apply a fungicide if needed—organic options like neem oil are my go-to. And here’s a nugget of wisdom from experience: rotate your crops each year. Planting squash in the same spot invites trouble. Stay proactive, and your plants will thank you with a bumper crop.
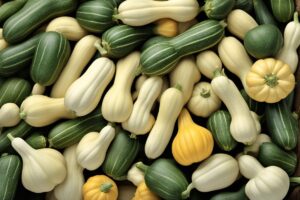
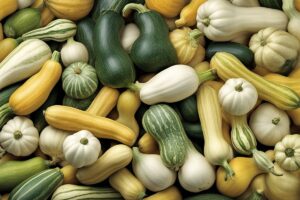
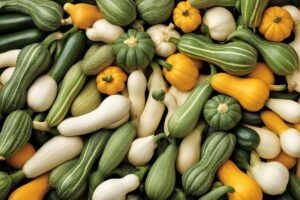
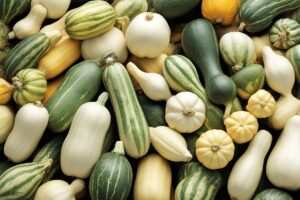
Harvesting and Beyond: Reaping the Rewards
After all the hard work, there’s nothing quite like harvesting your first squash. But timing is everything. Pick zucchini when they’re 6-8 inches long for tender flesh; let butternut or acorn squash mature fully on the vine until the skin hardens. Use a sharp knife to cut them off—yanking can damage the plant. I remember the thrill of slicing into my first homegrown butternut squash; it felt like striking gold. And don’t stop there—if you’ve got a good harvest, save seeds from your healthiest fruits for next year. Rinse them, dry them thoroughly, and store them in a cool, dry place.
Healthy growth doesn’t end at harvest. Reflect on what worked and what didn’t. Did your plants struggle with pests? Was the soil too compacted? Jot down notes for next season. Gardening is a learning curve, and every year brings new lessons. Keep at it, and you’ll build a green thumb worthy of envy.
References
- University of Minnesota Extension – Growing Squash
- Penn State Extension – Growing Squash
- Missouri Botanical Garden – Squash Diseases
- Royal Horticultural Society – Grow Your Own Squash
- Colorado State University Extension – Growing Squash
Disclaimer: This article is for informational purposes only, based on general research and personal experience in gardening. It is not intended to serve as a substitute for professional advice. Gardening conditions, pest issues, and plant needs can vary widely depending on your specific location, climate, and other factors. Always consult a qualified horticulturist, agricultural extension service, or other professional for personalized guidance tailored to your unique situation. The tips and recommendations provided here are meant to inspire and educate, but results may differ based on individual circumstances. Proceed with care and adapt the advice to suit your garden’s specific needs.
This content is for informational purposes only and not a substitute for professional advice.