Have you ever bitten into a perfectly roasted squash, its sweet, nutty flavor melting in your mouth, and wondered how you could grow something so delicious right in your backyard? Well, if you’re dreaming of a garden bursting with vibrant, healthy squash, you’re in the right place. Cultivating organic squash seeds naturally isn’t just a rewarding hobby—it’s a way to connect with the earth, nourish your family, and embrace sustainability. I’ve spent years tinkering in my garden, learning the ins and outs of growing squash from seed to harvest, and I’m thrilled to share my hard-earned tips with you. Whether you’re a seasoned gardener or a curious newbie, let’s dig into the dirt (pun intended!) and explore how to grow organic squash seeds with nature as your guide.
Why Choose to Cultivate Organic Squash Seeds Naturally?
There’s something magical about growing food without synthetic chemicals or shortcuts. When you cultivate organic squash seeds naturally, you’re not just growing a vegetable—you’re nurturing a tiny ecosystem. Organic gardening means saying no to pesticides and artificial fertilizers, opting instead for methods that work in harmony with the environment. Why does this matter? For starters, it’s better for your health. Studies from places like the University of California’s agricultural extensions show that organically grown produce often has higher nutrient levels and fewer harmful residues. Plus, it’s a win for the planet—fewer chemicals mean cleaner soil and water.
But let’s be real: it’s not always a walk in the park. Organic growing can test your patience with pests or slower growth rates. I remember my first attempt at growing butternut squash organically—half my crop got munched by squash bugs before I figured out natural pest control. Still, the satisfaction of harvesting that first unblemished squash made every struggle worth it. So, if you’re ready to roll up your sleeves, the rewards are endless.
Selecting the Right Organic Squash Seeds for Your Garden
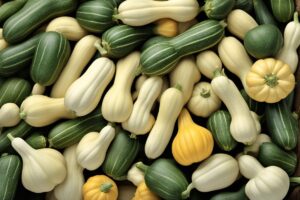
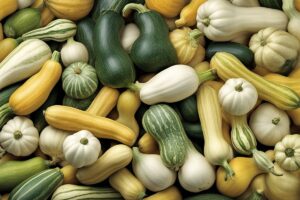
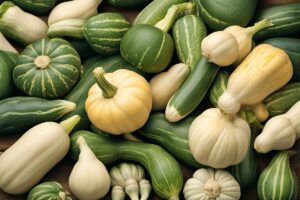
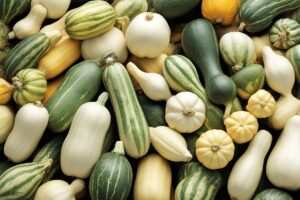
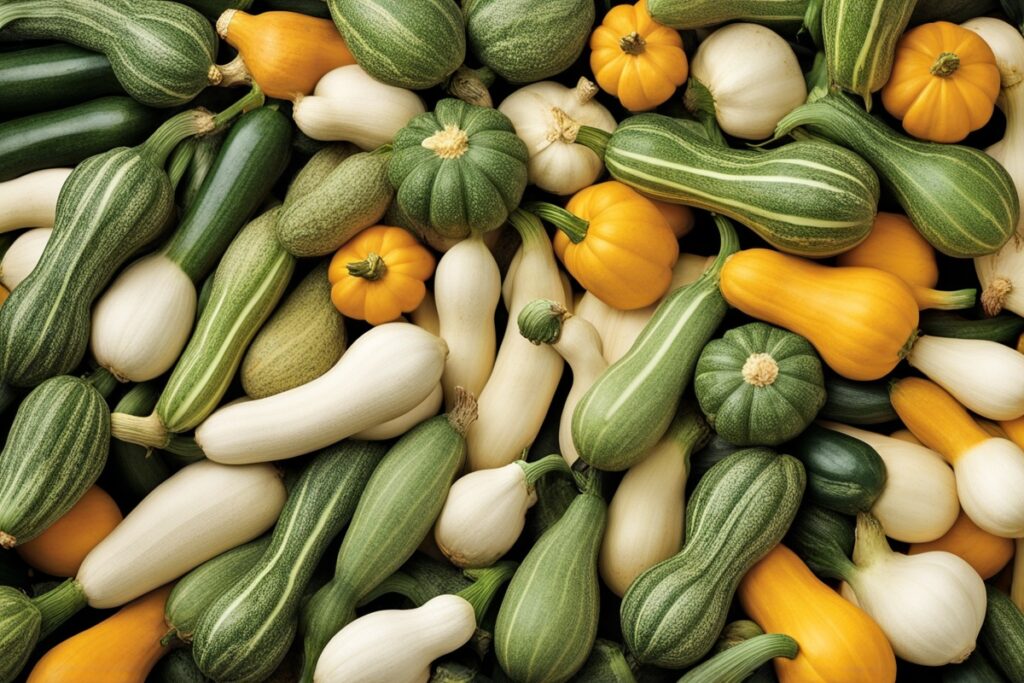
Not all squash seeds are created equal, and choosing the right ones is your first step to success. When you’re looking to cultivate organic squash seeds naturally, always start with certified organic seeds from reputable suppliers. These seeds are guaranteed to be free from chemical treatments and genetically modified organisms (GMOs). Varieties like zucchini, acorn, or spaghetti squash each have unique needs, so consider your climate and growing season. For instance, if you’re in a cooler region, opt for quicker-maturing types like summer squash.
Here’s a little tip from my own trial and error: check seed catalogs or local nurseries for heirloom varieties. They’re often more resilient and packed with flavor compared to some modern hybrids. Last year, I planted an heirloom ‘Blue Hubbard’ squash, and not only did it thrive with minimal care, but the taste was out of this world—sweet and almost buttery. Also, think about saving seeds from your harvest for the next season. It’s a cost-effective way to keep your garden truly organic, though you’ll need to avoid cross-pollination if you’re growing multiple types. Wondering how to do that? Stay tuned for tips later in this post!
Preparing Your Soil for Natural Squash Growth
If soil is the heart of your garden, then prepping it right is non-negotiable. Squash plants are heavy feeders, meaning they crave nutrient-rich, well-draining soil. To cultivate organic squash seeds naturally, start by testing your soil’s pH—aim for a range between 6.0 and 6.8. You can grab a simple test kit from a garden center or send a sample to your local extension service for a detailed breakdown. I’ve done this before, and it’s a game-changer to know exactly what your soil needs.
Next, enrich your soil with organic matter. Compost is your best friend here—think kitchen scraps, grass clippings, or well-rotted manure. I usually mix in a few wheelbarrows of homemade compost each spring, and my squash plants practically jump out of the ground with vigor. Avoid synthetic fertilizers; instead, consider natural amendments like bone meal for phosphorus or kelp for micronutrients. And don’t forget to rotate your crops yearly. Planting squash in the same spot season after season invites pests and depletes nutrients. Trust me, I learned this the hard way after a nasty bout of powdery mildew took over my second-year patch.
Planting and Nurturing Your Organic Squash Seeds
Timing is everything when planting squash seeds. Most varieties need warm soil—above 60°F (15°C)—to germinate, so wait until after the last frost in spring. Sow seeds directly into the ground about an inch deep, spacing them 2-3 feet apart to give those sprawling vines room to roam. If you’re short on space, try growing vertically with a trellis; I’ve had great success with zucchini climbing up a sturdy frame in my tiny urban garden.
Water deeply but infrequently—about an inch per week, depending on rainfall. Squash roots don’t like to sit in soggy soil, so ensure good drainage. Mulching with straw or wood chips is a trick I swear by; it keeps weeds at bay and locks in moisture. As your plants grow, keep an eye out for yellowing leaves or stunted growth, which could signal nutrient deficiencies. A quick fix? A diluted compost tea applied every few weeks. It’s like a vitamin shot for your plants, and it’s all-natural.
Managing Pests and Diseases the Organic Way
Let’s talk about the elephant in the room: pests. Squash bugs, vine borers, and powdery mildew can turn your garden dreams into a nightmare. When you cultivate organic squash seeds naturally, you can’t just reach for a chemical spray, so prevention is key. Start by planting companion crops like marigolds or nasturtiums nearby—they repel pests with their strong scents. I’ve seen this work wonders in my own plot; a ring of marigolds around my squash kept aphids at bay last summer.
For squash bugs, hand-picking is tedious but effective. Imagine you’re on a treasure hunt—except you’re hunting for tiny gray bugs under the leaves. Drop them into soapy water, and they’re history. If vine borers strike, look for wilting vines and tiny holes at the base. You can slit the stem carefully with a knife to remove the larva, then cover the wound with soil to encourage rooting. Diseases like powdery mildew thrive in humid conditions, so space plants for airflow and water at the base, not overhead. If it does appear, a mix of baking soda and water sprayed on leaves can slow it down. I’ve used this remedy with decent success, though it’s not a cure-all. Persistence pays off!
Harvesting and Saving Seeds for Future Seasons
After all that hard work, harvest time feels like striking gold. Pick summer squash when they’re young and tender—about 6-8 inches long for zucchini. Winter squash like butternut needs to mature on the vine until the skin hardens; cut them with a bit of stem attached and store in a cool, dry place. Last fall, I harvested a bumper crop of acorn squash and enjoyed them well into winter—nothing beats that homegrown taste.
If you want to save seeds for next year, choose your healthiest, most vigorous plant. Let the fruit over-ripen on the vine, then scoop out the seeds, rinse off the pulp, and dry them thoroughly on a paper towel. Store in a cool, dark place in an airtight container. A word of caution: if you grew multiple squash types, they might have cross-pollinated, leading to funky hybrids. To avoid this, isolate varieties by distance or use hand-pollination techniques. I’ve saved seeds this way for years, and it feels like passing down a little piece of my garden’s legacy.
References
- University of Minnesota Extension – Growing Squash
- Penn State Extension – Organic Vegetable Production
- University of California Agriculture and Natural Resources – Squash Growing Guide
- Missouri Botanical Garden – Squash Bug Control
- Colorado State University Extension – Growing Squash
Disclaimer: This article is for informational purposes only, based on general research and personal experience in gardening. It is not intended to serve as a substitute for professional advice. Gardening conditions, pest challenges, and soil health can vary widely based on location and individual circumstances, so results may differ. Always consult a qualified professional, such as a local agricultural extension agent or certified horticulturist, for personalized guidance tailored to your specific garden needs. Your safety and the health of your plants are paramount, so proceed with caution and adapt these tips as necessary.
This content is for informational purposes only and not a substitute for professional advice.