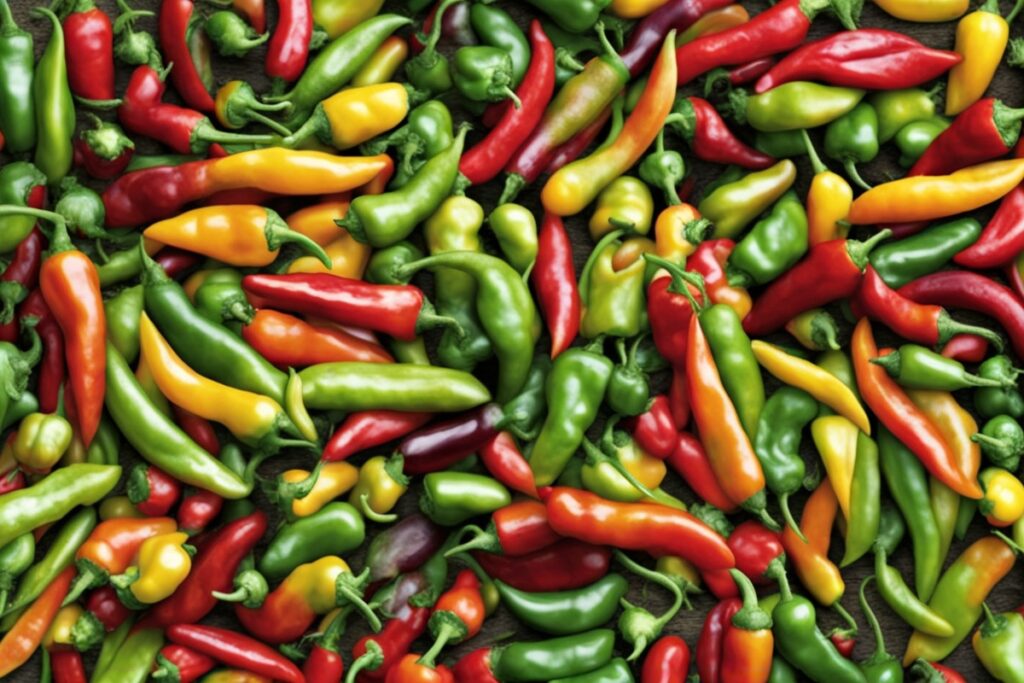
Spicy chili peppers have a way of igniting not just your taste buds but also your passion for gardening. There’s something downright thrilling about growing your own fiery varieties, isn’t there? Whether you’re a seasoned gardener or just dipping your toes into the world of pepper seeds, focusing on growing spicy chili varieties can be an incredibly rewarding journey. From the slow burn of a jalapeño to the face-melting heat of a Carolina Reaper, cultivating these fiery fruits at home offers a unique blend of challenge and satisfaction. In this guide, I’ll walk you through everything you need to know to grow spicy chilis successfully, sharing tips from my own backyard experiments and insights from trusted horticultural experts. Let’s dive in and turn up the heat!
Why Grow Spicy Chili Varieties at Home?
Have you ever bitten into a store-bought chili and thought, “This just doesn’t pack the punch I expected”? That’s one of the biggest reasons to grow your own spicy chili varieties. When you cultivate peppers at home, you control the growing conditions, which directly impact flavor and heat. Plus, there’s a certain pride in nurturing a plant from seed to harvest—especially when the result is a blazing hot pepper you can’t find at the local supermarket. Beyond personal satisfaction, growing spicy chilis can save you money, especially if you’re a fan of rare or exotic varieties like the Ghost Pepper or Trinidad Scorpion, which often come with a hefty price tag in stores.
Another perk? Spicy chilis are packed with health benefits. Capsaicin, the compound responsible for their heat, has been linked to boosting metabolism and reducing inflammation. I remember the first time I grew Habaneros; not only did I impress my friends with homemade hot sauce, but I also felt a little smug knowing I was adding a natural health booster to my meals. If you’re curious about other pepper-related benefits, check out our post on Health Benefits of Peppers for a deeper dive.
Choosing the Right Spicy Chili Varieties for Your Garden
Before you start growing spicy chili varieties, you’ve got to pick the right ones for your climate, space, and heat tolerance. Not all peppers are created equal, and some are far more demanding than others. If you’re a beginner, start with something manageable like Cayenne or Serrano—both are spicy but forgiving in terms of care. For the daredevils out there, why not try your hand at a super-hot variety like the Carolina Reaper, which holds the Guinness World Record for the world’s hottest pepper? Just be warned: these bad boys need extra attention and patience.
Consider your growing zone, too. Most spicy chilis thrive in warm, sunny conditions, ideally in USDA zones 9-11, though you can extend the season with greenhouses or indoor setups in cooler areas. Last summer, I experimented with growing Thai Dragon peppers in pots on my patio since my backyard doesn’t get full sun. They did surprisingly well, proving that even small spaces can yield big heat. If you’re unsure which varieties suit your area, our guide on Best Pepper Varieties by Climate can help narrow it down.
Starting from Seed: Tips for Germinating Spicy Chili Peppers
Let’s talk seeds. Growing spicy chili varieties from seed is often the most cost-effective and exciting way to go, but it’s not without its challenges. Chili seeds, especially the hotter varieties, can be notoriously slow to germinate—sometimes taking up to three weeks. Patience is key here, folks. To speed things up, I’ve found that soaking seeds in lukewarm water for 24 hours before planting helps soften the tough outer coating. Also, using a heat mat to maintain a soil temperature of around 80°F (27°C) can work wonders. I learned this the hard way after a batch of Bhut Jolokia seeds failed to sprout in my chilly basement.
Plant your seeds in a well-draining starter mix, about ¼ inch deep, and keep the soil consistently moist but not waterlogged. Once those tiny green sprouts appear, celebrate the small victory—but don’t slack off. Seedlings need plenty of light (16 hours a day if possible) to prevent them from getting leggy. A cheap grow light can be a lifesaver if natural sunlight is scarce. Trust me, watching those first leaves unfurl is like seeing your hard work come to life.
Caring for Spicy Chili Plants: Heat, Water, and Nutrients
Once your spicy chili plants are up and running, it’s all about giving them the TLC they need to thrive. These plants are heat lovers, so aim for a spot with at least 6-8 hours of direct sunlight daily. If you’re in a hotter climate, a bit of afternoon shade can prevent scorching—ironic, right, for a plant that’s all about heat? Watering is another balancing act. Too much, and you risk root rot; too little, and your plants will stress out, leading to weaker peppers. I aim for deep watering once or twice a week, depending on the weather, ensuring the soil dries out slightly between sessions.
Nutrition-wise, spicy chilis are heavy feeders. A balanced fertilizer with a higher phosphorus content (think 5-10-10) during the flowering stage encourages fruit production. I’ve also had success with organic options like compost tea, which seems to give my plants an extra kick without the risk of chemical buildup. One year, I over-fertilized my Tabasco plants, and while they grew lush and green, the pepper yield was pitiful. Lesson learned: more isn’t always better.
Dealing with Pests and Problems When Growing Spicy Chilis
Imagine you’re checking on your thriving chili plants, only to find tiny holes in the leaves or sticky residue signaling an aphid invasion. It’s a gut punch, isn’t it? Pests like aphids, spider mites, and whiteflies love spicy chili plants as much as we do. My go-to solution is a simple mix of water and a few drops of dish soap sprayed directly on the affected areas. For stubborn infestations, introducing beneficial insects like ladybugs has worked wonders in my garden.
Diseases can also throw a wrench in your plans. Blossom end rot, often caused by calcium deficiency or inconsistent watering, is a common issue. I’ve mitigated this by adding crushed eggshells to the soil—a tip I picked up from a fellow gardener at a local workshop. If you’re battling fungal issues like powdery mildew, ensure good air circulation around your plants and avoid overhead watering. For more pest control strategies, take a peek at our detailed guide on Pepper Plant Pest Control.
Harvesting and Using Your Spicy Chili Harvest
There’s nothing quite like the moment you pluck your first homegrown spicy chili off the plant. Most varieties are ready to harvest when they’ve reached their mature color—red, orange, or even purple, depending on the type. But here’s a little secret: picking peppers early, when they’re still green, can encourage the plant to produce more fruit. I often harvest half my jalapeños green for salsa and let the rest ripen for a smokier flavor.
What you do with your harvest is where the fun really begins. Dry them for powders, pickle them for a tangy kick, or whip up a hot sauce that’ll make your friends beg for the recipe. Just a word of caution—wear gloves when handling super-hot varieties. I learned this the hard way after rubbing my eyes post-Habanero chopping. Ouch! If you’ve got a bumper crop, consider sharing with neighbors or preserving extras for winter. Nothing beats the taste of summer heat in the dead of January.
References
- Capsaicin and Its Effects on Human Health – National Center for Biotechnology Information
- Growing Peppers in Home Gardens – University of Minnesota Extension
- How to Grow Chillies – Royal Horticultural Society
Disclaimer: This article is for informational purposes only, based on general research and personal experience. It is not intended to serve as a substitute for professional advice. Gardening conditions, plant care needs, and individual health considerations can vary widely, so always consult a qualified horticultural expert or other relevant professional for personalized guidance before making decisions about growing spicy chili varieties or using them in your diet. Your safety and success are paramount, and seeking expert input can help ensure the best outcomes for your gardening endeavors.
This content is for informational purposes only and not a substitute for professional advice.


