Have you ever dreamed of stepping into your backyard and snipping fresh thyme for your favorite recipes, knowing you grew it from seed? There’s something deeply satisfying about nurturing a plant from a tiny speck to a fragrant, bushy herb. If you’re curious about how to harvest thyme seeds at home, you’re in for a rewarding journey. Not only is it a cost-effective way to expand your herb garden, but it also gives you a front-row seat to nature’s magic. I’ve been down this road myself—starting with a small packet of seeds and a whole lot of trial and error—and I’m excited to share everything I’ve learned to help you succeed.
In this guide, we’ll walk through the ins and outs of growing, collecting, and storing thyme seeds right from your own garden. Whether you’re a seasoned green thumb or a curious newbie, I’ve got practical tips and real-world insights to make the process smooth. Let’s dive into how you can harvest thyme seeds at home and keep that herb garden thriving year after year.
Why Harvest Thyme Seeds at Home?
Before we get our hands dirty, let’s talk about why harvesting thyme seeds at home is worth the effort. For starters, it’s a budget-friendly move. Buying new plants or seed packets every season adds up, but once you’ve got a thriving thyme plant, you can collect seeds for free. Plus, there’s a certain pride in knowing you’ve closed the loop—growing, harvesting, and replanting from your own stock. I still remember the first time I sowed seeds I’d collected myself; it felt like I’d cracked some ancient gardening code!
Beyond the savings, harvesting your own seeds lets you select from your strongest, healthiest plants. Over time, you’re essentially curating a strain of thyme that’s perfectly adapted to your local climate and soil. And let’s not forget the sustainability angle—reducing reliance on commercial seeds means a smaller carbon footprint. So, why not give it a shot? It’s a small step with big rewards.
Understanding Thyme’s Growth Cycle
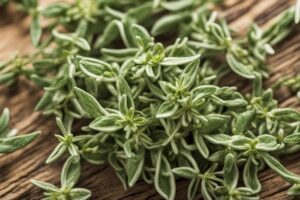
To harvest thyme seeds at home, you’ve got to get familiar with the plant’s life cycle. Thyme, scientifically known as Thymus vulgaris, is a perennial herb in most climates, meaning it comes back year after year. However, it’s often grown as an annual in colder regions where harsh winters can wipe it out. Either way, thyme typically flowers in its second year, and those flowers are your ticket to seeds.
Picture this: it’s early summer, and your thyme plant is buzzing with tiny purple or white blooms, attracting bees like nobody’s business. Those flowers, once pollinated, will eventually dry up and form seed heads. Timing is everything here—if you miss the window, the seeds might scatter on their own. I’ve made that mistake before, thinking I had all the time in the world, only to find empty seed heads after a windy day. So, keep an eye on those blooms, usually around mid to late summer, depending on your growing zone.
Steps to Harvest Thyme Seeds at Home
Now, let’s get to the nitty-gritty of how to harvest thyme seeds at home. It’s not rocket science, but a little patience and attention to detail go a long way. Here’s a step-by-step breakdown based on my own experience and insights from trusted gardening resources.
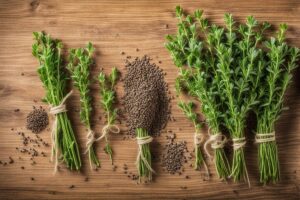
- Wait for the Right Moment: Harvesting thyme seeds starts with timing. Wait until the flowers have faded and turned into dry, brown seed heads. If you shake the plant gently and hear a faint rattle, that’s a good sign the seeds are ready. I usually check daily once the blooms start drying out—better safe than sorry!
- Gather Your Tools: You don’t need much—just a pair of scissors or pruning shears, a paper bag or small container, and maybe some gloves if your thyme is prickly. I’ve found that a paper bag works best to catch any seeds that fall during cutting.
- Cut the Seed Heads: Snip off the dried flower stalks, ideally on a dry, sunny day to avoid mold. Place them directly into your bag or container. Last summer, I harvested mine during a humid spell and ended up with a moldy mess—lesson learned.
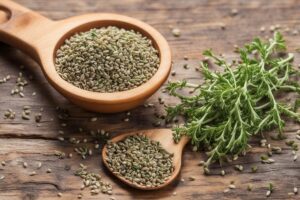
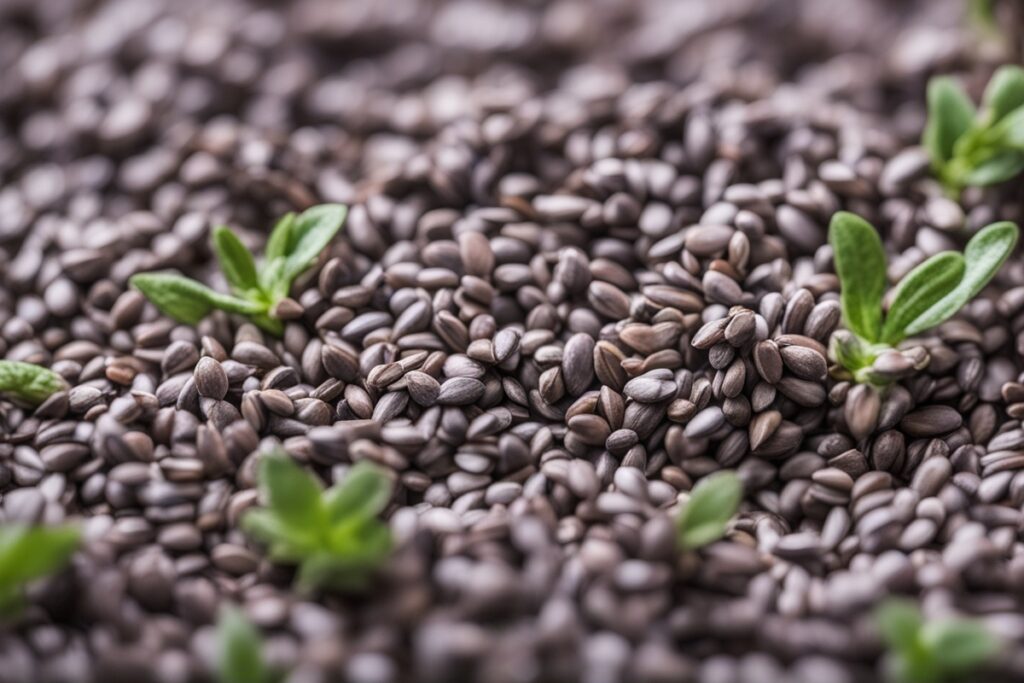
- Separate the Seeds: Once you’ve got your seed heads, rub them gently between your fingers or shake them over a clean surface to release the tiny black seeds. A fine sieve can help separate seeds from chaff. It’s a fiddly task, but put on some music and it’s almost meditative.
- Store Properly: Store your seeds in a cool, dry place in an airtight container or envelope. Label them with the date—I can’t tell you how many times I’ve mixed up unlabeled seeds! They’ll stay viable for about 1-2 years if kept properly.
Challenges and Solutions When Harvesting Thyme Seeds
Let’s be real—harvesting thyme seeds at home isn’t always a walk in the park. One common hiccup is losing seeds to wind or birds before you get to them. If you’re dealing with a windy area, consider covering the plant with a lightweight mesh bag as the seed heads form. I tried this trick last year after losing half my crop to a gusty afternoon, and it worked like a charm.
Another issue is low seed production. If your thyme isn’t flowering much, it might be due to poor soil, lack of sunlight, or stress from overwatering. Thyme loves well-drained soil and at least 6 hours of sun. I once had a struggling patch in a shady corner of my yard; moving it to a sunnier spot turned things around within a season. And if all else fails, don’t hesitate to let nature help—sometimes leaving a few seed heads on the plant allows self-seeding for next year.
Tips for Growing Thyme from Harvested Seeds
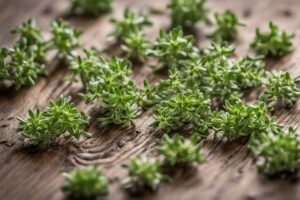
Once you’ve got your seeds, the next step is planting them to keep the cycle going. Starting thyme from seed can be a bit tricky since germination rates aren’t always high, but don’t let that discourage you. Sow them indoors in early spring, about 6-8 weeks before the last frost, using a light seed-starting mix. Barely cover the seeds—they need light to germinate—and keep the soil moist but not soggy.
Here’s a personal tip: I’ve had better luck with bottom heat, like placing the seed tray on a heat mat set to around 70°F. It mimics the warm, Mediterranean conditions thyme loves. Within 1-3 weeks, you should see tiny sprouts. Harden them off before transplanting outdoors, and space them about 12 inches apart in a sunny, well-drained spot. Before you know it, you’ll have a new batch of thyme ready to harvest seeds from in a couple of years.
Why This Matters for Your Garden and Beyond
Harvesting thyme seeds at home isn’t just about saving a few bucks or filling your spice rack—it’s about building a connection to your food and environment. Every seed you collect is a tiny act of resilience, a way to preserve a piece of your garden’s story. I think of it as a quiet rebellion against the throwaway culture of buying new every season. Plus, sharing seeds with friends or local gardening groups spreads the love and knowledge, creating a ripple effect.
So, what are you waiting for? If you’ve got a thyme plant (or plan to grow one), harvesting seeds is a skill worth mastering. It’s a small investment of time for a harvest that keeps on giving. And who knows—maybe one day you’ll be the go-to seed guru in your neighborhood, swapping tips over the fence with fellow gardeners.
References
- University of Minnesota Extension – Growing Herbs
- Missouri Botanical Garden – Thymus vulgaris
- Penn State Extension – Growing Herbs Indoors and Out
- Royal Horticultural Society – Thyme Growing Guide
- Wisconsin Department of Public Instruction – Thyme Fact Sheet
Disclaimer: This article is for informational purposes only, based on general research and personal experience. It is not intended to serve as a substitute for professional advice. Gardening conditions, plant health, and individual circumstances can vary widely, so results may differ from those described. Always consult a qualified professional, such as a local horticulturist or extension service, for personalized guidance tailored to your specific situation. The author and publisher are not responsible for any adverse effects or outcomes resulting from the application of the information provided in this content.
This content is for informational purposes only and not a substitute for professional advice.