Ever thought about having fresh thyme right at your fingertips, no matter where you live? Whether you’ve got a sprawling backyard or just a tiny apartment balcony, growing thyme seeds in containers is a game-changer. It’s not just about convenience; it’s about bringing a bit of nature into your space, adding flavor to your meals, and honestly, feeling a little proud when you snip off those fragrant leaves for your next recipe. I’ve been growing herbs in containers for years, and thyme has become one of my go-to plants—it’s hardy, forgiving, and thrives even when I forget to water it for a day or two (oops!). In this guide, I’m diving deep into how to grow thyme seeds in containers, sharing practical tips, personal mishaps, and expert-backed advice to help you succeed. Let’s get started on this aromatic journey.
Why Grow Thyme Seeds in Containers?
Let’s be real—why bother with containers when you could plant thyme straight into the ground? Well, for starters, not everyone has a garden. If you’re like me, living in a rental with zero yard space, containers are a lifesaver. They let you grow herbs anywhere—on a windowsill, a patio, or even indoors under a grow light. Plus, containers give you control. You can move them around to chase the sun, protect them from harsh weather, or just rearrange them to suit your aesthetic. Thyme, with its low-maintenance nature, is perfect for this setup. It doesn’t need much room to spread out, and its woody stems and tiny leaves look downright charming in a pot. And here’s a bonus: growing from seeds rather than buying starter plants saves you a few bucks and gives you that “I grew this from scratch” satisfaction.
Choosing the Right Container and Setup
Before you even think about sowing those thyme seeds, let’s talk containers. Size matters, but it’s not rocket science. A pot that’s at least 6-8 inches deep and wide works well for a small batch of thyme—its roots don’t need much space to roam. I’ve used everything from classic terracotta pots to repurposed tin cans (just punch a few drainage holes in the bottom). Speaking of drainage, this is non-negotiable. Thyme hates soggy feet. Make sure your container has holes at the bottom and place a saucer underneath to catch excess water. If you’re fancy, add a layer of small pebbles or broken pottery at the base for extra drainage.
Where you place your container is just as important. Thyme is a sun worshipper, needing at least 6 hours of direct sunlight daily. I learned this the hard way when I tucked a pot in a shady corner of my balcony, only to watch the poor plant stretch and weaken. If you’re indoors, a south-facing windowsill is your best bet, or invest in a grow light if natural light is scarce. Trust me, giving thyme the right spot from the get-go saves you a lot of heartache.
Soil and Sowing: Setting the Stage for Success
Thyme isn’t picky, but it does have preferences. It thrives in well-draining, slightly sandy soil with a pH between 6.0 and 8.0. I usually mix equal parts potting soil, perlite, and coarse sand to create a light, airy medium—straight potting soil can be too dense and hold too much moisture. If you’re not sure about your mix, test it by watering; the water should seep through within a few seconds, not pool on top.
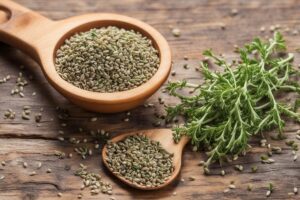
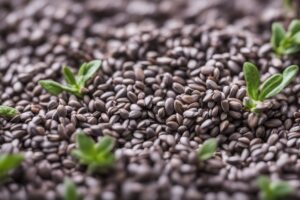
Sowing thyme seeds is where patience comes in. These tiny specks take their sweet time to germinate—sometimes up to 3 weeks. Scatter them lightly on the soil surface (don’t bury them; they need light to sprout), mist gently with water, and cover the pot with plastic wrap to keep humidity high. Place it in a warm spot, around 70°F if possible. I remember my first attempt; I got impatient and kept peeking under the plastic, probably drying out the seeds. Lesson learned: set it and forget it for a bit. Once you see tiny green shoots, remove the cover and let them breathe. Thin out weaker seedlings to give the strongest ones room to grow, spacing them about 6 inches apart if you’ve got multiple in one pot.
Watering and Care: Don’t Overdo It
Here’s where a lot of folks trip up, myself included. Thyme is a Mediterranean herb, meaning it’s used to dry, rocky conditions. Overwatering is its kryptonite. I’ve killed a pot or two by being overly enthusiastic with the watering can, only to find the roots rotting away. The trick? Water only when the top inch of soil feels dry to the touch. When you do water, give it a good soak until it drains out the bottom, then let it be. In containers, this might mean watering every 3-5 days, depending on your climate and pot size. If you’re in a humid area, cut back even more.
Beyond watering, thyme doesn’t ask for much. It’s not a heavy feeder, so a light dose of balanced liquid fertilizer once a month during the growing season is plenty. Prune it occasionally to encourage bushy growth—snip off the tips and use them in your cooking. And keep an eye out for pests like aphids or spider mites, though thyme’s strong aroma usually keeps them at bay. If you spot any, a quick spray of neem oil does the trick without harsh chemicals.
Troubleshooting Common Issues When Growing Thyme in Containers
Even with the best intentions, things can go sideways. Imagine you’re dealing with a pot of thyme that’s looking leggy and sparse. Chances are it’s not getting enough sun—move it to a brighter spot and watch it perk up. Yellowing leaves? You might be overwatering. Let the soil dry out completely before the next drink. And if germination just isn’t happening after a month, your seeds might be old or the temperature too low. I’ve had batches of seeds fail because I stored them in a damp cupboard for too long—now I keep them in a cool, dry place and use them within a year.
One issue unique to containers is root-bound plants. Thyme can handle tight quarters for a while, but if you notice stunted growth after a year or so, it’s time to repot into a slightly larger container with fresh soil. I’ve seen a struggling thyme plant bounce back almost overnight after giving it more room to stretch its roots. It’s like giving it a new lease on life.
Harvesting and Enjoying Your Container-Grown Thyme
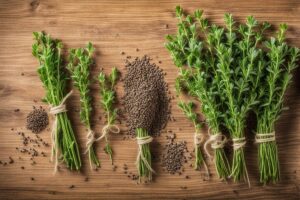
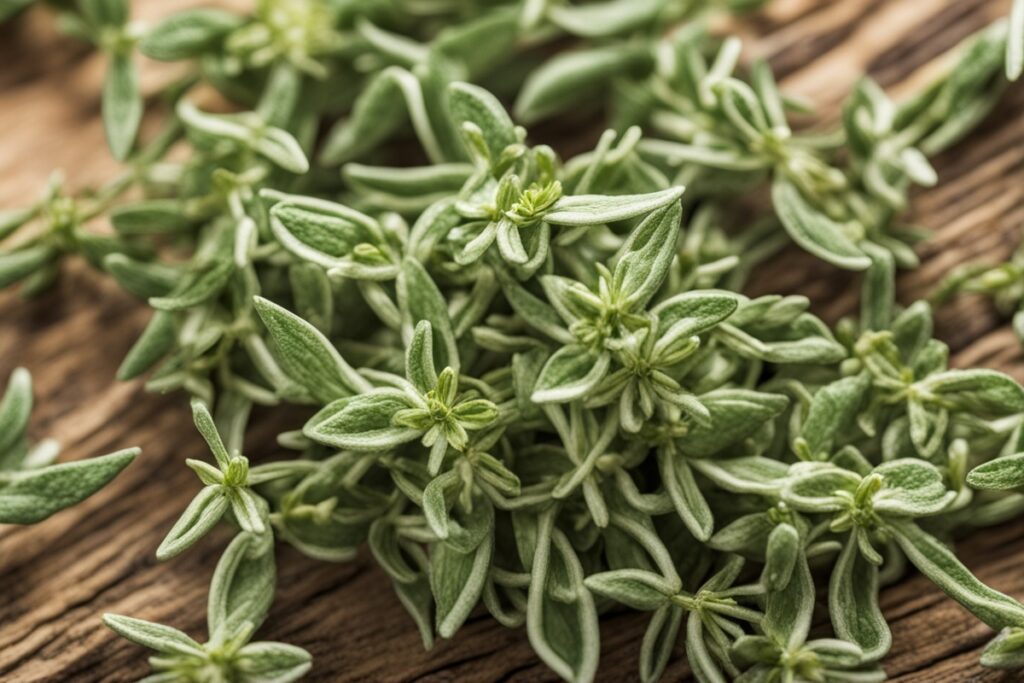
After all that waiting and tending, the payoff is harvesting your own thyme. Once the plant is about 5-6 inches tall, you can start snipping sprigs—just don’t take more than a third of the plant at once to avoid stressing it. I love grabbing a handful for roasted veggies or a hearty stew; there’s nothing like that earthy, slightly peppery flavor straight from the pot. If you’ve got more than you can use, dry the sprigs by hanging them upside down in a cool, airy spot, or freeze them in ice cube trays with a bit of olive oil for instant flavor bombs.
Growing thyme in containers isn’t just practical—it’s therapeutic. There’s something grounding about nurturing a plant, watching it grow from a tiny seed to a flourishing herb. Whether you’re a seasoned gardener or a total newbie, thyme is a forgiving starting point. So, why not give it a shot? You might just find yourself hooked on container gardening like I did.
References
- University of Minnesota Extension – Growing Herbs in Containers
- Penn State Extension – Growing Herbs Indoors
- Missouri Botanical Garden – Thymus vulgaris
- Clemson University Cooperative Extension – Growing Herbs
- Royal Horticultural Society – How to Grow Thyme
Disclaimer: This article is for informational purposes only, based on general research and personal experience. It is not intended to serve as a substitute for professional advice. Gardening conditions, plant needs, and individual circumstances can vary widely, so results may differ from those described. Always consult a qualified professional, such as a local horticulturist or extension service, for personalized guidance tailored to your specific environment and needs. The author and publisher are not responsible for any adverse effects or outcomes resulting from the application of the information provided in this content.
This content is for informational purposes only and not a substitute for professional advice.