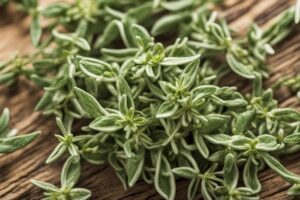
Starting a thyme garden from seeds can feel like a daunting task, especially if you’ve ever stared at a packet of tiny seeds wondering, “Will these even sprout?” I’ve been there—standing in my kitchen with a tray of soil, hoping for a miracle. But here’s the good news: with the right approach, you can germinate thyme seeds without hassle. Thyme, with its aromatic leaves and versatility in the kitchen, is worth the effort, and I’m going to walk you through every step to make the process as smooth as a summer breeze. Whether you’re a seasoned gardener or a newbie with a windowsill dream, this guide is packed with practical tips, personal insights, and expert-backed advice to help you succeed.
Why Choose Thyme Seeds Over Cuttings or Plants?
Let’s kick things off with a simple question: why bother with seeds when you could just buy a thyme plant or take a cutting? Well, for starters, growing from seeds is often more cost-effective. A single packet can yield dozens of plants for the price of one nursery seedling. Plus, there’s something deeply satisfying about nurturing a plant from its tiniest form. I remember the first time I saw those delicate green specks poking through the soil—it felt like I’d unlocked a secret of nature. Seeds also give you access to a wider variety of thyme types, like lemon thyme or creeping thyme, which might not be available as plants at your local store. That said, seeds do require patience since germination can take longer than rooting a cutting. But with the right know-how, it’s a rewarding journey.
Understanding Thyme Seed Germination: What to Expect
Before we dive into the “how,” let’s talk about the “what.” Thyme seeds are notoriously slow to germinate, often taking 14 to 28 days to sprout. Why so long? These seeds are small and need specific conditions—warmth, moisture, and light—to break dormancy. Unlike, say, beans or peas, thyme doesn’t pop up overnight. I’ve had trays sit dormant for weeks, only to surprise me with a burst of green when I least expected it. So, don’t lose heart if you don’t see action right away. Knowing this timeline helps set realistic expectations and prevents you from overwatering or giving up too soon. According to the University of Maryland Extension, patience is key with herbs like thyme, as environmental factors play a huge role in germination success.
Essential Supplies for Hassle-Free Thyme Seed Germination
Imagine you’re ready to plant, but you’re missing half the tools you need—frustrating, right? To germinate thyme seeds without hassle, preparation is everything. Here’s what I always keep on hand, based on trial and error over the years:
- Seed Starting Mix: Regular potting soil can be too dense. Opt for a light, well-draining mix designed for seeds.
- Seed Trays or Small Pots: Anything with drainage holes works. I’ve even repurposed old yogurt containers with holes poked in the bottom.
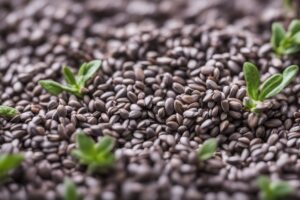
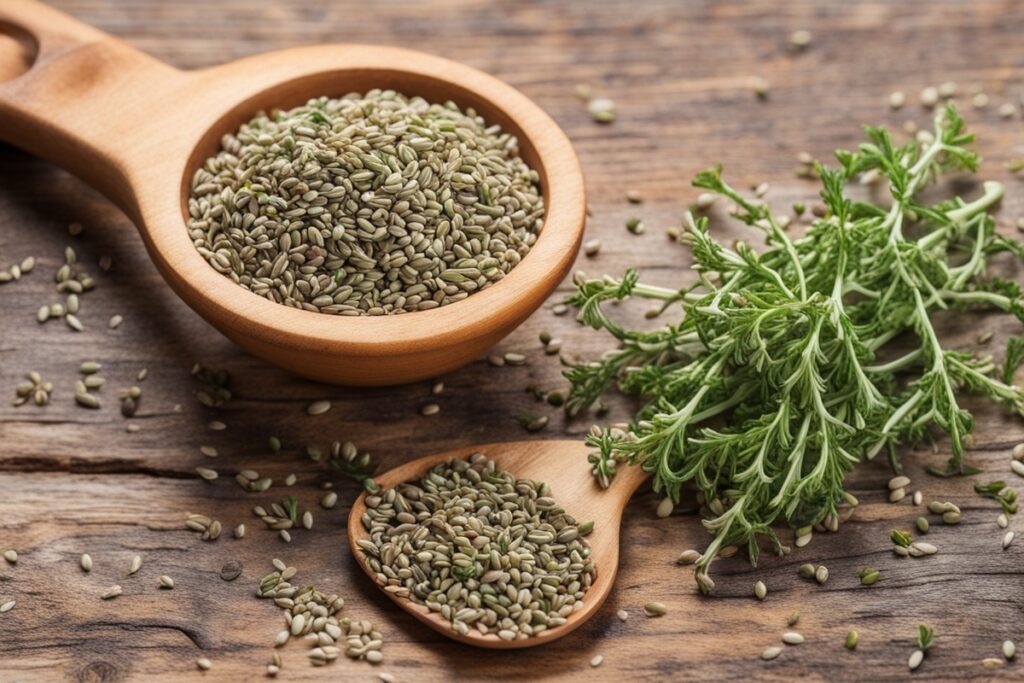
- Thyme Seeds: Source them from a reputable supplier to ensure viability. Fresh seeds (less than a year old) germinate best.
- Spray Bottle: For gentle watering—thyme seeds hate being drowned.
- Plastic Cover or Dome: To maintain humidity. A clear plastic bag works in a pinch.
- Heat Mat (Optional): Thyme loves warmth, around 70-80°F (21-27°C). A heat mat can speed things up if your space is chilly.
Having these ready means you’re not scrambling mid-process, and trust me, a little prep goes a long way in avoiding headaches.
Step-by-Step Guide to Germinate Thyme Seeds Without Hassle
Now, let’s get to the nitty-gritty. I’ve fine-tuned this method over multiple growing seasons, and it’s as straightforward as it gets. Follow these steps, and you’ll be on your way to a thriving thyme patch.
- Prepare Your Soil: Fill your tray or pots with seed starting mix, leaving about a quarter-inch of space at the top. Lightly moisten the soil with a spray bottle—it should feel like a wrung-out sponge, not a swamp.
- Sow the Seeds: Thyme seeds are tiny, so don’t bury them deep. Sprinkle them on the surface and press them gently into the soil. They need light to germinate, so covering them with even a thin layer of soil can slow things down.
- Maintain Humidity: Cover the tray with a plastic dome or bag to lock in moisture. Place it in a warm spot, ideally 70°F or higher. I’ve had great success setting trays near a sunny window or on top of my fridge for ambient heat.
- Check Daily: Mist the soil if it looks dry, but don’t overdo it. Remove the cover for a few minutes each day to prevent mold. Patience is your friend here—those seeds will sprout when they’re ready.
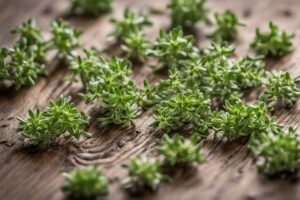
- Post-Germination Care: Once you see sprouts, remove the cover and move the tray to a spot with bright, indirect light. Water sparingly, letting the top inch of soil dry out between sessions.
One time, I got impatient and overwatered a batch, thinking they’d sprout faster. Big mistake—half the seeds rotted. Less is more with thyme, and this method keeps things hassle-free if you stick to the rhythm.
Common Pitfalls and How to Dodge Them
Even with the best intentions, things can go awry. Let’s troubleshoot some common issues I’ve encountered (and learned from) so you can sidestep the same mistakes. Overwatering is the number one killer—those tiny seeds can’t handle soggy soil. If your tray looks like a puddle, ease up on the spray bottle. Another issue is insufficient light after germination; seedlings get leggy and weak without it. I once forgot to move a tray closer to a window, and my poor thyme stretched so much it flopped over. A grow light or sunny spot fixes this. Lastly, cold temperatures can stall germination. If your home is drafty, consider that heat mat. The Missouri Botanical Garden notes that thyme thrives in warmth, so don’t skimp on this if your environment isn’t ideal.
Tips for Speeding Up Germination (Without Stressing)
Waiting for thyme seeds to germinate can test anyone’s patience. While you can’t rush nature, you can nudge it along. First, ensure consistent warmth—those 70-80°F temps aren’t just a suggestion. I’ve noticed a huge difference when using a heat mat during cooler months. Second, don’t skip the light exposure during sowing; it’s a signal for the seeds to wake up. Some gardeners even soak thyme seeds in water for 12-24 hours before planting to soften the seed coat, though I’ve had mixed results with this. A study from Cornell University’s Cooperative Extension suggests that while pre-soaking can help certain herbs, thyme’s small seeds don’t always benefit and may risk rotting if overdone. My advice? Stick to basics unless you’re experimenting with a spare batch. Keep conditions optimal, and let time do the rest—hassle avoided.
There you have it—a roadmap to germinate thyme seeds without hassle. From gathering supplies to dodging pitfalls, these steps are rooted in real experience and backed by trusted sources. I’ve watched countless trays transform from bare soil to lush green over the years, and there’s nothing quite like snipping fresh thyme for a home-cooked meal. So, grab those seeds, set up your space, and dive in. Have a question or a germination story of your own? I’d love to hear it—gardening is all about sharing the journey. With a bit of care, you’ll soon have thyme on your side.
References
- University of Maryland Extension – Growing Herbs in Home Gardens
- Missouri Botanical Garden – Thymus vulgaris Profile
- Cornell University Cooperative Extension – Starting Seeds Indoors
- University of Minnesota Extension – Growing Herbs
- Royal Horticultural Society – Thyme Growing Guide
Disclaimer: This article is for informational purposes only, based on general research and personal experience. It is not intended to serve as a substitute for professional advice. Gardening conditions, seed quality, and individual environments can vary widely, and results may differ from those described. Always consult a qualified horticulturist or agricultural professional for personalized guidance tailored to your specific situation. The author and publisher are not responsible for any adverse outcomes resulting from the application of the information provided in this content. Use discretion and conduct further research as needed to ensure the best practices for your gardening endeavors.
This content is for informational purposes only and not a substitute for professional advice.