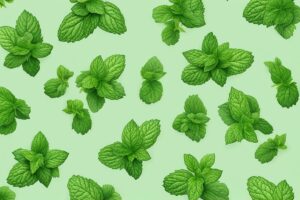
There’s something downright magical about growing mint from seeds. The fresh, zesty aroma wafting through your garden, the satisfaction of snipping a sprig for your tea or mojito—it’s a small victory that feels huge. But let’s be real: getting those tiny mint seeds to sprout and thrive isn’t always a walk in the park. If you’ve ever stared at a pot of dirt wondering why nothing’s happening, you’re not alone. That’s why I’m diving deep into the best mint seeds growing tips to help you turn those little specks into lush, fragrant plants. With years of trial and error in my own backyard (and a few embarrassing failures I’ll share), plus insights from horticultural experts, I’ve got actionable advice to get you growing like a pro.
Choosing the Right Mint Seeds for Your Garden
Before you even think about planting, let’s talk seeds. Not all mint seeds are created equal, and picking the right variety can make or break your growing journey. Spearmint, peppermint, chocolate mint—each has its own vibe and needs. Spearmint is a classic, easy-to-grow option with a mild flavor, perfect for beginners. Peppermint, on the other hand, packs a stronger punch but can be pickier about conditions. And chocolate mint? It’s like a dessert in herb form, but it might need a bit more TLC.
Here’s a pro tip: source your seeds from reputable suppliers like Baker Creek Heirloom Seeds or local nurseries. I once made the mistake of grabbing a cheap packet from a discount store, only to end up with a pitiful germination rate of maybe 10%. Lesson learned—invest in quality. Also, check the seed packet for freshness; mint seeds lose viability after a couple of years. If you’re unsure, do a quick germination test by placing a few seeds on a damp paper towel in a sealed bag. After a week, if less than half sprout, it’s time to get new ones.
Timing and Preparation: Setting the Stage for Success
Timing is everything when it comes to mint seeds. These little guys need warmth to germinate, so aim to sow them indoors 8-10 weeks before your last frost date if you’re in a colder climate. I live in a zone 6 area, and starting indoors in late winter has always worked for me. If you’re in a warmer region, you can direct-sow in spring once the soil hits about 65°F (18°C). But don’t rush it—mint seeds hate cold, soggy soil. Ever planted too early and watched your seeds rot? Yeah, I’ve been there, and it’s a gut punch.
Preparation is just as crucial. Mint seeds are tiny, so they need a fine, well-draining seed-starting mix. I mix equal parts peat moss, perlite, and vermiculite for a light, airy base. Sterilize your trays or pots first—trust me, you don’t want mold or pests crashing the party. And here’s a little trick I picked up from a fellow gardener: lightly press the seeds into the soil but don’t bury them. They need light to germinate, so just a sprinkle of vermiculite on top does the job.
Watering and Light: Nurturing Your Mint Babies
Once your seeds are in, the real babysitting begins. Watering is a delicate dance—too much, and you drown them; too little, and they dry out faster than you can blink. Keep the soil consistently moist but not waterlogged. I use a spray bottle to mist the surface daily, ensuring the top layer doesn’t crust over. Imagine you’re dealing with a fussy infant; they need gentle care, not a deluge.
Light is non-negotiable. Mint seeds need 12-16 hours of bright, indirect light to kickstart germination, which usually takes 7-14 days. If you’ve got a sunny windowsill, great. If not, a grow light is your best friend. I started using a cheap LED grow light a few years back, and my germination rates shot up. Just keep it 2-3 inches above the tray to avoid scorching those tender sprouts. Have you ever seen leggy, pale seedlings stretching for light? It’s a sad sight, but proper lighting fixes that in a snap.
Temperature and Humidity: Creating the Perfect Environment
Mint seeds are like Goldilocks—they want everything just right. Aim for a cozy 70-75°F (21-24°C) during the day, dropping slightly at night. If your house is chilly, a heat mat under the trays can work wonders. I didn’t believe in heat mats until a brutal winter left my seeds dormant for weeks. Popped a mat under them, and bam—sprouts in days.
Humidity plays a big role too. Cover your trays with a clear plastic dome or wrap to trap moisture, but don’t seal it completely—airflow prevents mold. Once seedlings pop up, remove the cover gradually over a few days to acclimate them. I’ve lost entire trays to damping-off (a fungal disease) by keeping things too humid for too long. It’s a heartbreaking lesson, but ventilating early saves the day.
Transplanting and Long-Term Care: From Seedling to Harvest
Once your mint seedlings have 2-3 sets of true leaves—usually 3-4 weeks after sprouting—it’s time to think about transplanting. Harden them off first by exposing them to outdoor conditions for a few hours daily over a week. I skipped this step once, and my poor plants went into shock, wilting faster than I could water them. Don’t make my mistake—patience pays off.
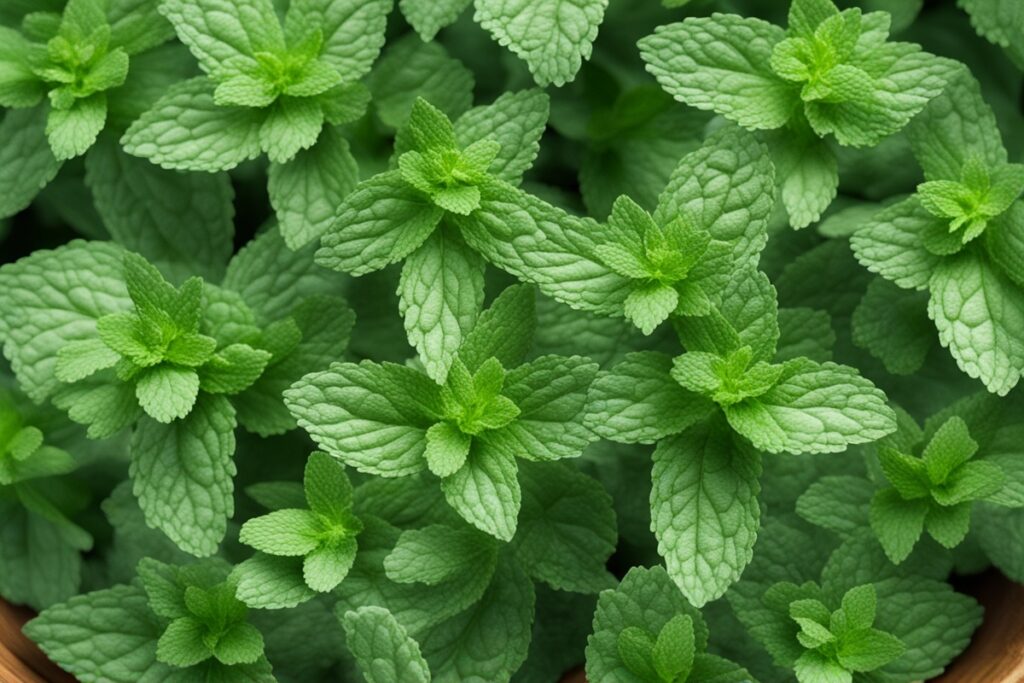
Plant them in a spot with partial shade to full sun, though mint can handle a bit of shade better than most herbs. Space them 18-24 inches apart; mint spreads like wildfire, and overcrowding invites pests. Speaking of pests, keep an eye out for aphids and spider mites. A quick spray of neem oil usually does the trick for me. And here’s a nugget of wisdom: grow mint in containers if you’re worried about it taking over your garden. I’ve got a sprawling patch I regret not containing—now it’s a constant battle to keep it in check!
Water regularly to keep the soil moist, and mulch with straw or wood chips to retain moisture and deter weeds. Fertilize sparingly—once a month with a balanced, water-soluble fertilizer is plenty. Too much nitrogen, and you’ll get leggy plants with weak flavor. I learned this the hard way after over-feeding a batch of peppermint. The leaves were huge, but the taste? Bland as cardboard.
Troubleshooting Common Mint Growing Issues
Even with the best intentions, things can go sideways. If your seeds aren’t germinating, check your temperature and light setup—chances are, it’s too cold or dark. Yellowing leaves on seedlings often mean overwatering or poor drainage. Cut back on the H2O and ensure your pots have holes. And if your mature plants look sparse or woody, they might need a trim. Pruning mint encourages bushier growth, so don’t be shy with the scissors.
Then there’s the pest problem. Mint attracts bugs like a magnet sometimes. I’ve battled aphids with a simple soap-water spray, but for stubborn infestations, introducing ladybugs (natural predators) to the garden was a game-changer. Ever dealt with rust fungus on mint leaves? It’s those ugly orange spots, and it spreads fast. Remove affected leaves immediately and avoid overhead watering to keep it at bay.
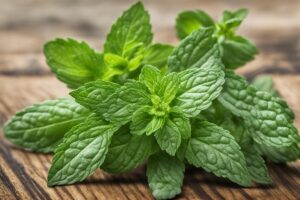
Harvesting and Using Your Mint: Reaping the Rewards
After all that work, harvesting is the fun part. Pick leaves once the plant is about 6-8 inches tall, snipping just above a leaf node to encourage regrowth. I love grabbing a handful for fresh tea—boil water, toss in a few leaves, and you’ve got instant calm in a cup. Mint also freezes well; chop it up, pack it in ice cube trays with water, and pop them out for recipes later.
But here’s a word of caution: don’t overharvest. Taking more than a third of the plant at once can stress it out. I got greedy with a spearmint plant once, stripped it bare for a party, and it took weeks to bounce back. Moderation is key. Plus, regular harvesting keeps the plant from going to seed, which can sap its energy and flavor.
References
- Royal Horticultural Society – Growing Mint Guide
- University of Minnesota Extension – Growing Herbs
- National Center for Biotechnology Information – Mint and Its Health Benefits
Disclaimer: This article is for informational purposes only, based on general research and personal experience. It is not intended to serve as a substitute for professional advice. Gardening conditions, plant health, and individual needs can vary widely, so always consult a qualified horticulturist, agricultural extension service, or other relevant professional for personalized guidance tailored to your specific situation. The tips and methods shared here are meant to inspire and educate, but results may differ based on environmental factors, seed quality, and care practices. Use discretion and prioritize safety when handling plants, tools, or treatments like fertilizers and pest controls.
This content is for informational purposes only and not a substitute for professional advice.