Harvesting mint seeds from healthy plants is one of those rewarding gardening tasks that feels like uncovering a hidden treasure. If you’ve ever grown mint, you know it’s a vigorous herb that can take over a garden bed faster than you can say “pesto.” But did you know that with a little patience and know-how, you can collect its seeds to propagate new plants or share with fellow green thumbs? Let’s dive into the ins and outs of how to harvest mint seeds from healthy plants, ensuring you get the best results while keeping your garden thriving. I’ll walk you through every step, share some personal tips from my own mint-growing adventures, and sprinkle in expert-backed advice to make this a breeze.
Why Harvest Mint Seeds From Healthy Plants?
Let’s start with the obvious question: why bother harvesting mint seeds at all when this herb spreads like wildfire through runners? Well, for one, collecting seeds gives you control over future plantings—especially if you’ve got a particular variety, like spearmint or chocolate mint, that you adore. Healthy plants produce viable seeds, meaning they’re more likely to germinate and grow into robust herbs. Plus, there’s something deeply satisfying about completing the full life cycle of a plant, from seed to harvest and back again. I remember the first time I saved seeds from my peppermint patch; it felt like I was preserving a piece of my garden’s history.
Another reason to focus on healthy plants is simple: quality matters. Diseased or stressed mint plants might produce weak or non-viable seeds, wasting your time and effort. So, if you’re picturing a future garden overflowing with fragrant mint, start with the strongest specimens you’ve got.
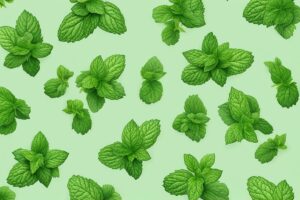
Identifying Healthy Mint Plants for Seed Harvesting
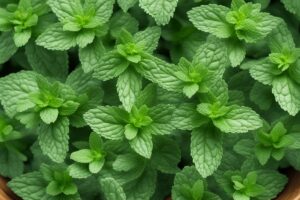
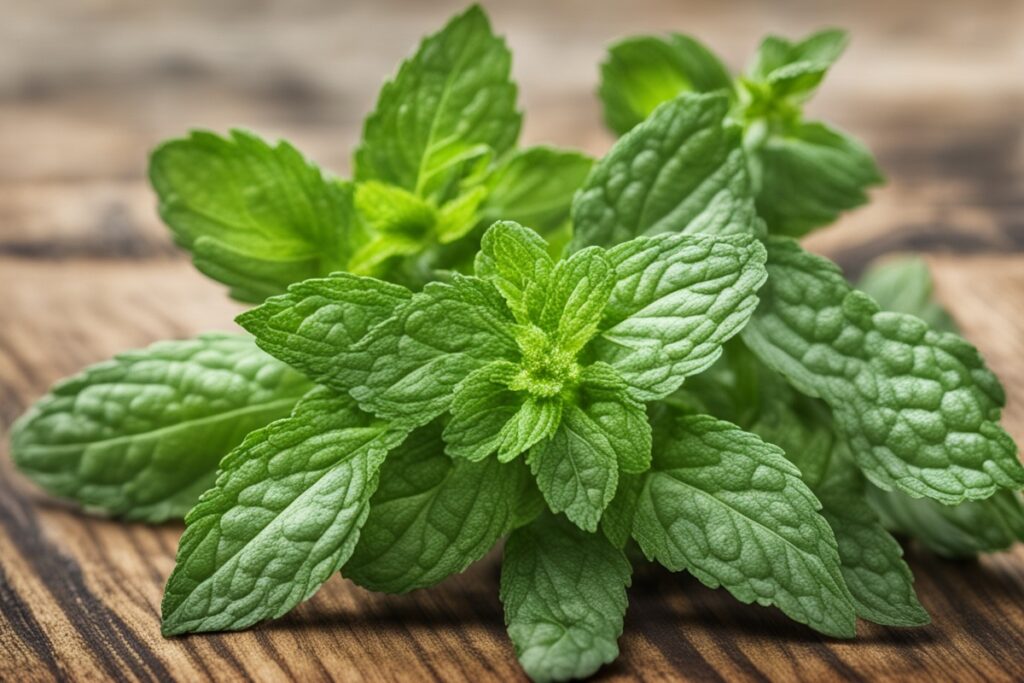
Before you even think about snipping seed heads, you’ve got to pick the right plants. Healthy mint plants are easy to spot if you know what to look for. They’ll have vibrant green leaves, sturdy stems, and no signs of yellowing, wilting, or pest damage. Check for lush growth—mint should look like it’s ready to conquer the world, not like it’s barely hanging on. If you see tiny holes in the leaves or sticky residue (a telltale sign of aphids), skip that plant. Trust me, I learned this the hard way after harvesting from a struggling mint plant only to end up with seeds that wouldn’t sprout no matter how much TLC I gave them.
Also, keep an eye on the flowering stage. Mint seeds come from the small, often inconspicuous flowers that appear in late summer. Healthy plants will produce clusters of blooms—usually purple, pink, or white depending on the variety—that eventually dry out into seed heads. If your plant isn’t flowering, it’s not ready for seed harvesting. Be patient; good things come to those who wait.
When and How to Harvest Mint Seeds
Timing is everything when it comes to harvesting mint seeds from healthy plants. You’ll want to wait until the flowers have dried out naturally on the plant. This usually happens in late summer or early fall, depending on your climate. The seed heads will turn brown and brittle, a sign that the seeds inside are mature. Don’t rush this process—picking too early can result in immature seeds that won’t germinate. I’ve made that mistake before, eagerly snipping flowers only to find empty or underdeveloped seeds. Lesson learned: let nature take its course.
Once the seed heads are dry, gently cut the stems just below the flower clusters using clean, sharp scissors or pruners. Place a paper bag or small container under the heads as you cut to catch any seeds that might fall. Then, give the heads a gentle shake or rub them between your fingers over the container to release the tiny seeds. They’re small, almost like specks of dust, so work over a light-colored surface if you can. Pro tip: do this on a calm day if you’re outside—those little seeds can scatter faster than gossip in a small town.
Storing Mint Seeds for Future Planting
After harvesting, proper storage is key to keeping your mint seeds viable. First, make sure they’re completely dry. Spread them out on a piece of paper towel or a shallow tray for a day or two in a cool, dry spot out of direct sunlight. Any lingering moisture can lead to mold, and nobody wants that. Once they’re bone-dry, transfer the seeds to a small envelope or airtight container—think glass jars or resealable plastic bags. Label them with the variety and date; I can’t tell you how many times I’ve mixed up unlabeled seeds and played a guessing game come planting season.
Store your seeds in a cool, dark place, like a drawer or cupboard, where temperatures stay consistent. Avoid the fridge unless you’re dealing with a humid environment, as fluctuating moisture levels can do more harm than good. According to experts at the University of Minnesota Extension, properly stored herb seeds like mint can remain viable for 1-3 years, though germination rates may drop over time. So, don’t wait forever to plant them—fresh is best.
Troubleshooting Common Issues When Harvesting Mint Seeds
Even with the best intentions, harvesting mint seeds from healthy plants doesn’t always go off without a hitch. One common issue is low seed production. If your mint isn’t producing many flowers (or seeds), it might be due to overwatering, poor soil nutrients, or too much shade. Mint loves full sun to partial shade and well-draining soil, so tweak those conditions if needed. I once had a spearmint plant tucked in a shady corner that barely flowered—moving it to a sunnier spot the next season made all the difference.
Another hiccup could be seed loss during harvesting. Those tiny seeds can slip through your fingers or blow away if you’re not careful. Work indoors if it’s windy, and use a fine mesh sieve to separate seeds from chaff without losing half your haul. And if you’re worried about pests snacking on your seeds before you get to them, keep an eye out for birds or insects around the drying flower heads. A quick fix? Cover the heads with a breathable mesh bag while they’re still on the plant.
Why Not Just Propagate Mint Through Cuttings?
Now, you might be wondering, “If mint is so easy to grow from cuttings or runners, why go through the hassle of harvesting seeds?” It’s a fair point. Mint does root like a champ from cuttings, and dividing established plants is often quicker than starting from seed. But here’s the flip side: growing from seed can introduce genetic diversity, especially if your mint has cross-pollinated with other varieties nearby. Plus, seeds are portable and easy to share or store long-term. Imagine you’re moving to a new home or helping a friend start their herb garden—tossing them a packet of seeds you harvested yourself feels pretty darn cool.
That said, growing mint from seed isn’t always a sure bet. Germination can be spotty, and it takes longer than other propagation methods. According to the Royal Horticultural Society, mint grown from seed might not always be true to the parent plant, especially with hybrid varieties. So, weigh the pros and cons based on your goals. If you’re after consistency, stick with cuttings. If you’re up for a little experimentation, harvesting seeds is worth a shot.
References
- University of Minnesota Extension – Growing Herbs
- Royal Horticultural Society – Growing Mint
- Penn State Extension – Herbs: Mint
- Missouri Botanical Garden – Mint Plant Profile
- Wisconsin Department of Public Instruction – Mint Fact Sheet
Disclaimer: This article is for informational purposes only, based on general research and personal experience. It is not intended to serve as a substitute for professional advice. Gardening conditions, plant health, and seed viability can vary widely based on location, climate, and individual practices. Always consult a qualified professional, such as a local horticulturist or agricultural extension service, for personalized guidance tailored to your specific situation. The information provided here is meant to inspire and educate, but results are not guaranteed, and readers are encouraged to use their best judgment when applying these tips to their own gardens.
This content is for informational purposes only and not a substitute for professional advice.