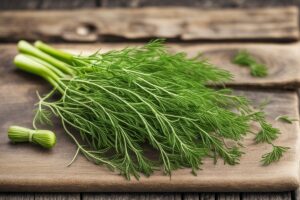
Starting dill seeds in garden beds is one of those gardening tasks that feels like a small victory every time it works out. There’s something deeply satisfying about watching those tiny, unassuming seeds transform into feathery, aromatic plants that not only flavor your meals but also attract beneficial insects. If you’ve ever wanted to grow dill—whether for pickling, seasoning, or just to enjoy its delicate beauty—you’re in the right place. I’m going to walk you through the ins and outs of how to start dill seeds in garden beds, drawing from years of trial and error in my own backyard, along with insights from trusted horticultural sources. Let’s dig in (pun intended) and get those seeds sprouting!
Why Start Dill Seeds in Garden Beds?
Before we get our hands dirty, let’s talk about why growing dill from seed in a garden bed is worth the effort. Dill (Anethum graveolens) is an annual herb that’s incredibly easy to grow directly in the ground, provided you give it the right conditions. Unlike starting seeds indoors, which requires trays, grow lights, and a bit of fussing, sowing dill seeds straight into garden beds mimics their natural growth cycle. Dill doesn’t always take kindly to transplanting—its long taproot gets cranky when disturbed—so direct sowing often yields better results. Plus, isn’t there something magical about scattering seeds into the earth and letting nature do its thing?
Beyond ease, garden beds offer dill the space it needs to stretch out. Mature dill plants can reach up to 3-5 feet tall, and they thrive with room to sway in the breeze. Starting seeds in beds also lets you succession-plant, meaning you can sow small batches every few weeks for a continuous harvest. In my own garden, I’ve found that direct sowing dill keeps the process low-maintenance while giving me a steady supply of fresh fronds and seeds for my kitchen experiments.
Choosing the Right Time and Location
Timing and location are everything when you start dill seeds in garden beds. Dill loves cool weather, so aim to sow seeds in early spring, about 2-4 weeks before the last expected frost in your area. If you’re in a warmer climate, a fall planting can work wonders too—just avoid the scorching heat of midsummer, as dill tends to bolt (go to seed) quickly when stressed. I learned this the hard way one July when I planted late, and my dill shot up to flower before I could snip a single sprig. Live and learn, right?
As for location, pick a spot that gets full sun—at least 6-8 hours daily. Dill isn’t picky about soil, but it does best in well-draining, loamy ground with a pH between 5.5 and 6.5. If your soil is heavy clay or sandy, work in some compost or aged manure to improve texture and fertility. And here’s a pro tip: plant dill near cabbage or onions; it’s said to enhance their growth while repelling pests. Just don’t put it too close to carrots or tomatoes—dill can cross-pollinate with carrots and stunt tomato growth. I’ve got a little corner of my bed dedicated to dill near my brassicas, and the combo has worked like a charm for years.
Preparing Your Garden Bed for Dill Seeds
Let’s get that bed ready. First, clear out any weeds or debris—dill doesn’t like competition. Loosen the soil to a depth of about 12 inches using a garden fork or tiller; this helps that taproot grow deep and strong. Mix in a couple of inches of organic matter if your soil needs a boost. I usually toss in some homemade compost from kitchen scraps—it’s free, sustainable, and gives the seeds a nutrient-packed start.
Once the bed is prepped, rake the surface smooth and create shallow furrows about ¼ inch deep and 18-24 inches apart. Dill seeds are tiny, so don’t bury them too deep, or they’ll struggle to emerge. If you’re like me and sometimes overthink spacing, just remember: a little overcrowding isn’t the end of the world. You can always thin the seedlings later. After sowing, lightly cover the seeds with soil and give the bed a gentle watering. Keep the soil moist but not soggy—think of it like a damp sponge. In 10-14 days, you should see those first green shoots poking through, assuming the weather plays nice.
Caring for Dill Seedlings in Garden Beds
Once your dill seeds sprout, the real fun begins. Thin the seedlings to about 12-18 inches apart when they’re a couple of inches tall. I know it’s tempting to keep every single plant, but overcrowding leads to weak, spindly growth. Use the thinned seedlings as microgreens in a salad—they’re packed with flavor! Water the bed regularly, aiming for about an inch of water per week, either from rain or irrigation. Dill isn’t a diva, but it hates drying out completely, especially in the early stages.
Fertilizing? Go easy. A light application of a balanced, water-soluble fertilizer (like a 10-10-10) once a month is plenty. Too much nitrogen, and you’ll get lush leaves but no seeds—great for garnish, not so much for pickling. And keep an eye out for pests like aphids. I’ve had luck with a simple soap-water spray to knock them off, though ladybugs (dill attracts them naturally) often handle the job for me. If you’re dealing with windy conditions, consider staking taller plants—dill’s hollow stems can snap in a strong gust. I’ve lost a few to unexpected storms, so now I tie them loosely to bamboo stakes just in case.
Harvesting and Using Dill from Your Garden
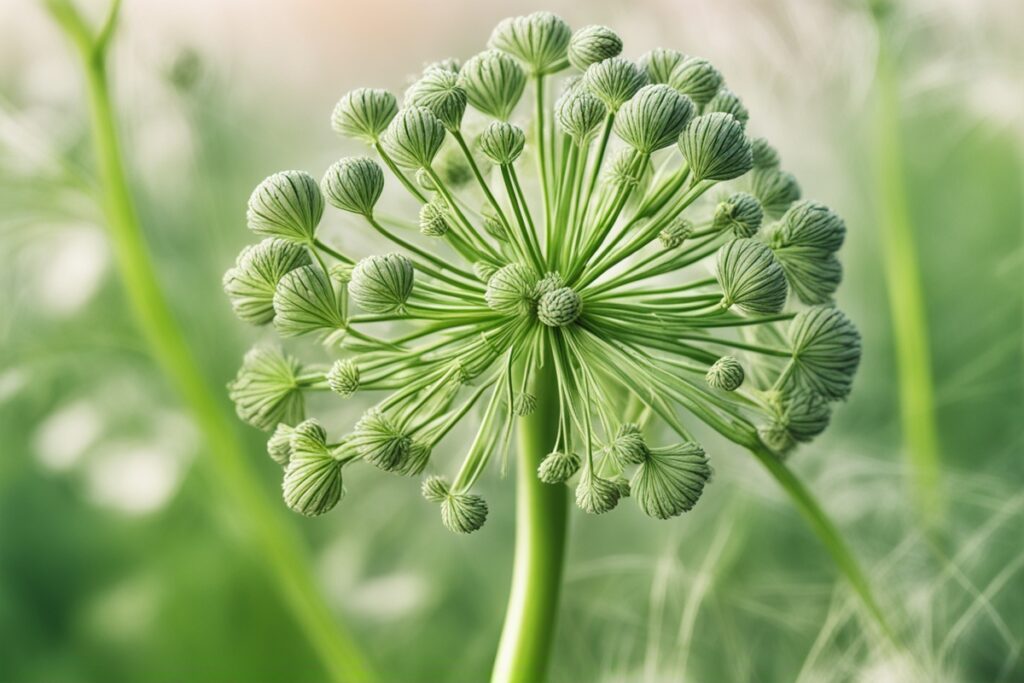
Here’s where the payoff comes. You can start snipping dill leaves as soon as the plant has 4-5 fronds, usually about 8 weeks after sowing. Cut the outer leaves first to encourage bushier growth. If you’re after seeds, let the plant flower and form those iconic umbrella-shaped heads. Wait until the seeds turn brown, then cut the heads off and shake them into a paper bag to collect. Last summer, I harvested enough seeds to fill a small jar, which I’ve been using for homemade pickles ever since. There’s nothing quite like that fresh, tangy bite knowing it came straight from your garden.
Dill is versatile—use the leaves for salads, soups, or fish dishes, and the seeds for bread, stews, or spice blends. If you’ve got extra, dry the leaves or freeze them in ice cube trays with a bit of water. I’ve found drying works best for seeds; just store them in an airtight container away from light. Imagine you’re hosting a dinner party, and you casually mention the dill garnish is homegrown. Talk about a conversation starter!
Common Challenges When Starting Dill Seeds
Let’s be real: not every gardening endeavor goes off without a hitch. One common issue when you start dill seeds in garden beds is poor germination. If your seeds aren’t sprouting after two weeks, the soil might be too cold or too wet. Dill likes temperatures between 60-70°F for germination, so if it’s chilly, try covering the bed with a row cover to trap warmth. I’ve had batches fail in early spring due to unexpected cold snaps, so now I always check the forecast before planting.
Another hiccup is bolting. If your dill flowers too soon, it’s likely heat stress or inconsistent watering. While you can’t stop it entirely, planting in partial shade during hot months or mulching to retain moisture can delay the process. And if bolting happens, don’t despair—the flowers attract pollinators like butterflies and bees, which benefit your whole garden. Lastly, watch for powdery mildew if your area is humid. Good spacing and air circulation usually prevent it, but a baking soda spray (1 tsp per quart of water) has saved my plants more than once.
References
- University of Minnesota Extension – Growing Dill
- University of Illinois Extension – Dill
- Missouri Botanical Garden – Anethum graveolens
- Clemson University Cooperative Extension – Dill
- The Old Farmer’s Almanac – Growing Dill
Disclaimer: This article is for informational purposes only, based on general research and personal experience. It is not intended to serve as a substitute for professional advice. Gardening conditions, soil types, and climate zones vary widely, and what works in one area may not apply to another. Always consult a qualified horticulturist, local extension service, or other professional for personalized guidance tailored to your specific situation. Additionally, while care has been taken to provide accurate information, results may vary, and the author is not responsible for any outcomes resulting from the application of the advice provided here.
This content is for informational purposes only and not a substitute for professional advice.