Chives are one of those herbs that sneak their way into your heart—and your kitchen—without much fanfare. Their delicate oniony flavor, vibrant green stalks, and sheer versatility make them a must-have in any garden. But let’s be real: growing healthy chive varieties isn’t always a walk in the park. Whether you’re a seasoned gardener or just dipping your toes into the world of herbs, there’s a learning curve to getting those tender shoots to thrive. I’ve spent years tinkering with chive seeds in my backyard plot, and I’m here to share the nitty-gritty of what works, what doesn’t, and how you can cultivate a bumper crop of chives that’ll have your neighbors green with envy.
Why Growing Healthy Chive Varieties Matters
Chives aren’t just a garnish; they’re a nutritional powerhouse packed with vitamins A, C, and K, plus a sprinkle of antioxidants. Growing healthy chive varieties ensures you’re getting the most out of these benefits—think robust flavor and maximum nutrient density. But beyond the health perks, there’s something deeply satisfying about snipping fresh chives straight from your garden for a morning omelet. Have you ever tasted the difference between store-bought and homegrown? It’s night and day. Healthy plants also mean resilience against pests and diseases, saving you from the heartbreak of watching your crop wither. So, let’s dive into how to make that happen.
Choosing the Right Chive Varieties for Your Garden
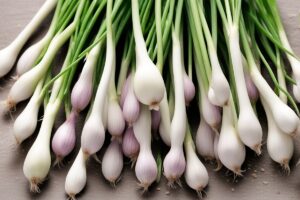
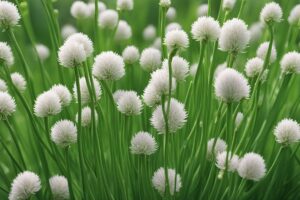
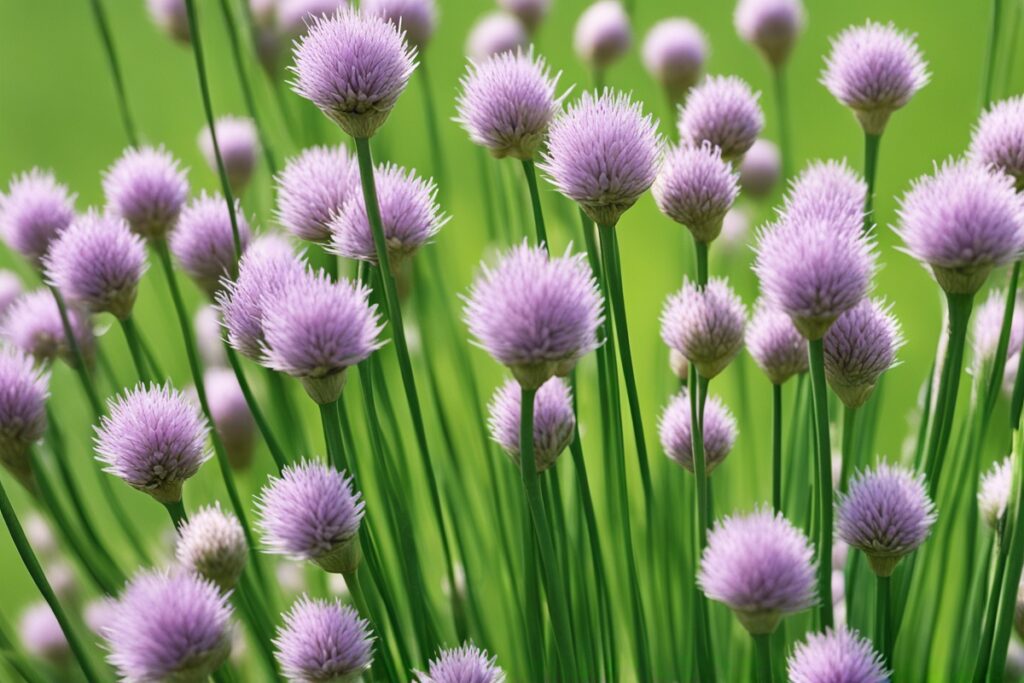
Before you even think about planting, let’s talk varieties. Not all chives are created equal, and picking the right one for your climate and taste buds is half the battle. Common chives (Allium schoenoprasum) are the go-to for most gardeners—hardy, easy to grow, and perfect for beginners. Then there’s garlic chives (Allium tuberosum), with a punchier, garlicky kick and pretty white flowers that double as edible decor. I’ve grown both in my Zone 6 garden, and while common chives handle the cold like champs, garlic chives need a bit more babying during harsh winters.
Consider your growing conditions. Got a shady spot? Common chives can tolerate partial shade, though they’ll stretch for the sun if they don’t get enough. Live in a hotter climate? Garlic chives might struggle without some afternoon shade. And here’s a tip from trial and error: if you’re after a continuous harvest, mix varieties. Imagine you’re dealing with a small patio garden—planting a pot of each gives you flavor diversity without taking up much space. Check seed catalogs or local nurseries for heirloom or hybrid options too; some are bred for disease resistance, which can be a lifesaver if your area’s prone to fungal issues.
Soil and Sun: Setting the Stage for Success
Chives aren’t divas, but they do have preferences. Growing healthy chive varieties starts with well-draining soil rich in organic matter. I learned this the hard way after planting my first batch in heavy clay soil—let’s just say they drowned before they could sprout. Aim for a pH between 6.0 and 7.0; if you’re unsure, grab a cheap soil test kit from your local garden center. Mix in some compost or aged manure to give those seeds a nutrient boost. Chives love full sun, about 6-8 hours a day, but they’ll forgive a little shade if you’re pushing the limits of your garden space.
Here’s a practical nugget: don’t skimp on drainage. If you’re working with pots like I often do for my urban setup, make sure they’ve got holes in the bottom and a layer of pebbles or broken pottery to keep roots from sitting in water. Wet feet are a death sentence for chives. And if you’re planting in-ground, raised beds are your friend—especially if your native soil is more brick than dirt.
Planting and Watering Chive Seeds Like a Pro
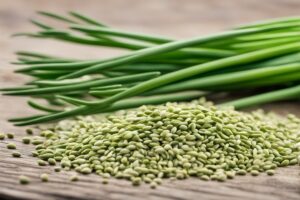
Now, let’s get those seeds in the ground. You can start chives indoors 6-8 weeks before the last frost or sow directly outside once the soil warms up to about 60°F (15°C). I’ve tried both, and starting indoors gives you a head start, especially in shorter growing seasons. Sow seeds about ¼ inch deep, spacing them 4-6 inches apart if you’re direct sowing. They’re tiny, so don’t bury them too deep or they’ll never see the light of day. Keep the soil consistently moist but not soggy—think of it as a Goldilocks situation: just right.
Watering is where a lot of folks trip up. Overwatering leads to rot, while underwatering stunts growth. I stick to a simple rule: water when the top inch of soil feels dry. Early morning is best to avoid evaporation and reduce the risk of fungal diseases. And here’s a little story—last spring, I got lazy with my watering schedule during a heatwave, and my chives started yellowing. A quick adjustment to daily light watering brought them back to life. So, stay vigilant; these plants will tell you what they need if you pay attention.
Pest and Disease Management for Thriving Chives
Chives are pretty tough, but they’re not invincible. Growing healthy chive varieties means staying ahead of pests like aphids and thrips, which can suck the life out of your plants faster than you can say “onion breath.” I’ve dealt with aphids more times than I’d like to admit, and a strong blast of water from the hose usually sends them packing. For stubborn cases, a diluted neem oil spray works wonders—just follow the label and don’t overdo it.
Diseases like rust or downy mildew can creep in if your plants are too crowded or overly damp. Spacing them properly and ensuring good air circulation is key. If you spot orange spots or fuzzy growth, cut away affected leaves immediately and avoid overhead watering. Prevention is better than cure, right? I also rotate my chive patches every few years to keep soil-borne issues at bay. It’s a small effort for a big payoff.
Harvesting and Maintaining Your Chive Crop
Here’s the fun part—harvesting! You can start snipping chives once they’re about 6 inches tall, usually 60-90 days after planting. Use scissors and cut about 2 inches above the base to encourage regrowth. Don’t yank the whole plant out unless you’re done with it; chives are perennials and will come back year after year with proper care. I remember the first time I harvested too aggressively—barely left a stub—and it took weeks for the plant to recover. Lesson learned: moderation is key.
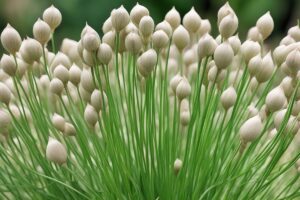
For maintenance, divide clumps every 2-3 years to prevent overcrowding. Just dig up the plant, split it into smaller sections, and replant. It’s like giving your chives a new lease on life. Mulching with straw or wood chips helps retain moisture and keeps weeds down, especially in hotter months. And don’t forget to deadhead flowers if you’re not saving seeds; it redirects energy back to leaf growth.
Boosting Flavor and Nutrition Through Care
Ever wonder why some chives taste bland while others pack a punch? Growing healthy chive varieties isn’t just about survival—it’s about coaxing out that signature zing. Consistent watering and a balanced fertilizer (think 10-10-10) every few months can enhance flavor and nutrient content. Studies, like those from the Journal of Agricultural and Food Chemistry, show that stress-free plants often have higher concentrations of beneficial compounds like quercetin. I’ve noticed this firsthand; my best-tasting chives always come from beds that get just the right amount of TLC.
Avoid over-fertilizing, though. Too much nitrogen leads to lush, watery growth with diluted flavor. I made that mistake once, and my chives tasted like grass—not exactly the vibe I was going for. Stick to light feeding and let nature do the rest. If you’re into organic gardening, compost tea is a fantastic, gentle option.
At the end of the day, growing healthy chive varieties is about balance—balancing water, sun, soil, and care. It’s not rocket science, but it does take patience and a willingness to learn from your flops. Whether you’re tossing fresh chives into a soup or drying them for winter, the reward is worth every ounce of effort. So, grab those seeds, get your hands dirty, and watch your garden come alive with flavor. What’s stopping you from starting today?
References
- Journal of Agricultural and Food Chemistry – Flavonoid Content in Chives
- University of Minnesota Extension – Growing Chives
- Royal Horticultural Society – Chive Growing Guide
Disclaimer: This article is for informational purposes only, based on general research and personal experience—it’s not a substitute for professional advice. Gardening conditions, soil types, and plant health can vary widely, and what works in one scenario might not in another. Always consult a qualified horticulturist, agricultural extension service, or other professional for personalized guidance tailored to your specific environment and needs. Your safety and the health of your plants are paramount, so proceed with care and due diligence when applying any tips or techniques discussed here.
This content is for informational purposes only and not a substitute for professional advice.