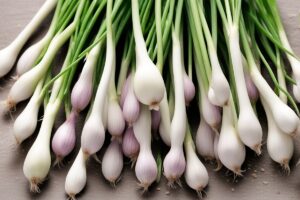
Have you ever dreamed of snipping fresh, aromatic chives right from your kitchen counter or balcony? There’s something incredibly satisfying about growing your own herbs, and chives are one of the easiest to start with, especially if space is tight. If you’re looking to grow chive seeds in containers, you’re in for a treat. This guide is packed with practical tips, personal insights, and expert-backed advice to help you cultivate these versatile, oniony greens right at home—no sprawling garden required. Whether you’re a seasoned gardener or a complete newbie, I’ve got you covered with everything from seed selection to harvest. Let’s dig in!
Why Grow Chive Seeds in Containers?
Let’s face it: not everyone has a sprawling backyard or the luxury of garden beds. Maybe you’re in a tiny apartment, or perhaps you just want the convenience of herbs at arm’s reach. Growing chive seeds in containers is the perfect solution. Chives are hardy, low-maintenance, and thrive in confined spaces as long as you meet their basic needs. Plus, containers let you control soil quality, drainage, and placement—key factors for healthy growth. I’ve grown chives on a sunny windowsill for years, and trust me, there’s nothing like the convenience of grabbing a handful for a quick omelet garnish. Beyond practicality, container gardening adds a touch of green to your space. Who doesn’t love a little nature indoors?
Choosing the Right Container and Soil
Before you even think about planting, let’s talk gear. The container you pick can make or break your chive-growing journey. Chives don’t need much depth—think 6 to 8 inches—but they do need good drainage. I learned this the hard way when I used a cute decorative pot with no holes. The soil stayed soggy, and my poor chives drowned within weeks. Opt for a pot with drainage holes and a tray underneath to catch excess water. Terracotta, plastic, or even repurposed buckets work fine as long as they’re clean.
Now, about that soil: chives like well-draining, nutrient-rich mixes. A blend of potting soil with some perlite or sand works wonders to prevent waterlogging. If you’re feeling fancy, toss in a bit of compost for extra fertility. According to the University of Maryland Extension, chives prefer a slightly acidic to neutral pH (6.0-7.0), so if you’re unsure about your mix, a quick pH test kit from a garden center can save you guesswork. Fill your container, leaving about an inch of space at the top for watering ease, and you’re set to sow.
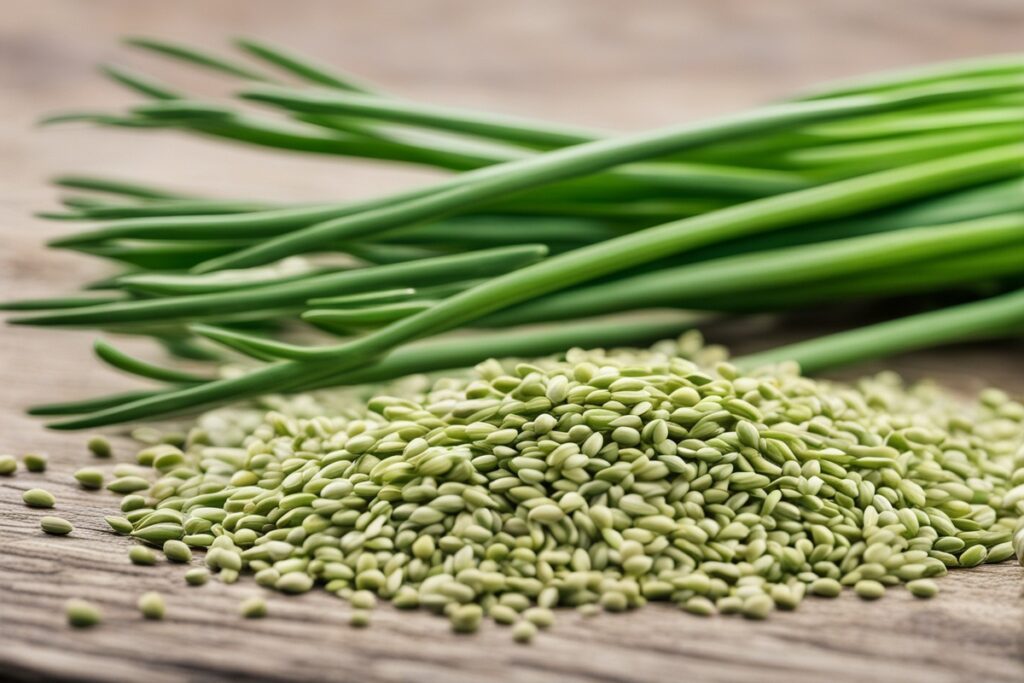
Sowing Chive Seeds: Timing and Technique
Timing is everything when you grow chive seeds in containers. While chives are pretty forgiving, they germinate best in cool to moderate temps—think 60-70°F (15-21°C). Early spring or fall are ideal if you’re placing pots outdoors, but indoors, you’ve got more flexibility. I usually start mine in late winter on a sunny windowsill to get a head start before moving them outside. Sprinkle the seeds lightly on the soil surface—don’t bury them too deep, as they need light to germinate. A quarter-inch of soil dusted over them is plenty. Keep the soil moist but not waterlogged, and in 7-14 days, you should see tiny green shoots poking through. Pro tip: cover the pot with a plastic wrap or a clear lid until germination to trap humidity. It’s like creating a mini greenhouse!
Here’s a little anecdote: the first time I sowed chive seeds, I got impatient and overwatered, thinking they’d sprout faster. Big mistake. The seeds rotted before they had a chance. Patience is key—stick to a light misting with a spray bottle until they’re up and running.
Caring for Your Container-Grown Chives
Once your chives sprout, the real fun begins. These little guys aren’t fussy, but they do need consistent care to flourish. Sunlight is non-negotiable—aim for at least 6 hours of direct light daily. If you’re indoors, a south-facing window is gold. No sunny spot? I’ve had success with a cheap grow light when my apartment got too shady in winter. Rotate the pot every few days so all sides get even exposure; otherwise, you’ll end up with lopsided plants leaning desperately toward the light.
Watering is another balancing act. Chives like moist soil but hate sitting in a puddle. Stick your finger an inch into the soil—if it’s dry, give it a drink. I usually water every 2-3 days, depending on humidity and heat. And don’t skimp on trimming! Snipping the leaves encourages bushier growth. Just don’t cut more than a third of the plant at once, or you’ll stress it out. Oh, and if you notice yellowing leaves, it might be a sign of overwatering or poor drainage—adjust accordingly. The Royal Horticultural Society notes that chives are prone to root rot in soggy conditions, so err on the side of underwatering if you’re unsure.
Dealing with Pests and Problems
Imagine you’re admiring your thriving chive pot, only to spot tiny bugs or wilting leaves. Don’t panic—chives are tough, and most issues are fixable. Indoors, pests like aphids or spider mites can sneak in, especially if your pot’s near other plants. I’ve dealt with aphids before, and a simple spray of soapy water (a teaspoon of dish soap in a quart of water) usually does the trick. Outdoors, watch for onion flies or thrips. A neem oil spray, applied as directed, can keep these critters at bay without harsh chemicals.
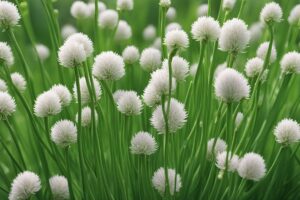
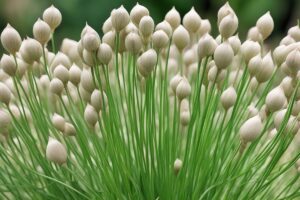
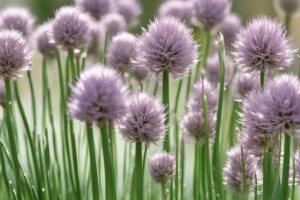
Another common hiccup? Bolting. That’s when chives shoot up a flower stalk and stop focusing on leaf growth, often due to heat stress. If it happens, snip the flower to redirect energy back to the leaves—or let it bloom if you want to save seeds for next season. Honestly, chive flowers are gorgeous and edible, so it’s not always a bad thing. The key is to keep an eye on your plants and act fast. Prevention, like providing shade during scorching summers, often beats cure.
Harvesting and Enjoying Your Chives
After all that TLC, it’s time for the payoff. You can start harvesting chives once they’re about 6 inches tall—usually 6-8 weeks after sprouting. Use sharp scissors to cut the leaves about 2 inches above the soil, and they’ll regrow like magic. I love tossing fresh chives into soups, salads, or baked potatoes; their mild onion flavor is a game-changer. Fun fact: chives are perennials, so with proper care, your container plants can keep producing for years. Every spring, I divide my clumps to prevent overcrowding, potting up extras to share with friends. It’s like the gift that keeps on giving.
One last tip: don’t let chives go to waste. If you’ve got a bumper crop, chop and freeze them in an ice cube tray with a bit of water or oil. Pop a cube into your cooking whenever you need a flavor boost. It’s a lifesaver on busy days when fresh herbs aren’t in reach.
References
- University of Maryland Extension – Growing Herbs in Containers
- Royal Horticultural Society – How to Grow Chives
- University of Minnesota Extension – Growing Onions and Chives
- Missouri Botanical Garden – Allium schoenoprasum (Chives)
- University of Illinois Extension – Chives
Disclaimer: This article is for informational purposes only, based on general research and personal experience. It is not intended to serve as a substitute for professional advice. Gardening conditions, plant needs, and individual circumstances can vary widely, so results may differ from those described. Always consult a qualified horticulturist, agricultural extension service, or other professional for personalized guidance tailored to your specific situation. The author and publisher are not responsible for any adverse effects or consequences resulting from the application of the information provided in this content. Use discretion and prioritize safety when implementing any gardening practices.
This content is for informational purposes only and not a substitute for professional advice.