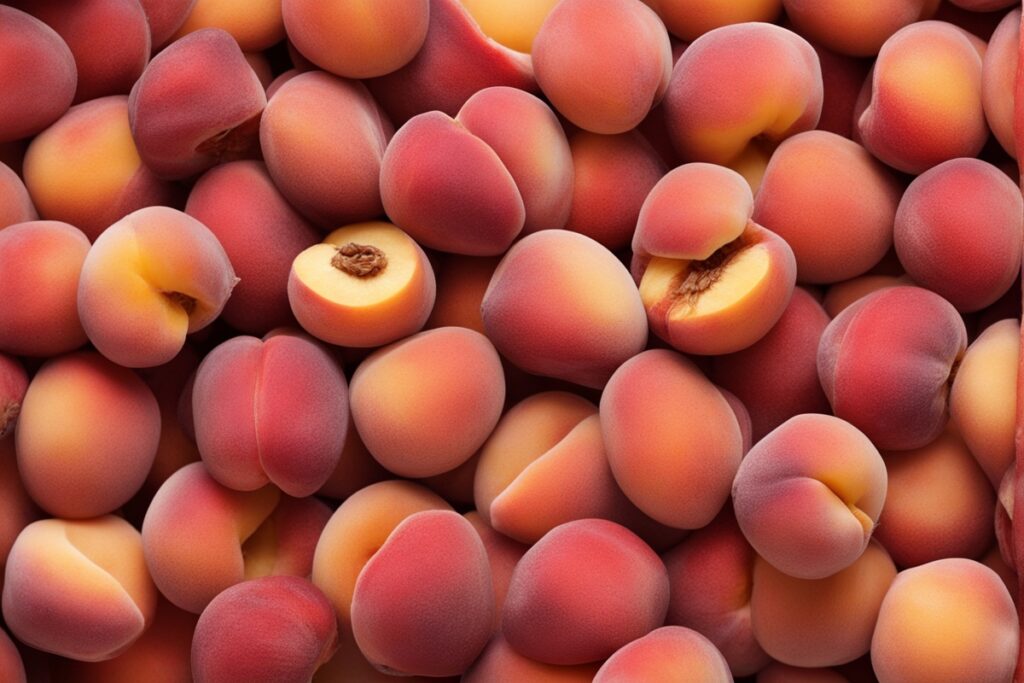
Growing peaches from seeds outdoors is a rewarding journey, one that blends patience with the thrill of nurturing something from scratch. If you’ve ever bitten into a juicy, sun-warmed peach and wondered, “Could I grow this myself?”—you’re not alone. Raising peach seeds successfully outdoors is entirely possible, but it’s not without its challenges. From understanding the quirks of seed germination to navigating unpredictable weather, there’s a lot to unpack. I’ve spent years tinkering in my own backyard, coaxing peach seeds into life, and I’m excited to share what I’ve learned—mistakes, triumphs, and all. Let’s dive into how you can turn that peach pit into a thriving tree, with practical tips, a dash of grit, and a whole lot of nature’s magic.
Why Raise Peach Seeds Outdoors? The Appeal and the Reality
There’s something downright enchanting about growing a peach tree from a seed. Maybe it’s the idea of transforming a discarded pit into a fruit-bearing giant, or perhaps it’s the cost-saving allure—why buy a sapling when you can grow one for free? But let’s keep it real: raising peach seeds successfully outdoors isn’t a guaranteed shortcut to a bountiful harvest. Unlike grafted nursery trees, seed-grown peaches often don’t produce fruit true to the parent variety due to cross-pollination. That sweet, juicy peach you ate? Its offspring might yield something tart or underwhelming. Still, the process teaches patience and resilience, and for many gardeners like myself, the experiment is half the fun. Imagine you’re holding a pit from a roadside stand peach—wouldn’t it be wild to see what kind of tree it becomes?
Starting Strong: Preparing Peach Seeds for Germination
Before you even think about planting, you’ve got to prep those seeds properly. Peach pits are notoriously stubborn, encased in a hard shell that needs cracking—literally. After enjoying your peach, clean the pit and let it dry for a day or two. Then, using a nutcracker or hammer (gently!), crack the outer shell to reveal the almond-like seed inside. Be careful not to damage the seed itself—I’ve crushed a few in my early days and learned the hard way to err on the side of caution. Next comes stratification, a fancy term for mimicking winter’s chill to trick the seed into thinking it’s time to sprout. Wrap the seed in a damp paper towel, pop it into a plastic bag, and refrigerate it at 35-40°F for 8-12 weeks. Check weekly for mold and keep the towel moist. This step is non-negotiable; without it, your seed might never wake up.
A little anecdote here: my first attempt at stratification was a flop because I forgot about the bag in the back of my fridge for nearly four months. By some miracle, one seed still sprouted, but don’t count on luck—stick to the timeline. If you’re in a rush, some gardeners swear by soaking the seed in water for a few days post-stratification to speed things up, though I’ve found mixed results with this.
Choosing the Right Outdoor Spot and Timing
Once your seed has sprouted (you’ll see a tiny root emerging), it’s time to think about where it’ll grow. Raising peach seeds successfully outdoors hinges on location and timing. Peach trees crave full sun—at least 6-8 hours daily—and well-drained soil with a pH between 6.0 and 7.0. Test your soil if you’re unsure; most local extension services offer affordable kits. Pick a spot sheltered from harsh winds but with good air circulation to prevent fungal issues. I planted my first peach seed near a south-facing fence, thinking it’d be protected, only to realize it didn’t get enough light. Lesson learned: don’t skimp on sun.
As for timing, plant in early spring after the last frost in your area. Check your USDA Hardiness Zone for specifics—peach trees generally thrive in zones 5-9. If you’re in a colder region, consider starting indoors in pots and transplanting later, though outdoor sowing builds hardier roots from the get-go. Ever wonder why some trees just seem to “take” better than others? It often comes down to matching the plant’s needs with your environment.
Planting and Early Care: Nurturing Your Peach Seedling
Planting is straightforward but demands attention to detail. Dig a small hole about 2-3 inches deep, place the sprouted seed root-down, and cover it with loose soil. Water gently but thoroughly—think a slow drizzle, not a deluge. Keep the soil consistently moist but not soggy; overwatering is a silent killer. I’ve lost a seedling or two to enthusiasm with the hose, so now I use a simple finger test: if the top inch of soil feels dry, it’s time to water. Mulch with straw or wood chips to retain moisture and deter weeds, but keep it a few inches from the base to avoid rot.
For the first few weeks, protect your seedling from pests and harsh weather. A small wire cage works wonders against rabbits or deer, and a light shade cloth can shield it from scorching sun if you’re in a hot climate. Growth will be slow at first—don’t expect a towering tree overnight. My first peach seedling took nearly two months to reach six inches, and I’ll admit, I checked it obsessively. Patience is your best friend here.
Long-Term Care: Helping Your Peach Tree Thrive
As your peach tree grows, ongoing care becomes key to raising peach seeds successfully outdoors. Prune annually in late winter to remove dead or crossing branches and encourage an open canopy for sunlight and air flow. Fertilize sparingly—too much nitrogen leads to lush leaves but no fruit. I use a balanced 10-10-10 fertilizer once in spring, following package rates, and that’s usually enough. Watch for pests like aphids or peach tree borers; a blast of water or neem oil often handles the former, while sticky traps can deter the latter. Diseases like peach leaf curl are trickier—remove affected leaves and consider a fungicide if it persists, though I lean toward prevention with proper spacing and cleanup.
Here’s a tip from experience: don’t ignore winter prep. In colder zones, wrap the trunk with burlap to guard against frost cracks. One harsh winter taught me this the hard way when a young tree split and nearly died. Also, remember that seed-grown trees may take 3-5 years to bear fruit—if they do at all. It’s a gamble, but isn’t that part of the adventure?
Troubleshooting Common Challenges
Even with the best intentions, things can go sideways. If your seed doesn’t germinate after stratification, it might be non-viable—some pits just don’t have what it takes, especially from store-bought fruit treated to prevent sprouting. Start with multiple seeds to hedge your bets. Seedlings dying suddenly? Check for root rot from overwatering or poor drainage. And if your tree grows but never fruits, cross-pollination or lack of chill hours (cold periods needed for fruit set) could be the culprit. I once had a tree that grew beautifully for years but produced nothing; turns out, it needed a companion variety nearby for pollination. Sometimes, nature just throws you a curveball.
For balanced insight, not every gardener will tell you this, but seed-grown peaches often aren’t worth the effort if your goal is quick, reliable fruit. Grafted trees from nurseries are faster and more predictable. Still, there’s unmatched satisfaction in raising something from a pit, especially if you’re in it for the long haul or teaching kids about gardening. Weigh your priorities—time versus triumph.
References
- University of Georgia Extension – Growing Peaches
- Penn State Extension – Peach Production
- Missouri Botanical Garden – Prunus persica
- North Carolina State Extension – Growing Peaches in North Carolina
- University of Maryland Extension – Growing Tree Fruits in the Home Garden
Disclaimer: This article is for informational purposes only, based on general research and personal experience. It is not intended to serve as a substitute for professional advice. Gardening outcomes can vary widely depending on local conditions, specific peach varieties, and individual practices. Always consult a qualified horticulturist, agricultural extension agent, or other professional for personalized guidance tailored to your unique situation. The tips and methods shared here are meant to inspire and educate, but they do not guarantee success. Proceed with care, and enjoy the process of learning as you grow.
This content is for informational purposes only and not a substitute for professional advice.


