There’s nothing quite like the sweet, juicy reward of biting into a melon you’ve grown yourself. But let’s be real—getting from seed to harvest isn’t always a walk in the park. If you’re set on learning how to harvest ripe melons from seeds, you’re in for a journey that demands patience, a bit of know-how, and a whole lot of love for the process. I’ve been there, staring at tiny seeds in my palm, wondering if they’d ever turn into something edible. Spoiler alert: with the right steps, they absolutely can. In this guide, I’ll walk you through everything I’ve learned from years of trial and error in my own garden, plus insights from trusted horticultural experts, to help you grow and harvest melons that’ll make your taste buds dance.
Starting Strong: Choosing and Planting Melon Seeds
Before you can even dream of harvesting ripe melons, you’ve got to start with the right seeds. Not all melon seeds are created equal—trust me, I learned this the hard way after planting a batch of cantaloupe seeds that never germinated. Opt for varieties suited to your climate. If you’re in a short-season area, go for something like ‘Hale’s Best’ cantaloupe, which matures in about 75 days. For warmer zones, honeydew or watermelon varieties like ‘Crimson Sweet’ might be your ticket to success.
Once you’ve got your seeds, timing is everything. Plant them after the last frost when the soil temperature hits at least 70°F (21°C). I usually start mine indoors in peat pots about 3-4 weeks before the last frost date to give them a head start. Sow the seeds about an inch deep, keep the soil moist but not soggy, and place them in a sunny spot or under a grow light. Imagine you’re tucking them into a cozy bed—they need warmth and care to sprout. Within 7-10 days, you should see those first little green shoots poking through, and that’s when the real excitement kicks in.
Creating the Perfect Growing Environment
Melons are a bit like divas—they thrive under specific conditions and won’t hesitate to flop if you don’t meet their needs. To harvest ripe melons from seeds, you’ll need well-drained, nutrient-rich soil with a pH between 6.0 and 6.8. Before planting, I always mix in some compost or aged manure to give the soil a boost. If you’re dealing with heavy clay soil like I did a few seasons back, consider raised beds to improve drainage. Melons hate wet feet, and soggy roots can spell disaster faster than you can say “rotten fruit.”
Space is another biggie. These plants love to sprawl, so give each vine at least 4-6 feet to stretch out. I made the rookie mistake of crowding mine once, and the result was a tangled mess with puny fruit. Sunlight is non-negotiable—aim for at least 6-8 hours of direct sun daily. And don’t skimp on water; melons need about an inch per week, especially during fruit set. I use a soaker hose to keep the soil consistently moist without wetting the leaves, which can invite fungal issues. Ever dealt with powdery mildew? It’s a headache you don’t want.
Nurturing Growth: Care and Feeding Through the Season
As your melon plants grow, they’ll need a bit of TLC to ensure you’re on track to harvest ripe melons from seeds. Fertilizing is key, but don’t overdo it. I use a balanced 10-10-10 fertilizer when the vines start to run, then switch to a phosphorus-heavy mix (like 5-10-10) once flowers appear to encourage fruiting. Too much nitrogen can give you lush vines with no melons—a lesson I learned after my first overzealous feeding.
Pollination is another hurdle. Melons rely on bees and other pollinators to set fruit, so plant some marigolds or borage nearby to attract them. If you’re not seeing fruit after the flowers bloom, you might need to play matchmaker. Grab a small paintbrush, collect pollen from the male flowers (the ones without a tiny melon behind them), and dab it onto the female flowers. I’ve done this on slow pollination years, and it’s saved my harvest more than once.
Keep an eye out for pests like aphids or cucumber beetles. A blast of water or some insecticidal soap usually does the trick for me, but prevention is better—row covers early in the season can keep bugs at bay until flowering. And don’t forget to weed! Those pesky invaders steal nutrients faster than you’d think.
Knowing When to Harvest: The Sweet Spot of Ripeness
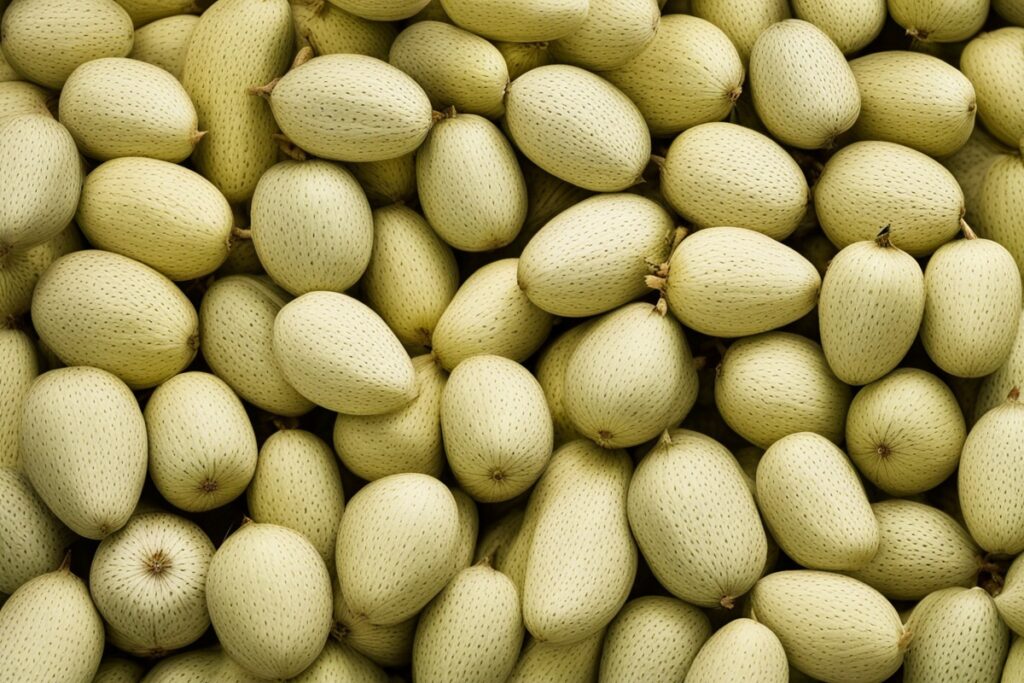
Here’s where the rubber meets the road: figuring out when to harvest ripe melons from seeds. Timing is everything, and picking too early or too late can leave you with lackluster fruit. For cantaloupes, watch for the skin to turn from green to a yellowish-beige and check the “slip”—that’s the spot where the stem meets the fruit. If it separates easily with a gentle tug, it’s ready. I’ve waited too long before and ended up with overripe, mushy melons. Lesson learned: check daily once they start looking close.
Watermelons are trickier. Look for the tendril closest to the fruit to turn brown and dry up. The underside of the melon, where it rests on the ground, should turn from white to a creamy yellow. And here’s a little trick I picked up—give it a thump. A ripe watermelon sounds hollow, while an unripe one sounds dull. Honeydews? They’re ready when the skin feels slightly waxy and gives off a sweet aroma at the stem end. Trust your nose on this one.
Post-Harvest Tips: Storing and Savoring Your Melons
After all that hard work to harvest ripe melons from seeds, don’t let them go to waste. If you’re not eating them right away, store whole melons in a cool, dry place for up to a week—avoid the fridge unless they’re cut, as cold can zap their flavor. I’ve found that wrapping cut pieces in plastic wrap and refrigerating them keeps them fresh for a few days, perfect for smoothies or salads.
Don’t toss those seeds either! Rinse them, let them dry completely, and store them in a paper envelope for next year’s planting. I’ve saved seeds from my best melons and replanted them with great results—it’s like keeping a little piece of summer alive. And if you’ve got extras, why not share the harvest? Dropping off a melon to a neighbor always feels like spreading a bit of sunshine.
Troubleshooting: What If Things Go Wrong?
Let’s face it—gardening isn’t always smooth sailing. If you’re struggling to harvest ripe melons from seeds, don’t throw in the towel just yet. Poor fruit set could mean insufficient pollination (hand-pollinate as I mentioned earlier) or stress from inconsistent watering. Blossom end rot? That’s often a calcium deficiency or uneven moisture—add some crushed eggshells to the soil next time. And if your melons taste bland, it might be a lack of heat or nutrients during growth. I’ve had a few dud harvests myself, especially in cooler summers, but adjusting my care routine the next season usually turns things around.
Remember, every garden is a learning curve. Keep a journal of what works and what doesn’t—I wish I’d started mine sooner. It’s like having a roadmap to better harvests year after year.
References
- University of Minnesota Extension – Growing Melons
- Penn State Extension – Growing Melons in the Home Garden
- Missouri Botanical Garden – Growing Melons
- Colorado State University Extension – Growing Melons
- Royal Horticultural Society – Grow Your Own Melons
Disclaimer: This article is for informational purposes only, based on general research and personal experience. It is not intended to serve as a substitute for professional advice. Gardening conditions, climates, and individual circumstances can vary widely, so results may differ from those described. Always consult a qualified professional, such as a local agricultural extension agent or certified horticulturist, for personalized guidance tailored to your specific situation. The author and publisher are not responsible for any adverse effects or outcomes resulting from the application of the information provided in this content.
This content is for informational purposes only and not a substitute for professional advice.


