Poppy seeds hold a certain magic, don’t they? Tiny specks that can transform into vibrant blooms or add a nutty crunch to your favorite baked goods. But let’s be real—planting poppy seeds isn’t always a walk in the park. If you’ve ever tossed a handful into the soil only to see sparse sprouts or weak plants, you’re not alone. I’ve been there too, scratching my head in my backyard, wondering why my poppies didn’t pop. Over the years, though, I’ve learned a thing or two about coaxing these delicate seeds into life. Today, I’m sharing my hard-earned best poppy seeds planting tips to help you avoid the pitfalls and grow a garden—or harvest—that’s the envy of the neighborhood.
Understanding Poppy Seeds: Know Before You Sow
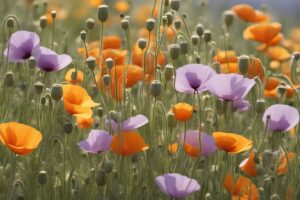
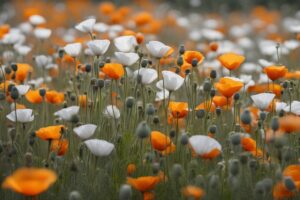
Before you even think about planting, let’s get one thing straight: not all poppy seeds are created equal. There are dozens of varieties, from the iconic red corn poppy (Papaver rhoeas) to the elegant opium poppy (Papaver somniferum), each with its own quirks. Some are grown for their stunning flowers, others for culinary seeds. I once made the rookie mistake of planting a decorative variety expecting a bumper crop for baking—spoiler alert, it didn’t work out. So, first tip? Match your poppy type to your goal. Research the variety you’re planting because their needs can differ slightly, especially when it comes to climate and soil.
Poppy seeds are also notoriously finicky about germination. They need light to sprout, which means burying them deep is a no-go. Imagine you’re dealing with a diva plant that refuses to perform unless the spotlight’s just right—that’s your poppy seed. Sprinkle them on the soil surface and lightly press them in, ensuring they’re not smothered. Trust me, I’ve lost entire batches by overzealous raking, thinking deeper was better. Lesson learned.
Timing Is Everything: When to Plant Poppy Seeds
Timing can make or break your poppy-growing adventure. Most poppies thrive when planted in cool weather, which is why fall or early spring is often ideal. In my zone 6 garden, I’ve had the best luck sowing seeds in late fall. The seeds sit dormant through winter, then burst to life as soon as the ground warms up. It’s like they’ve been waiting for their grand entrance. If you’re in a warmer climate, early spring works better—think March or April—before the heat kicks in and stresses them out.
Here’s a pro tip: check your local frost dates. Poppies can handle a light frost, but a hard freeze right after germination can wipe them out. I learned this the hard way one spring when an unexpected cold snap turned my hopeful sprouts into sad, wilted messes. Use a resource like the Old Farmer’s Almanac to nail down the perfect window for your area. And if you’re itching to get started, don’t rush—patience pays off with poppies.
Soil and Site Prep: Setting the Stage for Success
Poppies aren’t high-maintenance, but they do have non-negotiables when it comes to soil and location. They crave well-draining soil—think sandy or loamy—because sitting in soggy ground is a death sentence for these plants. I remember amending my heavy clay soil with compost and sand one year, and the difference was night and day. If your soil is more like concrete than a fluffy bed, mix in some organic matter or even perlite to loosen it up.
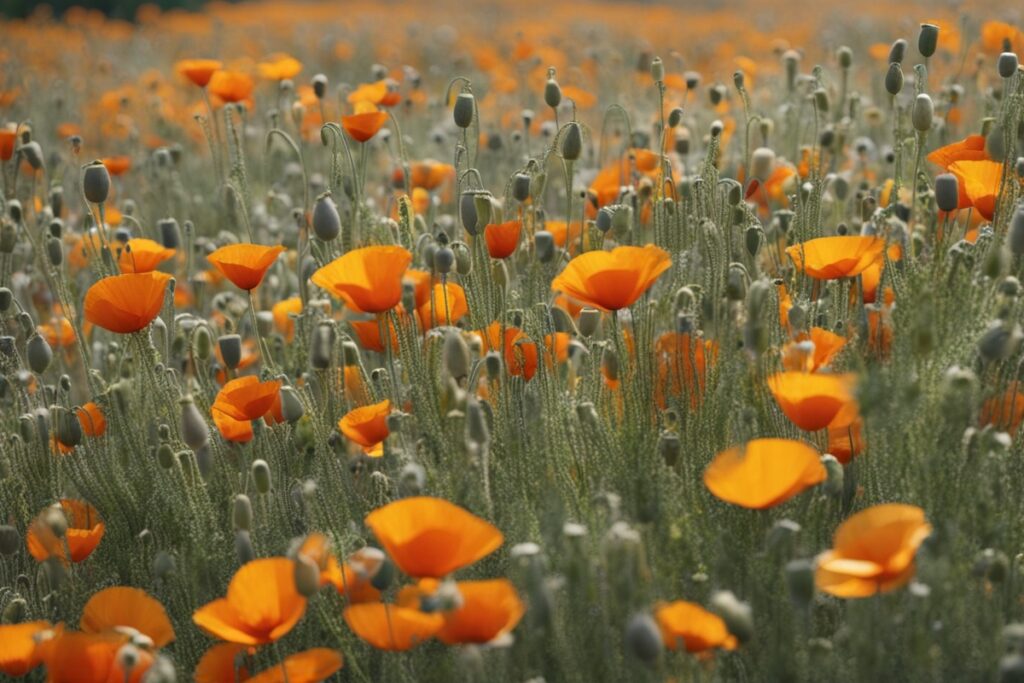
Location-wise, full sun is the golden ticket. Poppies need at least six hours of direct sunlight to thrive. I once tried planting them under a shady tree, hoping they’d adapt. Spoiler: they didn’t. They stretched and strained, looking more like sad string beans than flowers. Pick a spot that’s open and sunny, and if you’re growing for seeds, make sure it’s sheltered from strong winds—those delicate pods can shatter if battered too much.
Watering and Care: Don’t Overdo It
Here’s where a lot of gardeners trip up, myself included. Poppies don’t like to be babied. Overwatering is a common mistake, especially right after planting. Once, in my eagerness to see quick results, I drenched the soil daily, only to end up with moldy seeds that never sprouted. Keep the soil just moist until germination—think a light mist rather than a downpour. After they’re up and growing, water only when the soil feels dry an inch down. Poppies are drought-tolerant once established, so don’t fuss over them too much.
Another care tip? Thin out your seedlings. Poppies hate being crowded. When they’re about two inches tall, space them 6-12 inches apart. It feels brutal to yank out perfectly good plants, I know, but trust me—giving them room to breathe prevents disease and boosts growth. Plus, those thinned seedlings can sometimes be transplanted if you’re gentle. I’ve saved a few this way, and it’s like giving them a second chance at stardom.
Pests and Problems: Staying One Step Ahead
Poppies aren’t pest magnets, but they’re not immune either. Aphids and slugs are the usual suspects. I’ve battled aphids on my plants, those tiny green vampires sucking the life out of tender stems. A blast of water from the hose usually does the trick, or you can introduce ladybugs if you’re feeling eco-friendly. Slugs, on the other hand, are sneakier. After losing half a row to those slimy critters one rainy spring, I started using diatomaceous earth around the base of my plants. It’s a game-changer—natural, safe, and effective.
Disease-wise, watch for powdery mildew if your area is humid. Good spacing and airflow help prevent it, but if you spot that telltale white fuzz, a neem oil spray can nip it in the bud. And here’s a rhetorical question for you: ever wonder why some gardeners give up on poppies altogether? It’s often because they didn’t anticipate these little hiccups. Stay vigilant, and you’ll be fine. The reward of those vibrant blooms or seed-filled pods is worth the extra effort.
Harvesting and Beyond: Reaping What You Sow
If you’re growing poppies for seeds, timing the harvest is an art form. Wait until the pods turn brown and dry on the plant—shake them, and you’ll hear the seeds rattling inside. I’ve jumped the gun before, cutting pods too early, only to find underdeveloped seeds that weren’t viable. Cut the pods off with a bit of stem attached, then store them in a paper bag in a cool, dry place to finish drying. Once they’re fully dry, crack them open and collect your bounty. It’s incredibly satisfying, like unearthing hidden treasure in your own backyard.
For ornamental poppies, deadheading spent flowers can encourage a second flush of blooms. And if you’re into self-seeding (poppies are great at it), let a few pods mature and scatter naturally. I’ve had poppies pop up in unexpected corners of my garden years after I first planted them—it’s like a little gift from nature. Just be mindful if you’re growing opium poppies; in some regions, they’re regulated due to their alkaloid content. Always check local laws to stay on the safe side.
So, there you have it—my best poppy seeds planting tips, honed from years of trial and error in my own garden. Whether you’re dreaming of a field of fiery red blooms or a stash of seeds for your next batch of muffins, these strategies will set you up for success. Gardening is a journey, not a destination, and poppies teach you patience like few other plants can. Got a poppy story or tip of your own? I’d love to hear it—drop a comment if you’re inspired to share. Until then, get those seeds in the ground and watch the magic unfold!
References
- Old Farmer’s Almanac – Growing Poppies
- Royal Horticultural Society – Poppy Growing Guide
- University of Minnesota Extension – Growing Annual Poppies
Disclaimer: This article is for informational purposes only, based on general research and personal experience—it’s not a substitute for professional advice. Gardening conditions, local regulations, and individual circumstances can vary widely, so always consult a qualified professional, such as a horticulturist or agricultural extension service, for personalized guidance tailored to your specific situation. The tips provided here are meant to inspire and inform, but results are not guaranteed, and I encourage you to experiment responsibly while adhering to any relevant laws or safety guidelines in your area.
This content is for informational purposes only and not a substitute for professional advice.