There’s something magical about planting a garden that comes back year after year, don’t you think? Perennial flowers, with their enduring charm, are the backbone of any landscape, and among them, daisies hold a special place in many gardeners’ hearts. If you’re looking to add a splash of timeless beauty to your outdoor space, planting perennial daisy seeds outdoors might just be the perfect project for you. These hardy blooms aren’t just pretty faces—they’re tough, low-maintenance, and a joy to watch as they return each spring. In this guide, I’ll walk you through everything you need to know to successfully plant perennial daisy seeds outdoors, from choosing the right variety to ensuring they thrive in your garden. Let’s dig in!
Why Choose Perennial Daisies for Your Garden?
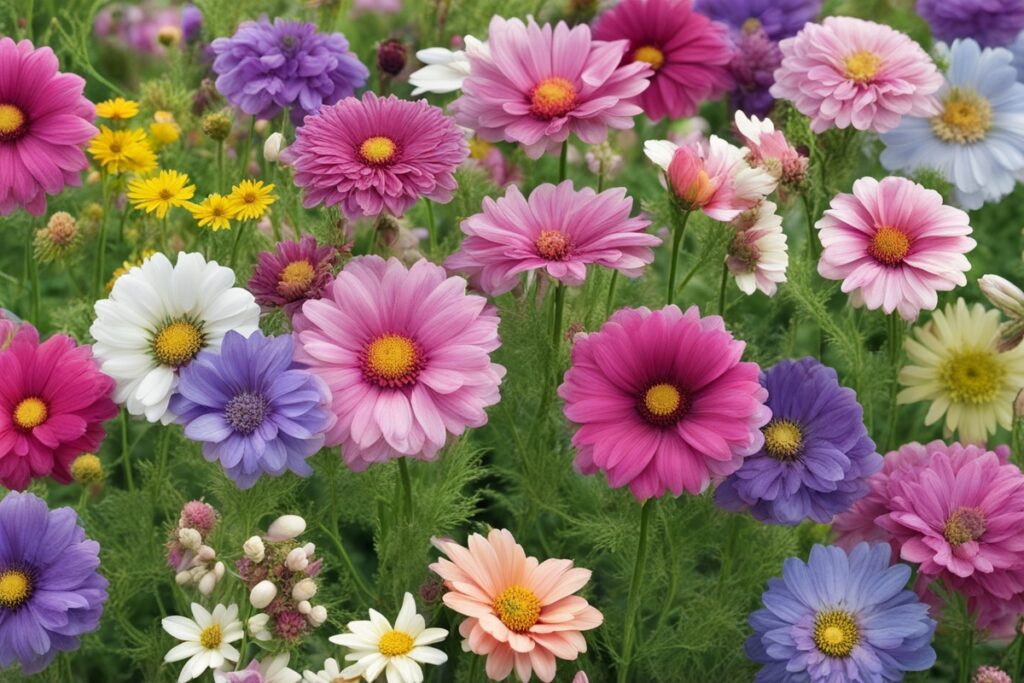
Perennial daisies are the gift that keeps on giving. Unlike annuals that need replanting every year, perennials like Shasta daisies (Leucanthemum x superbum) or oxeye daisies (Leucanthemum vulgare) establish deep roots and return with vigor each season. They’re a gardener’s dream if you’re after a low-effort, high-reward plant. Imagine this: you’re sipping coffee on your porch one early summer morning, and there they are—bright, cheerful blooms waving in the breeze, no extra work required. Plus, daisies attract pollinators like bees and butterflies, making your garden a buzzing hub of life. But here’s the kicker: not all daisies are created equal. Some varieties can be invasive in certain regions, so always check local guidelines before planting. Balance the beauty with responsibility, and you’re golden.
Selecting the Right Perennial Daisy Seeds
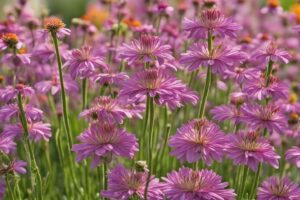
Before you even think about getting your hands dirty, let’s talk seeds. Not every daisy seed packet is going to give you the perennial magic you’re after—some are annuals in disguise. Look for trusted varieties like Shasta daisies, which are hardy in USDA zones 5-9, or painted daisies (Tanacetum coccineum) if you want a pop of pink or red. I remember the first time I bought seeds without double-checking; I ended up with a lovely batch of annual African daisies that vanished after one season. Lesson learned! Stick to reputable seed suppliers or local nurseries, and read the fine print on hardiness zones. If you’re in a colder climate, ensure the variety can withstand your winters—otherwise, you might be planting for heartbreak. Pro tip: heirloom seeds often offer better resilience and unique charm compared to over-hybridized options. Have you ever grown an heirloom variety? They can feel like a little piece of history in your backyard.
Timing: When to Plant Perennial Daisy Seeds Outdoors
Timing is everything when it comes to planting perennial daisy seeds outdoors. Most daisies prefer to be sown in early spring after the last frost, or in late fall for a head start on next year’s growth. Why the split? Spring planting gives seeds a full growing season to establish, while fall planting mimics nature’s cycle—seeds lie dormant over winter and germinate when conditions are just right. I tried fall planting in my Zone 6 garden a few years back, scattering Shasta daisy seeds in October. Come spring, I had sprouts popping up like clockwork. But here’s a word of caution: if your winters are brutal, spring might be safer to avoid seed loss from harsh freezes. Check your local frost dates—extension services like those from the University of Minnesota are goldmines for this info. And hey, if you’re impatient like I sometimes am, starting seeds indoors 6-8 weeks before the last frost can give you a jumpstart. Just don’t rush them outside too soon, or you’ll be playing catch-up with stressed plants.
Preparing Your Outdoor Space for Daisy Seeds
Let’s get down to the nitty-gritty: soil prep. Daisies aren’t divas, but they do have preferences. They thrive in well-drained soil with a pH between 6.0 and 7.0, and they love full sun—think 6-8 hours a day. Before planting, I always test my soil with a cheap kit from the hardware store. Last year, I found my garden bed was too acidic, so I mixed in some lime to balance it out. Worked like a charm! Clear the area of weeds and debris, then loosen the soil about 12-15 inches deep to give those roots room to stretch. If your ground is heavy clay, amend it with compost or sand—daisies hate soggy feet. Picture this: you’re dealing with a compacted backyard patch. A little elbow grease with a garden fork can transform it into a welcoming home for your seeds. And don’t skimp on location—plant where they’ll get that sunshine fix, or you’ll end up with leggy, sad blooms reaching for light.
How to Plant Perennial Daisy Seeds Outdoors
Now for the fun part—planting! Perennial daisy seeds are tiny, so handle them with care. Scatter them directly onto the prepared soil, pressing them lightly into the surface. Don’t bury them deep; most need light to germinate, so a mere 1/8 inch of soil cover (or none at all) is plenty. Space them about 12-18 inches apart to avoid overcrowding as they mature. Water gently with a fine mist to keep the soil moist but not waterlogged—think of it as a soft rain, not a deluge. I remember my first attempt at direct sowing; I got overzealous with the hose and washed half my seeds away. Rookie mistake! Keep the area consistently damp until germination, which usually takes 14-21 days. If you’re in a windy spot, a light layer of straw can protect the seeds without blocking light. Ever lost seeds to a gusty day? It’s frustrating, but a little prep goes a long way. Patience is key here—those first green shoots are worth the wait.
Caring for Your Perennial Daisies After Planting
Once your daisy seeds sprout, the real work begins—but don’t worry, it’s not backbreaking. Water regularly during the first season, aiming for about an inch per week if rain is scarce. Once established, they’re pretty drought-tolerant, which is a lifesaver for busy gardeners like me. Mulch around the plants with organic material like bark or straw to retain moisture and keep weeds at bay. I learned the hard way that skipping mulch invites a weed invasion—two hours of pulling dandelions taught me that lesson fast. Deadhead spent blooms to encourage more flowers and prevent self-seeding if you don’t want them spreading everywhere. And here’s a tip from experience: divide mature clumps every 3-4 years in early spring to keep them vigorous. Have you ever seen a daisy patch turn into a tangled mess? Dividing keeps them tidy and thriving. Pests like aphids can sneak in, so keep an eye out and use insecticidal soap if needed—chemicals are a last resort for me. With a little TLC, your daisies will be the talk of the neighborhood.
References
- University of Minnesota Extension – Growing Daisies
- Missouri Botanical Garden – Leucanthemum x superbum
- Penn State Extension – Perennial Flowers for the Home Garden
- Royal Horticultural Society – Growing Daisies
- University of Wisconsin Horticulture – Shasta Daisy
Disclaimer: This article is for informational purposes only, based on general research and personal gardening experience. It is not intended to serve as a substitute for professional advice. Gardening conditions, soil types, and plant needs can vary widely based on location and individual circumstances. Always consult a qualified horticulturist, local extension service, or other gardening professional for personalized guidance tailored to your specific situation. The tips and recommendations provided here are meant to inspire and inform, but results may differ, and the author assumes no responsibility for outcomes based on the application of this content.
This content is for informational purposes only and not a substitute for professional advice.