Growing marigolds from seeds in pots is one of those gardening projects that feels like a little victory every time those bright, cheerful blooms pop up. If you’re looking to raise marigold seeds in pots, you’re in for a treat. These hardy flowers aren’t just a burst of color; they’re also beginner-friendly, adaptable, and perfect for small spaces like balconies or patios. I’ve been potting marigolds for years, and I’ve learned a few tricks (and made plenty of mistakes) along the way. In this guide, I’ll walk you through everything you need to know to successfully raise marigold seeds in pots, from picking the right container to troubleshooting common hiccups. Let’s dig in—pun intended!
Why Raise Marigold Seeds in Pots?
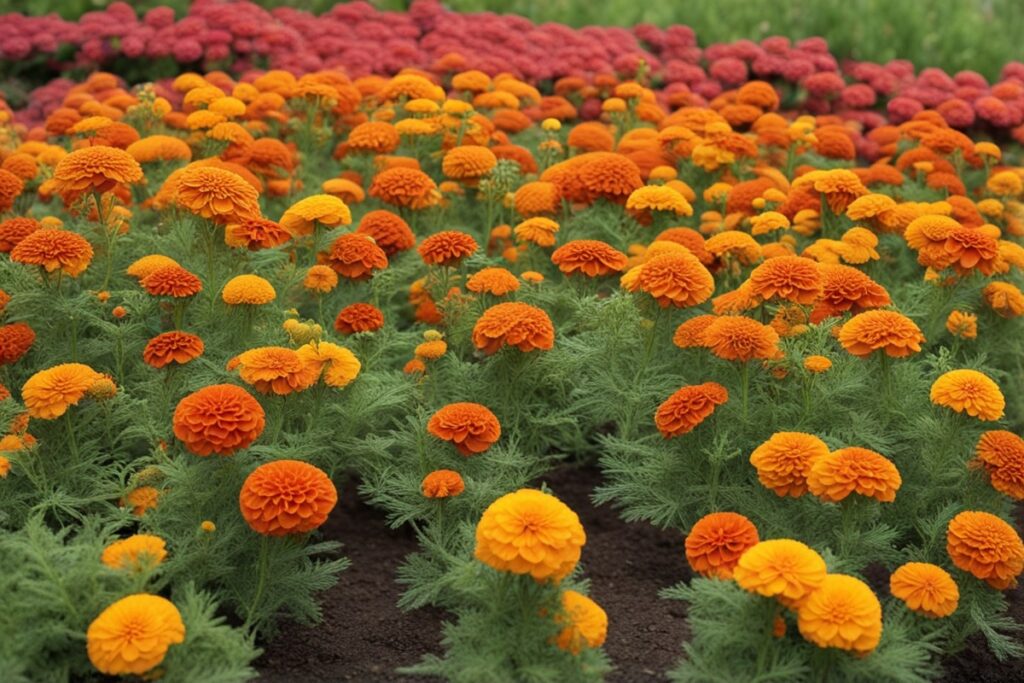
Have you ever wondered why marigolds are a gardener’s go-to? They’re tough as nails, for starters. Whether you’re a seasoned green thumb or someone who can barely keep a cactus alive, marigolds are forgiving. Raising marigold seeds in pots gives you control over their environment, which is a game-changer if you’ve got limited yard space or tricky soil conditions. Plus, pots let you move your plants around to catch the best sunlight or shield them from unexpected frost. I remember one year when a late spring chill hit, and I just hauled my marigold pots indoors—problem solved. Beyond practicality, there’s something downright satisfying about seeing those vibrant orange and yellow flowers brighten up a tiny corner of your world.
Choosing the Right Pots and Soil for Marigold Seeds
Let’s talk pots. Size matters, but it’s not the only factor. For raising marigold seeds in pots, go for containers that are at least 6-8 inches deep with drainage holes—marigolds hate soggy feet. I learned this the hard way when I overwatered a batch in a pot with no drainage; the seeds rotted before they even had a chance. Plastic or terracotta both work, though terracotta dries out faster, so keep an eye on moisture if you go that route. As for soil, marigolds aren’t picky, but they thrive in well-draining, loamy mixes. I usually mix equal parts potting soil, compost, and a bit of sand or perlite to boost drainage. If you’re buying a pre-made mix, look for something labeled for flowers or vegetables—it’ll do the trick. Pro tip: Sterilize your pots with a quick rinse of diluted bleach before planting to avoid any lingering pests or diseases. Trust me, it’s worth the extra step.
Sowing Marigold Seeds: Timing and Technique
Timing is everything when you’re trying to raise marigold seeds in pots. These flowers love warmth, so start indoors 6-8 weeks before the last frost if you’re in a cooler climate, or sow directly outside once the soil hits about 60°F (15°C). I’m in a zone with unpredictable springs, so I always start mine indoors in late March. Fill your pots with soil, leaving about half an inch at the top. Sprinkle the seeds on the surface—don’t bury them too deep; a quarter-inch of soil on top is plenty. Marigold seeds are pretty big compared to, say, petunia seeds, so they’re easy to handle. Space them about an inch apart to avoid overcrowding. Lightly water with a spray bottle to keep the soil moist but not drenched. Cover the pot with plastic wrap or a clear lid to trap humidity, and place it somewhere warm, like near a sunny window. Within 5-10 days, you’ll see tiny green sprouts. It’s like watching magic unfold!
Caring for Marigold Seedlings in Pots
Once your marigold seeds sprout, the real fun begins—but so does the responsibility. Seedlings are delicate, so don’t let them dry out. I keep a small watering can handy and check the soil daily; if the top inch feels dry, it’s time for a drink. Marigolds need at least 6 hours of direct sunlight to grow strong, so if you started indoors, a south-facing windowsill is ideal. If they start looking leggy (tall and spindly), they’re begging for more light—been there, done that. You can also use a grow light if natural sun is scarce. Thin out weaker seedlings to give the stronger ones room; I usually leave one or two per pot, depending on the size. And don’t skip hardening off if you started indoors. About a week before moving them outside, set the pots out for a few hours each day, gradually increasing the time. This toughens them up for the real world. Imagine you’re prepping a kid for their first day of school—it’s all about small steps.
Watering, Feeding, and Maintenance Tips
Marigolds are low-maintenance, but they’re not “set it and forget it” plants. When raising marigold seeds in pots, consistent watering is key—aim for soil that’s moist but never waterlogged. I’ve found that watering every 2-3 days works in my climate, but adjust based on your weather and pot material. Overwatering is a silent killer; if the leaves start yellowing, ease up. Feeding-wise, a balanced liquid fertilizer (like a 10-10-10) every 4-6 weeks keeps them happy, though don’t overdo it—too much nitrogen can lead to lots of leaves but few flowers. Deadheading, or pinching off spent blooms, is a must to encourage more flowers. I make it a habit to check my pots every weekend, snipping away while sipping my morning coffee. It’s oddly therapeutic. Also, keep an eye out for pests like aphids. A quick blast of water or a dab of insecticidal soap usually does the trick. Marigolds are tough, but they’re not invincible.
Troubleshooting Common Issues When Raising Marigold Seeds in Pots
Even with the best intentions, things can go sideways. Let’s troubleshoot some common headaches when you raise marigold seeds in pots. Seeds not germinating? Check your soil temperature—below 60°F, and they might just sit there. I once stored my seed packets in a damp basement, and guess what? Half of them didn’t sprout. Lesson learned: store seeds in a cool, dry place. If your seedlings are wilting, it could be overwatering or root rot—poke a finger into the soil to feel for sogginess. Yellow leaves might mean nutrient deficiency or too much sun; marigolds love light, but scorching midday rays in a hot climate can stress them. And if blooms are scarce, you might be over-fertilizing with nitrogen-heavy stuff. Switch to a bloom-booster fertilizer and cut back. Gardening is a bit of trial and error, but each mistake teaches you something. What’s the worst that could happen? You start over with a fresh batch of seeds and a bit more know-how.
References
- University of Minnesota Extension – Growing Marigolds
- Missouri Botanical Garden – Tagetes (Marigold)
- Colorado State University Extension – Annuals: Marigolds
- Royal Horticultural Society – Growing Marigolds
- Clemson University Cooperative Extension – Marigolds
Disclaimer: This article is for informational purposes only, based on general research and personal experience. It is not intended to serve as a substitute for professional advice. Gardening conditions, climates, and individual circumstances can vary widely, so results may differ from those described. Always consult a qualified horticulturist, local extension service, or other professional for personalized guidance tailored to your specific needs and environment. The author and publisher are not responsible for any adverse effects or outcomes resulting from the application of the information provided in this content.
This content is for informational purposes only and not a substitute for professional advice.