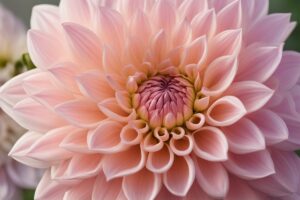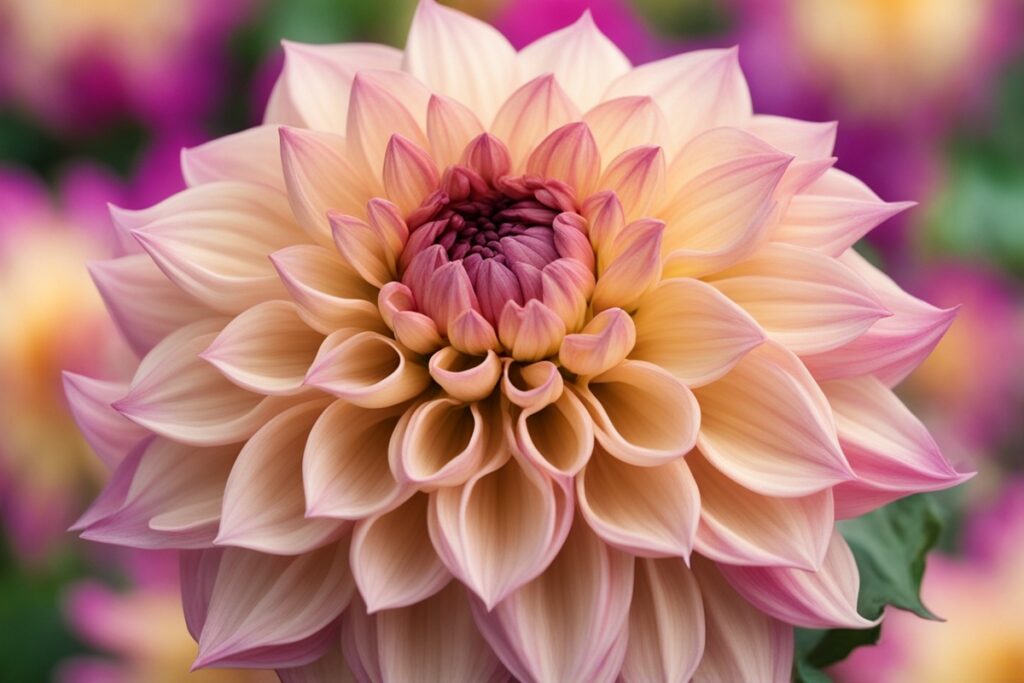
Planting dahlia seeds can feel like embarking on a colorful adventure in your garden. These vibrant blooms, with their endless shapes and hues, have a way of stealing the show. But let’s be real—growing dahlias from seeds isn’t always a walk in the park. It takes patience, a bit of know-how, and a sprinkle of trial and error. If you’re searching for the ultimate roadmap to success, you’ve landed in the right spot. This guide is packed with everything I’ve learned over years of coaxing these beauties to life, from selecting the best dahlia seeds to nurturing them into full-blown masterpieces. Whether you’re a newbie gardener or a seasoned green thumb, let’s dig into the dirt together and make your dahlia dreams a reality.
Why Choose Dahlia Seeds Over Tubers?
Before we get into the nitty-gritty, let’s address the elephant in the room: why plant dahlia seeds when tubers are so much easier? Well, for starters, seeds offer variety that tubers can’t always match. When you grow from seed, you’re rolling the dice on unique colors and forms—think of it as nature’s surprise package. I remember the first time I planted seeds; I ended up with a fiery red pompon dahlia that looked nothing like anything in my local nursery. It felt like striking gold! Plus, seeds are often more budget-friendly, and they’re a fantastic way to experiment if you’re not ready to commit to specific varieties. That said, don’t expect instant gratification—seeds take longer to bloom than tubers, often needing a full season to show their true colors. If patience isn’t your strong suit, you might want to mix in some tubers for quicker results.
Selecting the Best Dahlia Seeds for Your Garden
Not all dahlia seeds are created equal, and picking the right ones can make or break your growing experience. Look for seeds from reputable suppliers who specialize in dahlias—think companies like Floret Flower Farm or Swan Island Dahlias. They often provide detailed descriptions of expected bloom types, which is a lifesaver when you’re dreaming of a specific look. I’ve had my share of disappointments with generic seed packets from big-box stores; half the time, the plants didn’t even resemble dahlias! Opt for fresh seeds, too—dahlia seeds lose viability quickly, so check the harvest date if possible. And here’s a pro tip: if you’re a beginner, start with single-flowered varieties. They’re generally easier to grow from seed and still pack a punch in the garden. Have a specific color in mind? Go for mixed packs to increase your odds of getting something close to your vision.
Timing and Preparation: When to Plant Dahlia Seeds
Timing is everything when it comes to planting dahlia seeds. These plants crave warmth, so don’t even think about sowing them outdoors until the last frost has waved goodbye. In most regions, that means starting indoors 6-8 weeks before your final frost date. I live in a zone 6 area, and I’ve found mid-February to early March is my sweet spot for starting seeds indoors. You’ll need a warm spot—aim for 70-75°F (21-24°C)—and a sunny windowsill or grow lights if your natural light is lacking. Before planting, I like to soak my seeds in lukewarm water for 24 hours. It’s not mandatory, but I’ve noticed it gives germination a little kickstart. Imagine you’re waking them up from a long nap—it just seems to work! Use a well-draining seed-starting mix, and plant them about ¼ inch deep in trays or small pots. Keep the soil moist but not soggy, or you’ll risk rot before they even sprout.
Germination and Early Care: Baby Steps for Dahlia Seedlings
Once your seeds are in the ground, the waiting game begins. Germination can take anywhere from 7 to 21 days, so don’t panic if nothing happens right away. I’ve had batches that took nearly a month, and I was ready to throw in the towel—only to see tiny green shoots pop up when I least expected it. Keep the soil consistently moist and warm during this stage. A plastic cover or dome can help trap humidity, but peek in daily to prevent mold. Once those seedlings emerge, remove the cover and give them plenty of light. If they start looking leggy, they’re begging for more sunshine or a grow light. At this point, I start talking to my plants—yes, I know it sounds silly, but a little encouragement never hurts, right? Thin out weaker seedlings if they’re crowded, and resist the urge to overwater. These babies are delicate, so treat them with kid gloves.
Transplanting Dahlia Seedlings: Moving to the Big Leagues
After your seedlings have developed a couple of true leaves—usually 4-6 weeks after germination—it’s time to think about transplanting. But hold your horses! Harden them off first by gradually exposing them to outdoor conditions over a week or so. Start with an hour outside in a shaded spot, then build up to full days. I learned this the hard way after losing an entire tray of seedlings to sun scorch because I skipped this step. Ouch! When they’re ready, choose a sunny spot in your garden with rich, well-draining soil. Dahlias are divas—they want at least 6 hours of direct sun daily. Space them about 12-18 inches apart, depending on the variety, and mix in some compost or aged manure to give them a nutrient boost. Water deeply after planting, and consider adding a stake or support early on if you’re expecting tall varieties. Trust me, you don’t want to be scrambling to prop up a floppy plant mid-season.
Long-Term Care: Helping Your Dahlias Thrive
Now that your dahlias are settled in, the real work begins. Regular watering is key—aim for about an inch per week, more if it’s scorching hot. But don’t drown them; soggy soil is a fast track to root rot. I mulch around my plants with straw or wood chips to keep moisture in and weeds out. It’s a game-changer, especially during busy summer weeks when I can’t hover over the garden. Fertilize every 4-6 weeks with a balanced, water-soluble fertilizer, but go easy on the nitrogen, or you’ll end up with all leaves and no blooms. And here’s something I wish I’d known sooner: pinch back the tips of young plants when they’re about a foot tall. It encourages bushier growth and more flowers. Oh, and keep an eye out for pests like slugs and aphids—they love dahlias as much as we do. A little neem oil or hand-picking (gross, I know) usually does the trick.
Harvesting Seeds and Planning for Next Year
One of the coolest things about growing dahlias from seed is that you can save your own for next season—if you’re willing to put in the effort. Wait until the blooms fade and form seed heads, then let them dry on the plant as long as possible before harvesting. I usually snip them off on a dry day in late fall, store them in a paper bag, and shake out the seeds once they’re fully dry. Label everything meticulously; I’ve mixed up varieties before, and it’s a guessing game come spring. Keep in mind that dahlias grown from seed don’t always come true to the parent plant, so expect some surprises. If you’re hooked on a specific look, you might want to dig up and store tubers instead. Either way, this cycle of growing, harvesting, and planning keeps the dahlia magic alive year after year.
Troubleshooting Common Issues: Don’t Let Setbacks Stop You
Even with the best intentions, things can go sideways. If your seeds aren’t germinating, double-check your soil temperature and moisture levels—too cold or too dry could be the culprit. Yellowing leaves? Might be overwatering or a nutrient deficiency; ease up on the hose and try a balanced fertilizer. And if powdery mildew shows up (it loves humid summers), improve air circulation and consider a fungicide as a last resort. I’ve battled all these issues at some point, and while it’s frustrating, each hiccup teaches you something new. Gardening is as much about resilience as it is about results, so don’t throw in the towel. Reach out to local gardening groups or forums if you’re stumped—there’s always someone who’s been there, done that.
As we wrap up this deep dive into the world of dahlia seeds, I hope you’re feeling inspired to get your hands dirty. There’s nothing quite like watching those first blooms unfurl after months of care—it’s like a pat on the back from Mother Nature herself. Follow these steps, stay patient, and don’t be afraid to experiment. Got a favorite dahlia variety or a tip I didn’t cover? Drop it in the comments; I’m always eager to learn from fellow flower fanatics. Here’s to a garden bursting with dahlia dazzle!
References
- Royal Horticultural Society – Growing Dahlias Guide
- Old Farmer’s Almanac – How to Grow Dahlias
- University of Minnesota Extension – Growing Dahlias
Disclaimer: This article is for informational purposes only, based on general research and personal experience. It is not intended to serve as a substitute for professional advice. Gardening conditions, seed quality, and individual practices can vary widely, and results are not guaranteed. Always consult a qualified horticulturist, local extension service, or other gardening professional for personalized guidance tailored to your specific climate, soil, and needs. The information provided here is meant to inspire and educate, but it should not be considered definitive or universally applicable. Proceed with care and adapt these suggestions to your unique situation.
This content is for informational purposes only and not a substitute for professional advice.