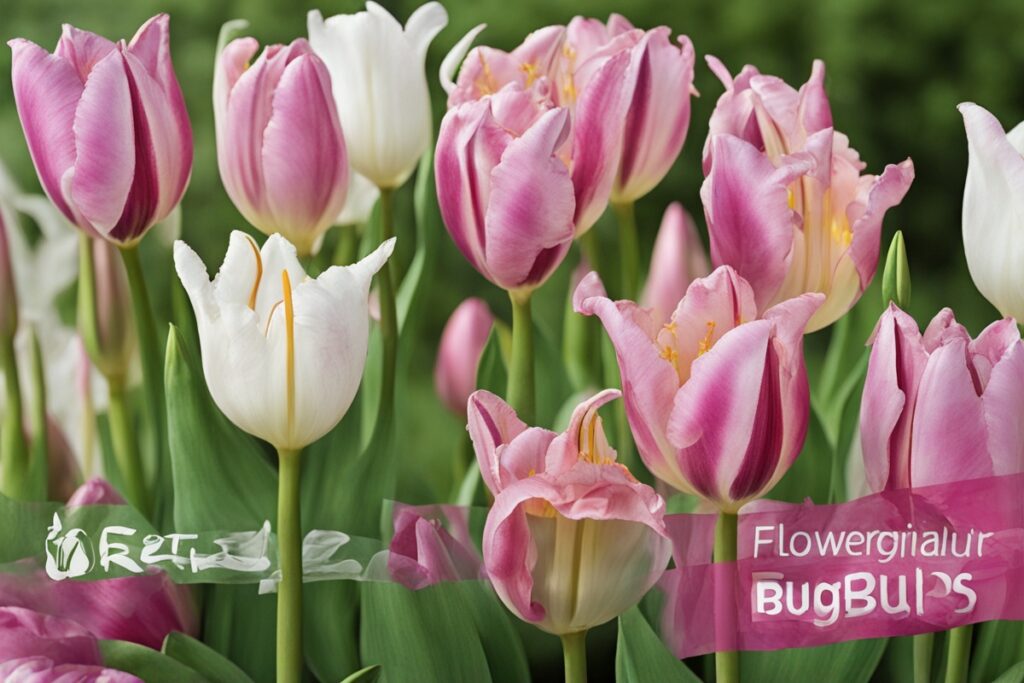
Growing lilies in your garden is like inviting bursts of elegance to your backyard. Their vibrant blooms and intoxicating fragrances can transform any space into a floral haven. But let’s be real—buying new lily bulbs every season can hit your wallet hard. So, why not learn how to propagate lily bulbs successfully and multiply your collection for free? Whether you’re a seasoned gardener or just dipping your toes into the world of horticulture, propagating lilies is a rewarding skill that’s easier than you might think. I’ve spent years tinkering with lily propagation in my own garden, and I’m excited to share the tips, tricks, and little “aha” moments that have worked for me. Let’s dig into the dirt—literally—and explore how to grow your lily patch without breaking the bank.
Why Propagate Lily Bulbs?
Before we get our hands dirty, let’s talk about why propagation is worth your time. For starters, it’s a budget-friendly way to expand your garden. Lilies, especially exotic varieties like Orientals or Trumpets, can cost a pretty penny at nurseries. By propagating your own, you’re essentially cloning your favorite plants for free. Plus, there’s something deeply satisfying about nurturing a plant from a tiny bulb scale or bulblet into a full-blown, blooming beauty. I remember the first time I successfully propagated an Asiatic lily from a single scale—it felt like I’d cracked some ancient gardening code! Beyond the savings and satisfaction, propagation also helps preserve unique or heirloom varieties that might not be commercially available. So, are you ready to become a lily propagation pro?
Understanding Lily Bulb Anatomy for Propagation
To propagate lily bulbs successfully, you’ve got to know what you’re working with. Lily bulbs aren’t your typical underground storage units—they’re made up of fleshy scales that act like little nutrient packets. These scales are key to one of the most common propagation methods (more on that soon). Then there are bulblets, tiny baby bulbs that sometimes form at the base of the parent bulb or along underground stems. Some lilies even produce bulbils—mini bulbs that grow in the leaf axils above ground. Fascinating, right? Understanding these structures is like having a roadmap to propagation. For instance, when I first started, I didn’t realize that not all lilies produce bulblets naturally. I wasted time digging around a Tiger Lily expecting to find them, only to later learn they’re more likely to produce bulbils. Knowing your lily type—whether it’s an Asiatic, Oriental, or species lily—can save you a lot of guesswork.
Methods to Propagate Lily Bulbs Successfully
There are several tried-and-true methods to propagate lily bulbs, and I’ve experimented with most of them over the years. Each has its quirks, so let’s break them down with practical steps to guide you.
1. Scale Propagation: This is my go-to method for most lilies because it’s reliable and works with almost any variety. Gently peel a few outer scales from a healthy bulb—think of it like peeling an onion without the tears. Place these scales in a plastic bag with moist vermiculite or peat moss, seal it, and store it in a warm spot (around 70-75°F) for 6-8 weeks. Tiny bulblets should form at the base of each scale. I’ve had great success with this using Oriental lilies; last spring, I turned one bulb into six new plants this way! Once bulblets appear, pot them up in well-draining soil and wait a couple of years for them to mature into flowering bulbs.
2. Bulblet Division: Some lilies naturally produce bulblets around the base of the parent bulb. After the foliage dies back in fall, dig up the bulb and carefully separate these little clones. Replant them in a prepared bed or container, and treat them like mini versions of the parent. Patience is key—they might take 2-3 years to bloom. I learned this the hard way with an Asiatic lily; I kept checking for flowers the first year and nearly gave up before they finally bloomed in year three.
3. Bulbil Propagation: If you’ve got Tiger Lilies or certain species lilies, look for bulbils in the leaf axils after flowering. These black, pea-sized structures can be plucked off and planted directly into soil. They’re like nature’s gift to lazy gardeners! I’ve scattered bulbils in a corner of my garden and forgotten about them, only to find small lily plants popping up the next spring.
Timing and Conditions for Successful Propagation
Timing can make or break your propagation efforts. Trust me, I’ve learned this through trial and error. The best time to propagate lily bulbs is typically in late summer or early fall, after the plant has finished blooming and the foliage starts to yellow. This is when the bulb is dormant and less likely to suffer from stress. Imagine you’re dealing with a tired lily after a long season of showing off—give it a rest before you start messing with its scales or bulblets. As for conditions, lilies crave well-draining soil and a spot with at least 6 hours of sunlight. When potting up new bulblets or scales, keep the soil moist but not soggy; think of it as a cozy, slightly damp blanket rather than a swamp. Temperature matters too—most propagation methods need warmth (around 70°F) to kickstart growth. I once tried scale propagation in a chilly garage during fall, and let’s just say the scales rotted before they could do anything. Lesson learned: keep things warm and cozy.
Common Pitfalls to Avoid When Propagating Lilies
Even with the best intentions, things can go sideways when propagating lily bulbs. I’ve made my fair share of mistakes, so let me spare you some headaches. First, don’t rush the process. Propagation isn’t instant gratification—those bulblets aren’t going to bloom overnight. If you dig them up too soon to “check on progress,” you risk damaging delicate roots. Been there, done that. Second, avoid overwatering. Lilies hate wet feet, and soggy soil invites rot. Use a well-draining mix, and if you’re unsure, err on the side of underwatering. Lastly, watch out for pests and diseases. Fungal issues like botrytis can sneak up on stored scales or young bulblets if there’s poor air circulation. I lost half a batch of scales to mold once because I didn’t poke holes in the plastic bag for ventilation. A little airflow goes a long way. If you’re ever in doubt, remember the golden rule: healthy parent plants equal healthy offspring. Start with disease-free bulbs, and you’re already halfway to success.
Caring for Newly Propagated Lily Bulbs
Once you’ve got your new bulblets or scaled plants, they’re not out of the woods yet. Treat them like the delicate babies they are. Plant them at the right depth—about 2-3 times their height—and mulch lightly to protect against temperature swings. I usually add a layer of straw or bark chips over my newly planted bulblets in fall to keep them snug through winter. Water sparingly until they establish roots, and don’t expect blooms for a couple of years. It’s like raising kids; they need time to grow before they start showing off. If you’re in a colder zone (like USDA 3-5), consider growing them in pots indoors for the first year to give them a head start. And here’s a tip from experience: label everything! I once mixed up a batch of Asiatic and Oriental bulblets and had no clue which was which until they bloomed years later. A simple marker and tag can save you from playing guessing games.
References
- University of Minnesota Extension – Growing Lilies
- Missouri Botanical Garden – Lily Plant Profile
- Penn State Extension – Growing Lilies
- Royal Horticultural Society – Growing Lilies
- Iowa State University Extension – Growing Lilies
Disclaimer: This article is for informational purposes only, based on general research and personal experience in gardening. It is not intended to serve as a substitute for professional advice. Gardening conditions, lily varieties, and individual circumstances can vary widely, so results may differ from those described. Always consult a qualified horticulturist, local extension service, or other professional for personalized guidance tailored to your specific situation. The methods and tips shared here are meant to inspire and educate, but they come with no guarantees of success. Proceed with care, and happy gardening!
This content is for informational purposes only and not a substitute for professional advice.