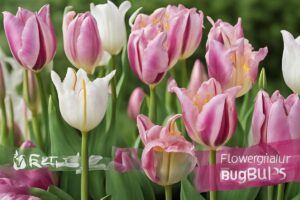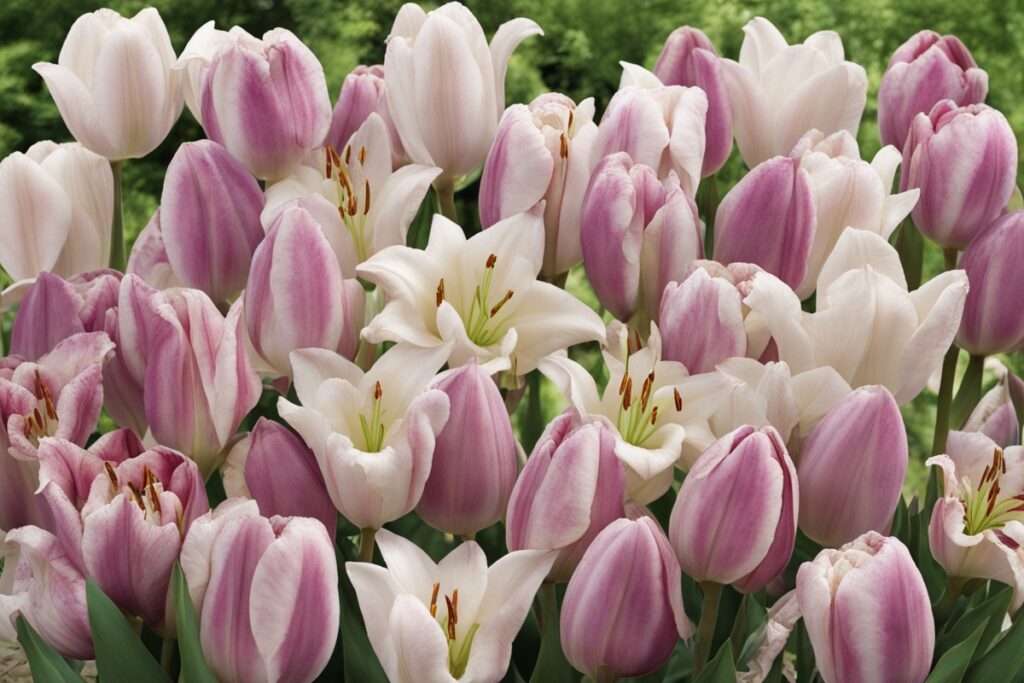
There’s something magical about lilies blooming in a garden, isn’t there? Their elegant petals and vibrant colors can transform any outdoor space into a haven of beauty. But let’s be honest—growing lilies isn’t always a walk in the park. If you’ve ever wondered how to nurture lily bulbs in a garden successfully, you’re in the right place. I’ve spent years experimenting with these stunning plants, from the classic Asiatic lilies to the towering Orientals, and I’m excited to share the nitty-gritty details that’ll help your garden flourish. Whether you’re a seasoned gardener or just starting out, this guide is packed with practical tips, personal insights, and expert-backed advice to ensure your lilies thrive.
Understanding Lily Bulbs: The Foundation of Growth
Before you even think about planting, let’s get to the root of the matter—literally. Lily bulbs are the heart of the plant, storing all the energy and nutrients needed to sprout those gorgeous blooms. Unlike seeds, bulbs are ready-to-go powerhouses, but they’re also a bit finicky if not handled right. I remember the first time I planted lily bulbs; I didn’t pay much attention to their needs and ended up with a sad, sparse patch. Lesson learned: understanding their biology is key to nurturing lily bulbs in a garden.
Lilies come in various types—Asiatic, Oriental, Trumpet, and more—and each has slightly different preferences for soil, light, and timing. Most lily bulbs thrive in well-drained soil and prefer a sunny spot with at least six hours of direct light daily. But here’s a pro tip: don’t ignore the bulb’s orientation when planting. The pointed end goes up, and the flat, rooty side goes down. Sounds obvious, but trust me, it’s an easy mistake to make when you’re elbow-deep in dirt on a busy planting day.
Choosing the Perfect Spot to Nurture Lily Bulbs in Garden Settings
Imagine you’re a lily bulb. Where would you want to settle down? Probably not in a soggy, shady corner of the yard. Location is everything when it comes to nurturing lily bulbs in a garden. I’ve found that lilies are happiest in spots with good air circulation—think of it as giving them room to breathe. Crowding them near walls or dense shrubs can invite fungal issues, something I learned the hard way after a bout of botrytis blight wiped out half my bed one rainy spring.
Aim for a location with morning sun and afternoon shade if you’re in a hotter climate; lilies love light but can scorch under relentless heat. Also, consider drainage. Lilies hate “wet feet.” If your garden tends to pool water after rain, raise the bed or mix in some gritty material like sand or perlite to improve drainage. According to the University of Minnesota Extension, poor drainage is one of the leading causes of bulb rot, so don’t skimp on this step.
Planting Techniques for Long-Term Success
Now, let’s dig into planting—pun intended. Timing is crucial when you nurture lily bulbs in a garden. Fall is ideal for most varieties, as it gives the bulbs time to establish roots before winter. However, if you’re in a milder climate, early spring works too. I usually plant my bulbs in October, about 6-8 inches deep, depending on the variety. Deeper planting helps protect against temperature swings and supports those tall stems come summer.
Here’s a little trick I picked up over the years: add a handful of bone meal or a slow-release bulb fertilizer into the planting hole. It’s like giving your lilies a head start with a nutrient boost. Space them about 12-18 inches apart to avoid overcrowding, and water them in well—but don’t overdo it. Soggy soil is a death sentence for bulbs. If you’re unsure about depth or spacing for a specific type, check the bulb packaging or consult a trusted resource like the Royal Horticultural Society. They’ve got detailed guides that have saved me from many a gardening blunder.
Watering and Feeding: Striking the Right Balance
Watering lilies can feel like walking a tightrope. Too much, and you risk rot; too little, and they’ll sulk with droopy leaves and stunted blooms. When nurturing lily bulbs in a garden, consistency is your friend. Keep the soil evenly moist but never waterlogged, especially during the growing season. I usually give mine a good drink once a week, adjusting based on rainfall. A mulch layer—think wood chips or straw—helps retain moisture and keeps weeds at bay, which has been a game-changer in my own garden.
As for feeding, lilies aren’t greedy, but they do appreciate a little TLC. I use a balanced fertilizer (like a 10-10-10) in early spring when shoots emerge, and again after blooming to help the bulb store energy for next year. Be cautious with nitrogen-heavy formulas, though; they can push leafy growth at the expense of flowers. The Missouri Botanical Garden suggests avoiding over-fertilization, as it can weaken bulbs over time—a tip I wish I’d known before I overfed a batch of Orientals and ended up with leggy, bloom-less plants.
Pest and Disease Management: Protecting Your Investment
Let’s talk about the not-so-fun part: pests and diseases. Lilies are tough, but they’re not invincible. When you nurture lily bulbs in a garden, you’ve got to keep an eye out for troublemakers like aphids, lily beetles, and fungal infections. I’ll never forget the horror of finding bright red lily beetles munching on my plants a few summers ago. Those little devils can strip a plant in days! I picked them off by hand and dropped them into soapy water—a tedious but effective solution.
For prevention, inspect your plants regularly and remove any debris around the base to deter pests. If beetles or aphids persist, a neem oil spray works wonders without harming beneficial insects. Fungal issues like gray mold often crop up in humid conditions, so ensure good spacing and avoid overhead watering. If you spot trouble, act fast—don’t wait for it to spread. Resources from Cornell University’s Cooperative Extension emphasize early intervention, and I can vouch for how much that saves in the long run.
Post-Bloom Care: Setting the Stage for Next Year
Once the blooms fade, your job isn’t over. Nurturing lily bulbs in a garden means thinking ahead. Resist the urge to cut back the foliage right away; those leaves are busy photosynthesizing to recharge the bulb for next season. I made this mistake early on, thinking a tidy garden looked better, only to have weak blooms the following year. Wait until the foliage yellows naturally, then trim it back.
If you’re in a cold climate, add a layer of mulch over the soil after the ground freezes to insulate the bulbs. In milder areas, you might not need this step, but it’s still worth checking your USDA hardiness zone for specific advice. And here’s a personal habit: I mark my lily spots with small stakes or labels after cleanup. Come spring, it’s easy to forget where they’re planted, and I’ve accidentally dug into bulbs more times than I’d like to admit.
References
- University of Minnesota Extension – Growing Lilies
- Royal Horticultural Society – Growing Lilies
- Missouri Botanical Garden – Lily Care
- Cornell University Cooperative Extension – Pest Management for Lilies
- USDA – Hardiness Zones
Disclaimer: This article is for informational purposes only, based on general research and personal experience. It is not intended to serve as a substitute for professional advice. Gardening conditions, soil types, and plant needs can vary widely based on location and specific circumstances. Always consult a qualified horticulturist, local extension service, or other professional for personalized guidance tailored to your garden’s unique environment. The tips and recommendations provided here are meant to offer a starting point, and results may differ depending on individual practices and regional factors.
This content is for informational purposes only and not a substitute for professional advice.