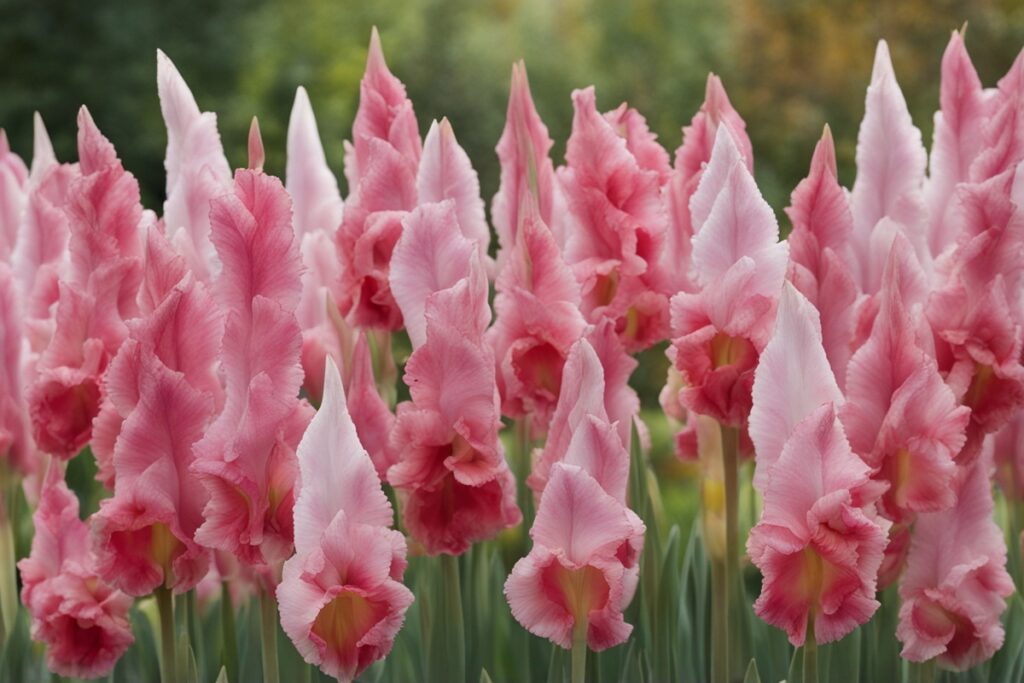
Gladiolus bulbs are a gardener’s dream when it comes to adding vibrant, towering blooms to a summer landscape. Known for their striking, sword-like foliage and colorful flower spikes, these beauties can transform any garden into a showstopper. But let’s be real—getting those jaw-dropping results isn’t just about sticking a bulb in the ground and hoping for the best. It takes a bit of know-how, patience, and a sprinkle of TLC to truly maximize blooms with gladiolus bulbs. Whether you’re a seasoned green thumb or a newbie with dirt under your nails for the first time, I’ve got you covered with practical tips, personal insights, and expert-backed advice to help your gladiolus steal the show.
Choosing the Right Gladiolus Bulbs for Maximum Impact
Let’s start at the very beginning—picking the right bulbs. Not all gladiolus bulbs are created equal, and trust me, I’ve learned this the hard way. A few years back, I grabbed a bargain bag of bulbs from a discount store, only to end up with puny plants and barely a bloom in sight. Lesson learned: quality matters. Look for large, firm corms (that’s the technical term for gladiolus bulbs) with no signs of mold or soft spots. Bigger corms—ideally 1.5 inches or more in diameter—have more stored energy, which translates to stronger plants and more flowers. Varieties like ‘Priscilla’ or ‘Green Star’ are known for their prolific blooming, so do a little research on cultivars that thrive in your climate. And here’s a pro tip: buy from reputable nurseries or online suppliers with good reviews to avoid duds.
Another thing to consider is timing. Gladiolus bulbs are typically planted in spring after the last frost, but if you’re in a warmer zone, you might get away with a fall planting for early blooms. Check your USDA hardiness zone and match it with the bulb’s needs. Ever wondered why some gardeners seem to have blooms all summer long? It’s often because they stagger their planting every two weeks, ensuring a continuous display. That’s a trick worth stealing!
Preparing the Perfect Spot for Gladiolus Glory
Imagine you’re a gladiolus bulb. You’d want a sunny spot with well-drained soil, right? These plants are sun-worshippers, needing at least 6-8 hours of direct light daily to fuel those big, bold blooms. I’ve tried growing them in partial shade before, and while they didn’t completely flop, the flowers were sparse and the stalks leaned like they were reaching for the light. So, pick a spot where the sun reigns supreme.
Soil prep is another game-changer. Gladiolus bulbs hate “wet feet,” as the old saying goes. Soggy soil leads to rot faster than you can say “bloom.” Work in some organic matter like compost or well-rotted manure to improve drainage and fertility. Aim for a pH between 6.0 and 6.5—slightly acidic is their sweet spot. If you’re not sure about your soil’s pH, grab a cheap testing kit from your local garden center. It’s a small investment for big returns. And don’t skimp on spacing; plant bulbs about 6 inches apart to give them room to breathe and reduce competition for nutrients.
Planting Techniques to Boost Bloom Potential
Now, let’s dig into the nitty-gritty of planting. Depth matters more than you might think. Plant gladiolus bulbs about 4-6 inches deep, with the pointed end up. I remember my first attempt at planting these—half of them were upside down, and I couldn’t figure out why they took forever to sprout! A little attention to detail goes a long way. If you’re in a windy area, consider staking them at planting time or planting slightly deeper to anchor those tall spikes. Nothing’s worse than watching your gorgeous glads topple over after a summer storm.
Watering after planting is crucial, but don’t drown them. A good soak to settle the soil, followed by consistent moisture (about an inch per week), keeps them happy without risking rot. Mulching with straw or bark can help retain moisture and keep weeds at bay. I’ve found that a 2-inch layer of mulch not only saves me time weeding but also keeps the soil temperature stable, which gladiolus bulbs seem to appreciate.
Feeding and Care for Non-Stop Blooms
Gladiolus bulbs are heavy feeders, and if you want to maximize blooms, you’ve got to give them the good stuff. A balanced fertilizer, like a 10-10-10, applied at planting and again when the plants are about 6 inches tall, works wonders. I’ve also had success with a liquid bloom booster high in phosphorus once the flower spikes start forming—it’s like giving them a shot of espresso for flowering. But don’t overdo it; too much nitrogen can lead to lush leaves at the expense of blooms. Been there, done that, and it’s a disappointment you don’t want.
Keep an eye out for pests and diseases, too. Thrips are tiny critters that love gladiolus and can distort buds before they even open. A quick spray of insecticidal soap usually does the trick, but prevention is better—clean up garden debris to reduce hiding spots. Fungal issues like botrytis can also creep in during humid weather, so ensure good air circulation by not overcrowding. If you spot gray mold on leaves, remove affected parts immediately and avoid overhead watering. It’s all about staying one step ahead.
Post-Bloom Care to Ensure Future Success
Once the blooms fade, don’t just yank out the plants and call it a day. The foliage is still working hard to store energy in the bulb for next year’s show. Let the leaves yellow and die back naturally before cutting them down. I made the mistake of trimming too early once, and the next season’s blooms were pitiful. Patience pays off here. After the foliage is gone, dig up the bulbs in fall (if you’re in a cold climate where they won’t survive winter) and store them in a cool, dry place. I keep mine in a paper bag with some peat moss in my basement, and they’ve lasted for years this way.
If you’re in a milder zone, you might leave them in the ground with a thick layer of mulch for protection. Either way, check stored bulbs occasionally for rot or pests. One bad bulb can spoil the bunch, as they say. And here’s a little bonus tip: look for small cormlets (baby bulbs) attached to the main corm when you dig them up. Plant those separately, and in a couple of years, you’ll have even more gladiolus to enjoy.
Creative Ways to Showcase Your Gladiolus Blooms
Maximizing blooms with gladiolus bulbs isn’t just about growing them—it’s about showing them off! These flowers are born performers, whether in the garden or as cut flowers. Plant them in rows along a fence for a living wall of color, or mix them with shorter perennials like zinnias for a layered look. I’ve got a bed where I pair glads with dahlias, and the combo is pure magic—tall spikes towering over rounded blooms.
As cut flowers, gladiolus are unbeatable for arrangements. Cut the spikes when the bottom few flowers are open, and they’ll continue to bloom in the vase for days. I’ve brought them to family gatherings, and they always spark compliments. Just remember to change the vase water every couple of days to keep them fresh. Have you ever thought about gifting a bouquet of homegrown glads? It’s a personal touch that means so much more than store-bought blooms.
In wrapping up, maximizing blooms with gladiolus bulbs comes down to a mix of preparation, care, and a dash of creativity. From choosing quality corms to nailing the planting depth, feeding them right, and caring for them post-bloom, every step builds toward that stunning display. I’ve shared my own trial-and-error stories because I believe gardening is as much about the journey as the result. So, roll up your sleeves, get those bulbs in the ground, and watch your garden come alive. What’s stopping you from growing the most vibrant gladiolus on the block?
References
- Royal Horticultural Society – Growing Gladiolus
- University of Minnesota Extension – Growing Gladiolus
- Old Farmer’s Almanac – How to Grow Gladiolus
Disclaimer: This article is for informational purposes only, based on general research and personal experience. It is not intended to serve as a substitute for professional advice. Gardening conditions, techniques, and outcomes can vary widely based on location, climate, and individual circumstances. Always consult a qualified horticulturist, local extension service, or gardening professional for personalized guidance tailored to your specific needs and environment. The author and publisher are not responsible for any adverse effects or consequences resulting from the application of the information provided in this content.
This content is for informational purposes only and not a substitute for professional advice.


