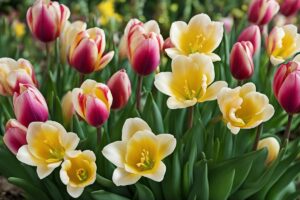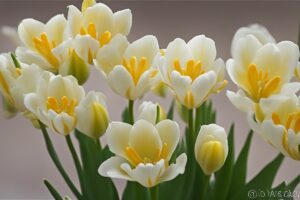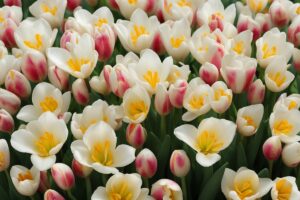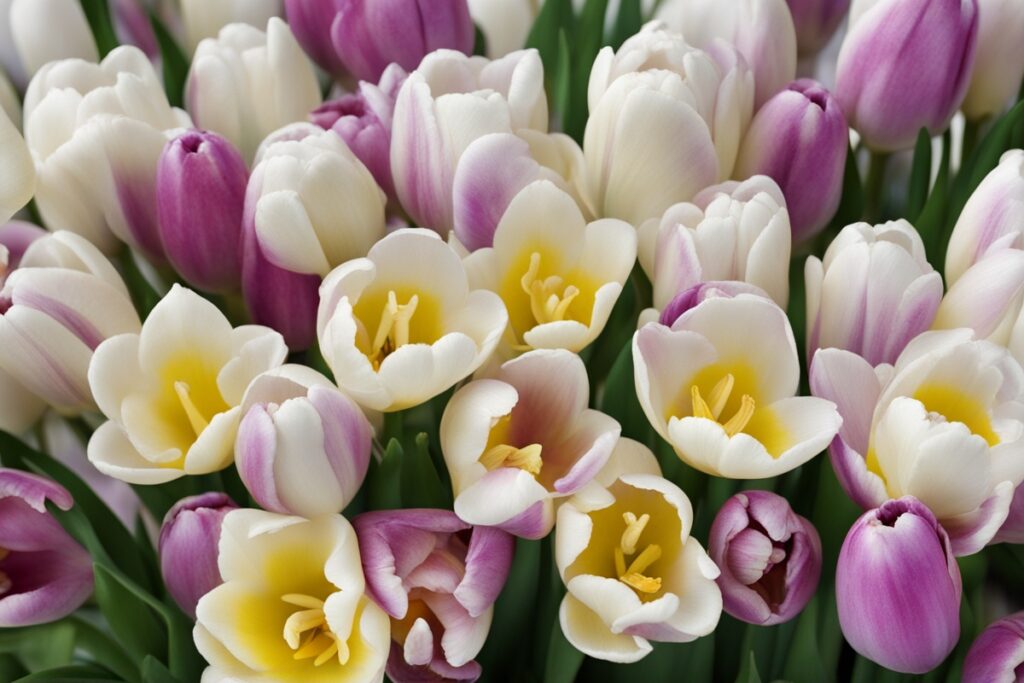
Harvesting Freesia bulbs after blooming is one of those gardening tasks that feels like a little treasure hunt. You’ve nurtured these fragrant beauties through their vibrant display, and now it’s time to dig in—literally—and ensure they’re ready for the next season. If you’re wondering why, when, or even how to harvest Freesia bulbs after they’ve put on their show, you’re in the right place. I’ve spent years tinkering with these bulbs in my own garden, and I’ve learned a thing or two about the process through trial and error. Whether you’re a seasoned gardener or just getting your hands dirty for the first time, this guide will walk you through everything you need to know about harvesting Freesia bulbs after blooming, with practical tips and a few hard-earned lessons thrown in for good measure.
Why Harvest Freesia Bulbs After Blooming?
Let’s start with the “why.” Freesia bulbs, technically corms, are tender perennials that don’t always survive harsh winters if left in the ground. Harvesting them after blooming isn’t just about tidying up; it’s about protecting your investment. These little powerhouses store energy in their corms to fuel next year’s blooms, but if they’re left in soggy, cold soil, they can rot or succumb to pests. I learned this the hard way after leaving a batch in the ground during a particularly wet winter—let’s just say I was greeted with mush instead of flowers the next spring.
Harvesting also gives you a chance to inspect the corms for damage or disease, divide them if they’ve multiplied, and store them properly for replanting. Think of it as hitting the reset button on your Freesia game. Plus, if you’re in a warmer climate where they can stay in the ground, digging them up every few years prevents overcrowding and keeps the blooms coming strong. Isn’t it worth a bit of effort to keep that sweet, peppery fragrance in your garden year after year?
When Is the Right Time to Harvest Freesia Bulbs?
Timing is everything when it comes to harvesting Freesia bulbs after blooming. You don’t want to rush in the moment the last petal falls, but you also can’t wait until they’re buried under a foot of snow. The sweet spot is after the flowers have faded and the foliage has started to yellow and die back naturally. This usually happens in late spring or early summer, depending on your growing zone. That yellowing is a sign the plant has transferred its energy back into the corm—think of it as the bulb saying, “I’m ready for a nap!”
In my own garden, I’ve found that waiting about 6-8 weeks after the last bloom works best. I mark my calendar after the peak flowering period to avoid forgetting, because once the foliage is gone, it’s easy to lose track of where those corms are hiding. If you’re in a hurry and cut the foliage too soon, you risk weakening the corm since it hasn’t had time to store enough energy. Patience pays off here—trust me.
How to Harvest Freesia Bulbs: A Step-by-Step Guide
Now, let’s get down to the nitty-gritty of harvesting Freesia bulbs after blooming. It’s not rocket science, but a little care goes a long way. Here’s how I do it, honed from years of digging (and a few backaches):
- Prepare Your Tools: Grab a garden fork or trowel, some gloves, and a bucket or tray for the corms. Keep a brush handy to clean off soil later. I’ve found that a small hand fork works best for avoiding damage to the delicate corms.
- Locate the Bulbs: If the foliage is still visible, use it as a guide. If it’s gone, dig gently around where you remember planting them. I once spent an hour digging in the wrong spot—lesson learned: label your beds!
- Dig Carefully: Insert your tool a few inches away from the base to avoid slicing the corms. Lift the soil in a wide circle and sift through it. Freesia corms are small, usually 1-2 inches long, so don’t be surprised if they’re hiding.
- Shake Off Soil: Gently remove excess dirt with your hands or a soft brush. Don’t wash them yet—moisture can invite rot during storage.
- Trim Foliage: If any leaves or roots are still attached, cut them back to about an inch above the corm. This helps prevent mold.
Imagine you’re dealing with a fragile heirloom—treat these corms with the same tenderness. One wrong jab with a shovel, and you’ve split a perfectly good bulb. Take your time; it’s not a race.
Storing Freesia Bulbs for the Next Season
Once you’ve harvested your Freesia bulbs, the job isn’t over. Proper storage is key to ensuring they survive until replanting. After digging mine up, I let them dry out in a shaded, well-ventilated spot for a few days. A garage or shed works great—just don’t leave them in direct sun, or they’ll shrivel up faster than a raisin. I’ve made that mistake before, and trust me, it’s heartbreaking to toss out a batch of dried-out corms.
After drying, I store them in a paper bag or mesh container with some peat moss or sawdust to absorb any lingering moisture. Keep them in a cool, dry place around 60-70°F (15-21°C). Check on them monthly to ensure no mold or pests have snuck in. Last year, I found a few corms starting to soften due to high humidity in my basement—now I keep a dehumidifier running nearby for extra protection. Where do you plan to store yours? Got a cool cupboard or a dry corner of the garage? Pick a spot and stick to it.
Common Mistakes to Avoid When Harvesting Freesia Bulbs
Even with the best intentions, it’s easy to slip up when harvesting Freesia bulbs after blooming. I’ve been there, and I’m happy to share my blunders so you don’t have to repeat them. First off, don’t dig too early. I’ve already mentioned the importance of waiting for the foliage to die back, but it bears repeating—cutting the process short starves the corm of energy. Second, avoid washing the bulbs right after harvesting. Water can trap moisture and lead to rot during storage. I tried this once thinking it’d make them cleaner, only to end up with a moldy mess.
Another pitfall is storing them in plastic containers or bags. Plastic traps humidity, which is a death sentence for these tender corms. Stick to breathable materials like paper or mesh. And finally, don’t forget to label your storage containers. Two seasons ago, I mixed up my Freesia corms with some gladiolus bulbs and spent way too much time sorting them out. A simple marker and some tape can save you a headache down the line. What’s the worst gardening mix-up you’ve had? I bet we’ve all got a story or two!
Replanting or Dividing: What’s Next for Your Freesia Bulbs?
After harvesting and storing your Freesia bulbs, you’ve got options. Come fall—or early spring in warmer climates—you can replant them for another round of blooms. If your corms have produced offsets (those little baby corms attached to the main one), you can divide them to expand your collection. I love this part; it’s like getting free plants! Just gently twist the offsets away and store them separately. They might take a year or two to mature enough to bloom, but the wait is worth it.
When replanting, choose a sunny spot with well-draining soil, and plant the corms about 2-3 inches deep, pointy end up. I’ve found that adding a bit of compost at planting time gives them a nice boost. If you’re in a colder zone (below USDA Zone 9), consider growing them in pots so you can move them indoors during winter. Have you tried container gardening with Freesias? It’s a game-changer for small spaces or tricky climates.
References
- University of Minnesota Extension – Growing Freesia
- Missouri Botanical Garden – Freesia Care
- Colorado State University Extension – Bulbs, Corms, and Tubers
- Royal Horticultural Society – Growing Freesia
- Clemson University Cooperative Extension – Freesia Factsheet
Disclaimer: This article is for informational purposes only, based on general research and personal experience. It is not a substitute for professional advice tailored to your specific circumstances. Gardening conditions, climate, and individual plant needs can vary widely, so results may differ from those described. Always consult a qualified horticulturist, local extension service, or other gardening professional for personalized guidance before making decisions about planting, harvesting, or storing bulbs. The author and publisher are not responsible for any adverse outcomes resulting from the application of the information provided in this content.
This content is for informational purposes only and not a substitute for professional advice.