There’s something deeply satisfying about growing alliums in your garden—those striking, globe-like blooms of purple, white, or blue that seem to hover above the greenery like little bursts of magic. But let’s be honest: maintaining a healthy allium bulbs garden isn’t always a walk in the park. Have you ever planted a batch of bulbs with high hopes, only to find them struggling with yellowing leaves or stunted growth? I’ve been there, and it’s a frustrating experience. Over the years, though, I’ve learned the ins and outs of nurturing these ornamental onions, and I’m excited to share my hard-earned wisdom with you. Whether you’re a seasoned gardener or just starting out, this guide will help you maintain a healthy allium bulbs garden with practical, actionable tips that go beyond the basics.
Understanding Allium Bulbs: The Foundation of a Thriving Garden
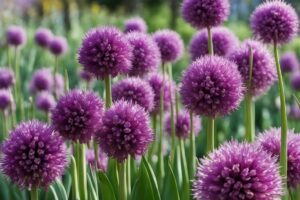
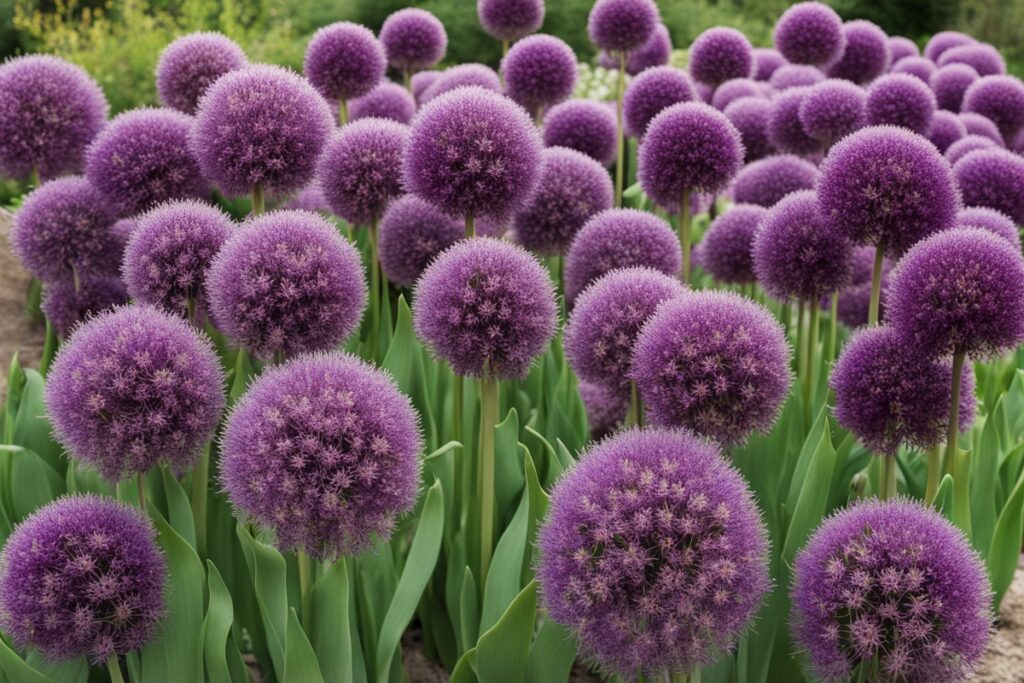
Alliums, part of the Amaryllidaceae family, are a diverse group of plants that include ornamental varieties like Allium giganteum (with its massive, show-stopping flower heads) and more utilitarian cousins like garlic and onions. What ties them together is their bulbous nature—those underground storage organs that hold the key to their growth. If you want to maintain a healthy allium bulbs garden, it all starts with understanding what these bulbs need to thrive. Think of them as little powerhouses; if they’re not happy below ground, you’ll see the consequences above.
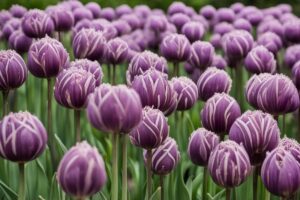
One thing I’ve noticed after years of trial and error is that alliums are pretty tough once established, but they’re picky about their starting conditions. Plant them in the wrong spot or at the wrong time, and you’re setting yourself up for disappointment. Most alliums prefer well-drained soil and full sun—six to eight hours of direct light daily. I once planted a batch of Allium ‘Purple Sensation’ in a shady corner of my yard, thinking they’d adapt. Spoiler alert: they didn’t. The blooms were sparse, and the foliage looked sad and spindly. Lesson learned—give them the sunlight they crave.
Planting Right: Timing and Soil Prep for Healthy Allium Bulbs
Timing is everything when it comes to planting allium bulbs. Most varieties should go in the ground in the fall, about six to eight weeks before the first hard frost. This gives the bulbs time to establish roots before winter sets in. I usually aim for late September or early October in my zone (6b), but check your local frost dates to be sure. Planting too late might mean weak growth come spring, and nobody wants that after all the effort of digging holes!
Soil preparation is just as critical if you’re aiming to maintain a healthy allium bulbs garden. Alliums despise “wet feet”—soggy soil is a fast track to rot. Before planting, I always amend my soil with compost or well-rotted manure to improve drainage and add nutrients. If you’re dealing with heavy clay soil, consider raised beds or mix in some sand or grit. A pH between 6.0 and 7.0 is ideal, so test your soil if you’re unsure. One year, I skipped this step and lost half my bulbs to poor drainage after a rainy spring. Now, I don’t take chances—drainage is non-negotiable.
Watering Wisely: Striking the Balance for Allium Success
Watering alliums can feel like walking a tightrope. Too much, and you risk bulb rot; too little, and growth stalls. During the active growing season in spring, keep the soil consistently moist but not waterlogged. I usually water deeply once a week if there’s no rain, letting the top inch of soil dry out between sessions. Once the foliage starts to yellow and die back after blooming, cut back on watering entirely—the bulbs are going dormant and don’t need the extra moisture.
Imagine you’re dealing with a particularly hot, dry spring. You might be tempted to overwater to compensate, but resist the urge. I did this once with a batch of Allium caeruleum, thinking I was helping. Instead, I ended up with mushy bulbs and a lot of regret. A good rule of thumb? Stick your finger into the soil—if it feels damp two inches down, hold off on the watering can.
Fertilizing and Feeding: Nourishing Your Allium Bulbs Garden
Alliums aren’t heavy feeders, but a little boost can go a long way toward maintaining a healthy garden. I like to apply a balanced, slow-release fertilizer (like a 10-10-10) in early spring when the shoots start emerging. Alternatively, a dose of bone meal at planting time provides phosphorus for strong root development. Be careful not to overdo it, though—too much nitrogen can lead to lush foliage at the expense of flowers, and that’s not the look we’re going for with these statement plants.
One trick I picked up from a fellow gardener at a local plant swap was to top-dress with compost after blooming. It’s a gentle way to replenish nutrients without overwhelming the bulbs during their dormant phase. Since adopting this habit, I’ve noticed my alliums come back stronger each year, with bigger blooms and healthier foliage. It’s a small effort for a big payoff.
Pest and Disease Management: Protecting Your Allium Investment
Let’s talk about the less glamorous side of gardening—pests and diseases. Alliums are generally hardy, but they’re not immune to trouble. Onion maggots, thrips, and fungal issues like botrytis can wreak havoc if you’re not vigilant. To maintain a healthy allium bulbs garden, prevention is your best friend. Rotate your planting spots each year to avoid soil-borne pests, and inspect bulbs before planting for signs of damage or rot.
I had a run-in with onion maggots a few seasons ago, and it was a nightmare. The larvae tunneled into the bulbs, leaving them soft and useless. After some research and a chat with a local extension agent, I started using row covers during the early growing season to keep the flies from laying eggs. It’s not foolproof, but it’s cut down on infestations significantly. For fungal issues, ensure good air circulation by not overcrowding plants, and avoid overhead watering. If you spot gray mold or yellowing leaves, remove affected foliage immediately and dispose of it—don’t compost it, or you’ll spread the problem.
Post-Bloom Care: Ensuring Long-Term Health for Your Alliums
Once those gorgeous allium blooms fade, it’s tempting to tidy up by cutting everything down. Don’t do it! The foliage needs to die back naturally to channel energy back into the bulb for next year’s growth. I know it looks messy, but patience pays off. I usually braid or tie the yellowing leaves to keep things neat while they wither. After they’re completely brown, you can snip them off at ground level.
Another tip for maintaining a healthy allium bulbs garden is to divide overcrowded clumps every few years. If you notice smaller blooms or reduced vigor, it’s a sign the bulbs are competing for space. Dig them up after the foliage dies back, separate the offsets, and replant them with proper spacing (usually 6-12 inches apart, depending on the variety). I did this with my Allium hollandicum last fall, and this spring, the display was better than ever. It’s like giving your garden a fresh start.
References
- University of Minnesota Extension – Growing Alliums
- Missouri Botanical Garden – Allium Care Guide
- Penn State Extension – Ornamental Alliums
- Royal Horticultural Society – Allium Growing Guide
- Iowa State University Extension – Growing Alliums
Disclaimer: This article is for informational purposes only, based on general research and personal experience. It is not intended to serve as a substitute for professional advice. Gardening conditions, plant needs, and individual circumstances can vary widely, so the tips provided here may not apply to every situation. Always consult a qualified horticulturist, local extension service, or other gardening professional for personalized guidance tailored to your specific environment and goals. I’m sharing what has worked for me and what is supported by reputable sources, but results are not guaranteed. Use discretion and prioritize safety when applying any gardening practices or products mentioned.
This content is for informational purposes only and not a substitute for professional advice.