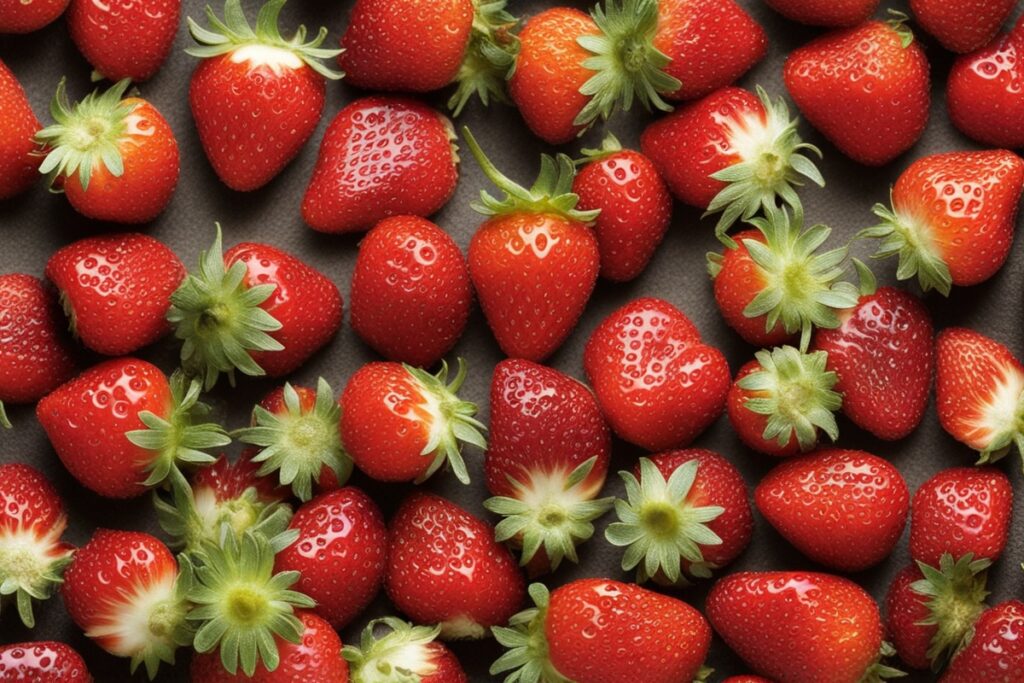
Strawberries are the quintessential summer fruit, aren’t they? That burst of sweetness, the vibrant red hue—it’s no wonder so many of us dream of growing our own. But let’s be honest: the idea of starting from scratch with strawberry seeds can feel like a daunting uphill climb. What if I told you it doesn’t have to be? With the right approach, you can raise strawberry seeds with minimal effort and still enjoy a bountiful harvest. I’ve been down this road myself, experimenting in my backyard garden for years, and I’m excited to share the tips and tricks that have made the process not just doable, but downright enjoyable. Whether you’re a seasoned gardener or a complete newbie, this guide will walk you through the essentials, sprinkled with real-world insights and practical advice to keep things simple.
Why Choose Strawberry Seeds Over Plants?
Before we dive into the “how,” let’s tackle the “why.” Why bother with seeds when you can just buy established strawberry plants from a nursery? For starters, growing from seeds is often more cost-effective—especially if you’re aiming for a large patch. A single packet of seeds can yield dozens of plants for a fraction of the price of pre-grown ones. Plus, there’s a certain magic in nurturing a plant from its very beginning. I still remember the thrill of seeing my first tiny strawberry seedling poke through the soil; it felt like a small victory. Seeds also give you access to unique varieties that might not be available as plants at your local garden center. However, I’ll be upfront: it takes a bit more patience since seeds can take longer to mature than established plants. But with minimal effort strategies, that wait doesn’t have to feel like a chore.
Selecting the Right Strawberry Seeds for Easy Growth
Not all strawberry seeds are created equal, and choosing the right ones can make or break your low-effort gardening journey. Opt for varieties known for hardiness and disease resistance, like ‘Alpine’ or ‘Fresca,’ which tend to be more forgiving for beginners. Alpine strawberries, for instance, don’t produce runners (those sprawling vines), so they’re easier to manage in small spaces. When I started, I made the mistake of picking a random packet without researching, and half my seeds didn’t even germinate. Lesson learned: always buy from reputable suppliers and check reviews or ask fellow gardeners for recommendations. Also, consider your climate—some varieties thrive in cooler zones, while others need heat. If you’re unsure, reach out to your local university extension service; they often have tailored advice for your region. A little upfront research here saves a ton of headache later.
Simplifying the Germination Process
Here’s where most people hit a wall: germination. Strawberry seeds are notoriously finicky, needing specific conditions to sprout. But don’t let that scare you off—I’ve got a streamlined method that cuts down the effort. First, you’ll need to stratify the seeds, which mimics winter conditions to “wake them up.” Sounds fancy, right? It’s not. Just pop your seeds in a damp paper towel, seal them in a plastic bag, and refrigerate them for 2-4 weeks. I usually stick mine in the back of the fridge next to the forgotten pickles and set a calendar reminder so I don’t lose track. After stratification, sow them in a seed-starting mix in shallow trays. Keep the soil moist (not soggy) and place the tray in a warm spot with indirect light. Here’s a pro tip from my own trial and error: cover the tray with plastic wrap to lock in humidity, but poke a few holes for air circulation. Within 2-4 weeks, you should see tiny green sprouts. Minimal effort, maximum results—just check on them every couple of days.
Low-Maintenance Care for Strawberry Seedlings
Once your seeds have sprouted, the goal is to keep things easy while they grow into sturdy plants. Imagine you’re dealing with delicate little babies here; they need care, but not constant hovering. Water them sparingly—overwatering is a common rookie mistake that leads to root rot. I learned this the hard way when I drowned a whole tray of seedlings in my first attempt. Use a spray bottle to mist the soil lightly, keeping it just damp. Place them under a grow light or near a sunny window for 12-16 hours of light daily. If you’re like me and don’t have fancy equipment, a cheap desk lamp with a daylight bulb works fine. As they grow, thin out weaker seedlings to give the stronger ones room to thrive. It feels harsh, but trust me, it’s for the best. After 6-8 weeks, when they’ve got a few true leaves, harden them off by gradually exposing them to outdoor conditions over a week. This step is crucial to avoid shocking them, and honestly, it’s as simple as setting them outside for a few hours each day.
Planting and Long-Term Care with Minimal Fuss
Now that your seedlings are ready for the great outdoors, let’s keep the effort low while setting them up for success. Choose a sunny spot with well-draining soil—strawberries hate “wet feet.” If your soil is heavy clay, mix in some compost or sand to loosen it up. I’ve found that raised beds are a game-changer for lazy gardeners like me; they improve drainage and make weeding a breeze. Plant your seedlings about 12-18 inches apart to give them space, and mulch with straw or pine needles to keep weeds at bay and retain moisture. Mulching is one of those set-it-and-forget-it tricks that saves hours of work. Water them deeply once a week (more if it’s scorching), and toss on a balanced fertilizer every month or so. Here’s a little anecdote: last summer, I skipped fertilizing for a couple of months, thinking they’d be fine. Big mistake—my yield was pitiful. A small dose of effort with nutrients goes a long way. Beyond that, just keep an eye out for pests like slugs (a shallow dish of beer traps them easily) and snip off any dead leaves to prevent disease. That’s it—no need to babysit.
Troubleshooting Common Issues Without Breaking a Sweat
Even with a minimal-effort approach, hiccups happen. What do you do when things go sideways? Let’s say your seeds aren’t germinating after a month. Double-check your stratification—did you give them enough chill time? If yes, they might be duds; not all seeds are viable, and that’s just part of the game. Or maybe your seedlings look leggy and weak. That’s usually a sign of insufficient light—move them closer to a window or get that grow light I mentioned. Pests and diseases can sneak up too. I once had an aphid invasion that nearly wiped out my patch. A quick spray of soapy water (just dish soap and water in a bottle) took care of it without harsh chemicals. The key is to stay calm and tackle issues as they come, rather than stressing over perfection. Gardening is as much about rolling with the punches as it is about planning. If you’re stumped, local gardening forums or extension services are goldmines for quick, reliable advice.
References
- University of Minnesota Extension – Growing Strawberries in the Home Garden
- Penn State Extension – Strawberry Production
- Royal Horticultural Society – Grow Your Own Strawberries
- Oregon State University Extension – Growing Strawberries in Oregon
- Missouri Botanical Garden – Strawberry Plant Profile
Disclaimer: This article is for informational purposes only, based on general research and personal experience. It is not intended to serve as a substitute for professional advice. Gardening conditions, climates, and individual circumstances can vary widely, so results may differ from those described. Always consult a qualified professional, such as a local horticulturist or agricultural extension agent, for personalized guidance tailored to your specific situation. The author and publisher are not responsible for any adverse effects or consequences resulting from the application of the information provided in this content. Use discretion and prioritize safety when implementing any gardening techniques or advice.
This content is for informational purposes only and not a substitute for professional advice.