Growing iris bulbs in your garden can feel like unlocking a secret treasure chest of vibrant colors and elegant blooms. If you’ve ever dreamed of a garden bursting with life, nurturing iris bulbs is a fantastic place to start. These hardy perennials, with their striking petals and sword-like foliage, aren’t just a feast for the eyes—they’re surprisingly easy to care for once you know the ropes. Whether you’re a seasoned green thumb or a newbie with dirt under your nails for the first time, this guide on how to nurture iris bulbs in gardens will walk you through every step with practical tips, personal insights, and a sprinkle of know-how. Let’s dig in, shall we?
Why Choose Iris Bulbs for Your Garden?
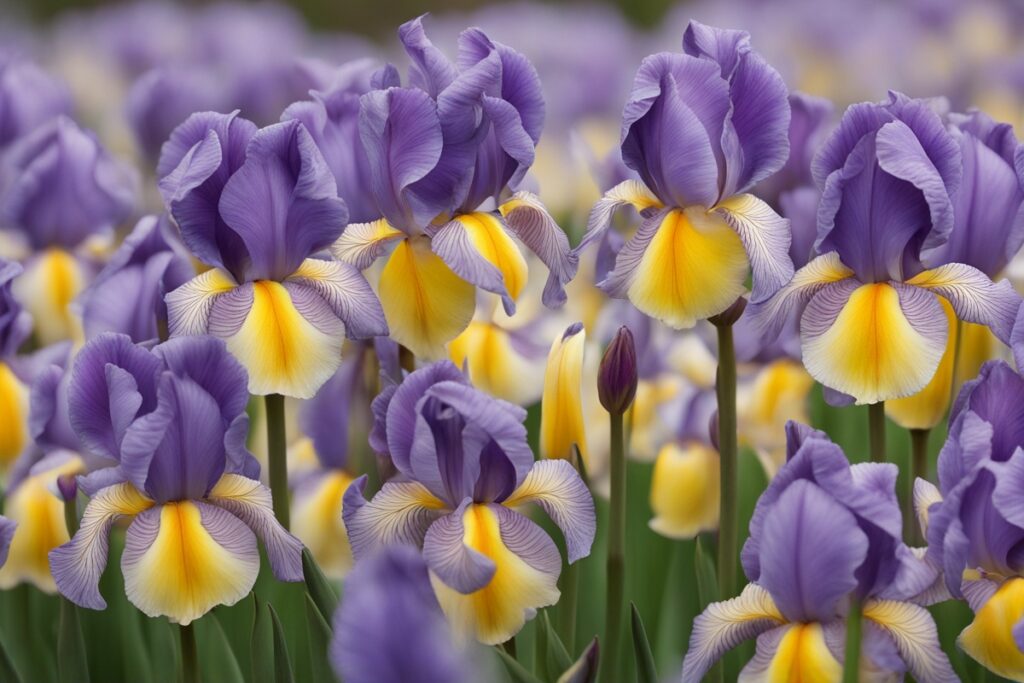
Irises are the rock stars of the garden world. With over 300 species and countless hybrids, they come in nearly every color imaginable—from deep purples and blues to sunny yellows and pristine whites. But it’s not just their beauty that makes them a top pick for gardeners. Irises are tough as nails, often thriving in conditions where other plants might throw in the towel. They’re drought-tolerant once established, and many varieties can handle a range of climates, from scorching summers to frosty winters. Imagine planting a patch of bearded irises along a garden path and watching them return year after year with minimal fuss. That’s the kind of low-maintenance charm they bring to the table.
Beyond their resilience, irises carry a certain nostalgic magic. I remember my grandmother’s garden, where a row of Siberian irises stood like sentinels near her pond. Every spring, their blooms signaled the start of warmer days. If you’re looking to nurture iris bulbs in gardens, you’re not just planting flowers—you’re planting memories.
Selecting the Right Iris Bulbs for Your Space
Before you start digging, let’s talk about picking the perfect iris bulbs. Not all irises are created equal, and choosing the right type for your garden’s conditions is half the battle. Bearded irises, for instance, are the most popular, known for their fuzzy “beards” on the falls (the lower petals). They love full sun and well-drained soil. On the other hand, Siberian irises are more adaptable to wetter conditions, making them ideal if your garden has a soggy spot. Dutch irises, often grown from true bulbs rather than rhizomes, are fantastic for cut flowers but might need a bit more pampering in colder zones.
Here’s a pro tip: always buy bulbs or rhizomes from reputable nurseries or local garden centers. A few years back, I made the mistake of grabbing a cheap batch online, only to find half of them were duds—rotted or mislabeled. Stick to trusted sources, and check for firm, healthy rhizomes with no signs of mold or mushiness. If you’re unsure which variety suits your garden, why not start with a mix? Experimenting with a few types can help you discover what thrives best in your unique microclimate.
Planting Iris Bulbs: Timing and Technique
Timing is everything when it comes to planting iris bulbs. For most varieties, late summer to early fall is the sweet spot—think July to September in the Northern Hemisphere. This gives the roots time to settle before winter, ensuring a strong start come spring. I’ve found that planting too late can leave bulbs vulnerable to frost damage, while planting too early in hot weather risks rot. It’s a bit of a Goldilocks situation; you’ve got to get it just right.
Here’s how to plant for success: choose a sunny spot with at least six hours of direct light daily. Irises are sun-worshippers, and skimping on light can lead to weak growth or no blooms at all. Dig a shallow hole or trench—about 4 inches deep for rhizomes (bearded irises) or 5-6 inches for true bulbs (like Dutch irises). Place the rhizome so the top sits just at or slightly above soil level, with roots spread out below. Cover lightly with soil, water thoroughly, and resist the urge to bury them too deep. A common rookie mistake is planting irises like you would tulips—deep and hidden. Nope, they like to bask with their “shoulders” peeking out.
Caring for Iris Bulbs: Watering, Feeding, and More
Once your iris bulbs are in the ground, the real work of nurturing begins. Watering is crucial in the first few weeks as they establish roots, but don’t overdo it. Irises hate soggy feet—too much moisture can lead to rot, especially for bearded varieties. Aim for a deep soak once a week if there’s no rain, then taper off as they settle in. I’ve learned this the hard way after drowning a patch of irises during a particularly rainy spring. Now, I always check the soil’s moisture with my finger before reaching for the hose.
Feeding your irises doesn’t have to be complicated. A balanced fertilizer, like a 10-10-10 mix, applied in early spring and again after blooming, works wonders. Avoid high-nitrogen formulas, though—they’ll push leafy growth at the expense of flowers. And here’s a little trick I picked up from a fellow gardener: a handful of compost or well-rotted manure around the base (not touching the rhizome) adds a natural nutrient boost without overwhelming the plant.
Protecting and Maintaining Iris Bulbs Year-Round
Irises are tough cookies, but they’re not invincible. Pests like iris borers can wreak havoc if left unchecked. These nasty critters tunnel into rhizomes, leaving behind rot and ruin. Keep an eye out for yellowing leaves or mushy spots, and if you spot trouble, dig up the affected plant and cut away damaged sections. I’ve had to play plant surgeon a few times, and while it’s not fun, it’s saved many a rhizome from total loss. Preventative cleanup—removing dead foliage in fall—also helps keep borers at bay.
Winter care depends on your climate. In milder zones, a light mulch layer can protect bulbs from temperature swings. But in colder areas, don’t mulch bearded irises too heavily—they need exposure to cold to trigger blooming. Dividing overcrowded clumps every 3-5 years is another must. It rejuvenates the plants and prevents a drop in flower production. Picture this: you’ve got a thriving iris bed, but suddenly the blooms dwindle. Chances are, they’re begging for a split. Grab a spade, separate the rhizomes, and replant the healthiest ones. It’s like giving your garden a fresh start.
Troubleshooting Common Issues When Nurturing Iris Bulbs
Even with the best care, things can go sideways. If your irises aren’t blooming, don’t panic—it’s often a simple fix. Too much shade, overwatering, or overcrowded rhizomes are common culprits. I once had a bed of bearded irises that refused to flower for two years straight. Turns out, a nearby tree had grown enough to cast shade over them. A quick relocation to a sunnier spot, and boom, they were back in business.
Yellowing leaves can signal overwatering or poor drainage, while soft, mushy rhizomes often mean rot. If rot sets in, cut away the bad parts, let the rhizome dry out for a day or two, and replant in fresh, well-draining soil. And if you’re dealing with fungal issues like leaf spot, a fungicide can help, but prevention—good air circulation and avoiding overhead watering—is key. Gardening is a learning curve, and every hiccup teaches you something new about how to nurture iris bulbs in gardens.
References
- University of Minnesota Extension – Growing Irises
- Missouri Botanical Garden – Iris Care Guide
- Clemson University Cooperative Extension – Iris Factsheet
- Royal Horticultural Society – Growing Irises
- Colorado State University Extension – Irises in the Garden
Disclaimer: This article is for informational purposes only, based on general research and personal experience in gardening. It is not intended to serve as a substitute for professional advice. Gardening conditions, plant health, and individual circumstances can vary widely, so results may differ from those described here. Always consult a qualified horticulturist, local extension service, or other professional for personalized guidance tailored to your specific garden environment and needs. The author and publisher are not responsible for any adverse effects or consequences resulting from the application of the information provided in this content.
This content is for informational purposes only and not a substitute for professional advice.