Ever thought about bringing a bit of earthy, aromatic magic into your home, even if you’re short on space? Growing sage seeds in small pots is not only doable but also incredibly rewarding. Whether you’re a city dweller with just a windowsill to spare or a seasoned gardener looking to experiment, sage—known for its culinary uses and medicinal properties—can thrive in the tiniest of containers with the right care. I’ve been tinkering with herb gardening for over a decade now, and I can tell you from personal experience that there’s nothing quite like snipping fresh sage leaves from a pot on your kitchen counter for a homemade stew. Let’s dive into the nitty-gritty of how to grow sage seeds in small pots, with practical tips, real-world insights, and a sprinkle of trial-and-error wisdom to guide you.
Why Choose Sage for Small Pot Gardening?
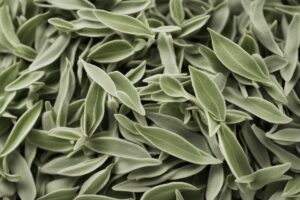
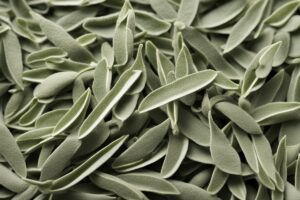
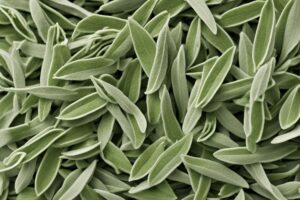
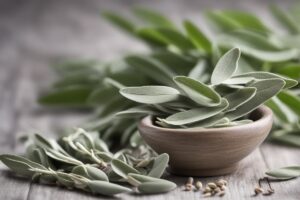
Sage, or Salvia officinalis, isn’t just a pretty face in the herb world. It’s a hardy perennial that adapts well to confined spaces, making it a top pick for small pot gardening. Its woody stems, gray-green leaves, and subtle fragrance add a touch of rustic charm to any nook. Plus, sage is drought-tolerant once established, so it won’t throw a fit if you forget to water it for a day or two—a lifesaver for busy folks like me who’ve occasionally neglected a pot or two! But why start from seeds instead of buying a mature plant? Well, growing from seed is not only more budget-friendly, but it also gives you a front-row seat to the plant’s entire life cycle. There’s a certain pride in nurturing something from a tiny speck to a full-blown herb. That said, sage seeds can be a bit finicky to germinate, so patience is key.
Selecting the Right Seeds and Pots
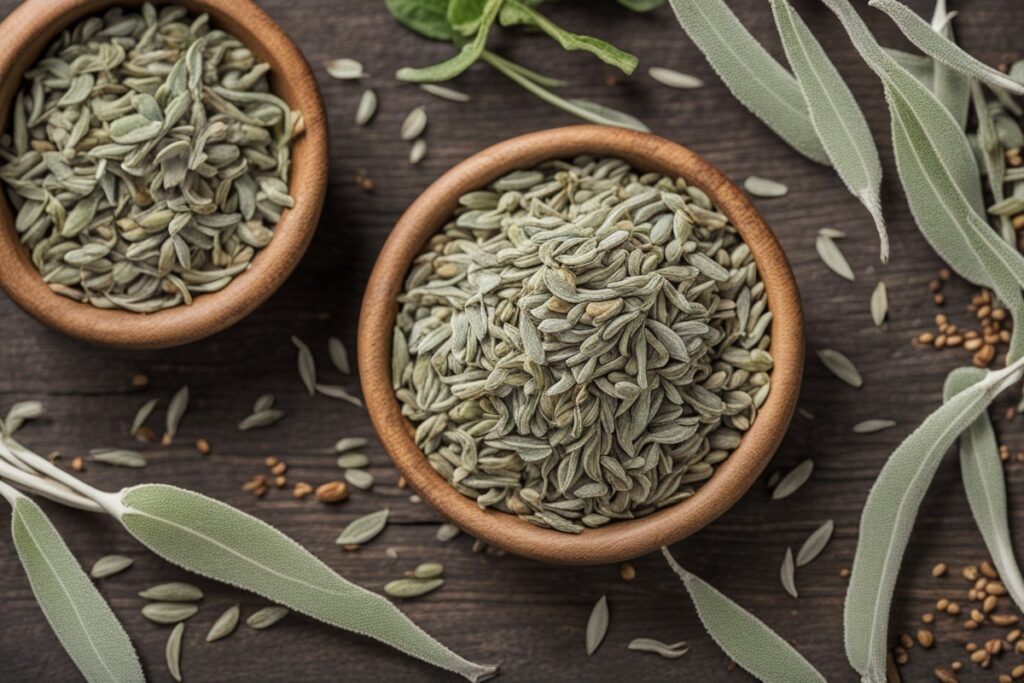
First things first, let’s talk seeds. Not all sage seeds are created equal. I’ve had the best luck with organic, non-GMO seeds from reputable suppliers—look for common sage if you’re after that classic flavor for cooking. Once, I grabbed a cheap packet from a discount store, only to end up with a measly germination rate of about 10%. Lesson learned: invest in quality. As for pots, size matters. A 6- to 8-inch diameter pot with drainage holes is ideal for starting out. Why so small? Sage doesn’t mind a bit of root restriction early on, and smaller pots are easier to manage on a windowsill or balcony. Make sure there’s a saucer underneath to catch excess water—trust me, you don’t want a soggy mess on your countertop. Terracotta pots are my go-to because they’re breathable and help prevent overwatering, though plastic works fine if you’re on a budget.
Preparing the Soil and Sowing Sage Seeds
Imagine you’re setting the stage for a tiny green miracle—soil prep is where it all begins. Sage loves well-draining soil, so mix equal parts potting soil with perlite or coarse sand to keep things light and airy. I’ve also tossed in a handful of compost for a nutrient boost, though sage isn’t too picky about fertility. Fill your pot, leaving about an inch of space at the top, and lightly moisten the soil before sowing. Sprinkle 2-3 seeds per pot, pressing them gently into the surface—don’t bury them too deep, as sage seeds need light to germinate. Cover them with a thin layer of soil, no more than a quarter-inch, and mist with water. Here’s a tip from my own blunders: label your pots with the date and seed type. I once mixed up sage with thyme and spent weeks wondering why my “sage” looked so different!
Germination and Early Care Tips
Now comes the waiting game. Sage seeds can take anywhere from 10 to 21 days to sprout, sometimes longer if conditions aren’t just right. Keep the soil consistently moist but not waterlogged—think of it like a damp sponge. Place the pot in a warm spot with indirect sunlight; a south-facing windowsill covered with a sheer curtain works wonders. If you’re dealing with a chilly apartment like I did one winter, a heat mat under the pot can speed things up (just don’t crank it too high). Once those tiny green shoots appear, celebrate the small win, but don’t slack off. Thin out the weaker seedlings if multiple sprout, leaving the strongest one to grow. I’ve made the mistake of letting them compete for space, and it stunts growth big time. At this stage, a few hours of direct morning sun each day will keep your sage happy.
Long-Term Care for Sage in Small Pots
Once your sage is established—usually a couple of months in—it’s pretty low-maintenance, but there are a few things to keep in mind. Water only when the top inch of soil feels dry; overwatering is the quickest way to kill sage, as it hates “wet feet.” I learned this the hard way after drowning a pot during a rainy spell when I forgot to move it indoors. Light is non-negotiable—aim for at least 6 hours of sunlight daily. If natural light is scarce, a grow light can be a game-changer. Prune regularly to encourage bushy growth; snip just above a leaf node, and don’t be shy about harvesting for your recipes. Fertilizing? Go easy. A diluted liquid fertilizer once every 2-3 months is plenty—too much, and you’ll get leggy, flavorless leaves. And here’s a quirky observation: sage seems to thrive on a bit of neglect. I’ve noticed my best plants were the ones I didn’t fuss over too much. Funny how that works, isn’t it?
Troubleshooting Common Issues
Even with the best intentions, growing sage seeds in small pots can hit a few snags. Pests like spider mites or aphids can sneak in, especially if your pot’s indoors. I’ve battled a mite infestation by wiping leaves with a soapy cloth—simple but effective. Yellowing leaves? Could be overwatering or poor drainage. Check the roots; if they’re mushy, repot with fresh, well-draining soil ASAP. If your sage looks spindly, it’s likely craving more light. Move it closer to a window or invest in that grow light I mentioned. And don’t get discouraged if germination fails the first time—sage seeds have a naturally low germination rate, sometimes as low as 50%, according to studies from university extension programs. Just sow a few extra seeds next time and keep at it. Gardening is as much about persistence as it is about skill.
By now, you’ve got a roadmap to grow sage seeds in small pots, from picking the right materials to dodging common pitfalls. It’s not just about adding a functional herb to your space—it’s about the quiet joy of watching something grow under your care. Whether you’re seasoning a dish or simply enjoying the scent of fresh sage, the effort pays off in spades. Got a tiny corner in your home begging for some green? Give this a shot, and you might just surprise yourself with a thriving mini herb garden.
References
- University of Minnesota Extension – Growing Herbs
- Penn State Extension – Growing Herbs Indoors
- Missouri Botanical Garden – Salvia officinalis
- Clemson University Cooperative Extension – Herbs
- Royal Horticultural Society – Growing Sage
Disclaimer: This article is for informational purposes only, based on general research and personal experience. It is not intended to serve as a substitute for professional advice. Gardening conditions, plant needs, and individual circumstances can vary widely, so results may differ from those described. Always consult a qualified professional, such as a horticulturist or local extension service, for personalized guidance tailored to your specific situation. The author and publisher are not responsible for any adverse effects or consequences resulting from the application of the information provided in this content.
This content is for informational purposes only and not a substitute for professional advice.