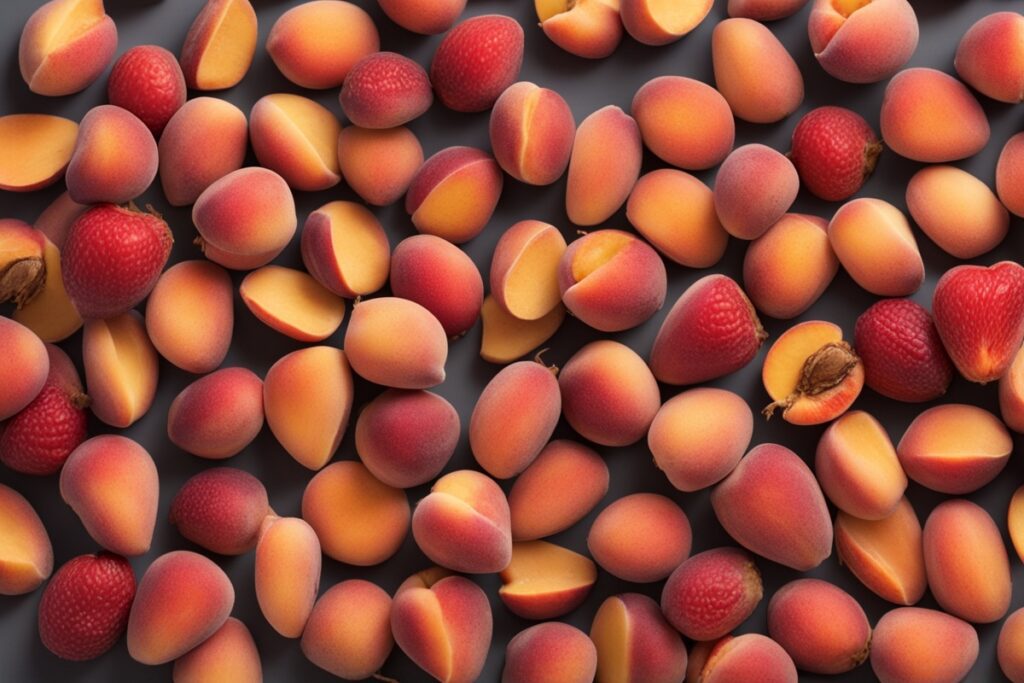
Growing peach trees from seeds is a rewarding journey, a little like planting a tiny piece of hope and watching it bloom into something magnificent. If you’ve ever bitten into a juicy, sweet peach and wondered, “Can I grow this at home?”—the answer is a resounding yes! Starting peach seeds indoors is not only possible but also surprisingly straightforward if you know the right steps. Whether you’re a seasoned gardener or a curious newbie, this guide will walk you through how to start peach seeds indoors easily, with practical tips, a dash of patience, and a sprinkle of know-how. Let’s dig in—pun intended—and get those seeds sprouting!
Why Start Peach Seeds Indoors?
Starting peach seeds indoors gives you a head start on the growing season, especially if you live in a region with short summers or unpredictable weather. Think about it: would you rather wait for Mother Nature to cooperate, or take control by nurturing your seeds in a cozy, controlled environment? Indoors, you can manage temperature, moisture, and light, ensuring those delicate peach seeds have the best shot at germination. Plus, there’s something incredibly satisfying about watching those first green shoots emerge while you’re sipping coffee in your kitchen. I remember the first time I started peach seeds indoors—seeing that tiny sprout after weeks of waiting felt like winning a small lottery!
Another perk? Starting indoors protects seeds from pests and harsh outdoor conditions. According to experts at the University of Georgia Extension, peach seeds need specific conditions to break dormancy, and indoor environments make it easier to mimic those natural cues. So, let’s roll up our sleeves and create the perfect setup for your future peach tree.
Gathering Your Supplies: Keep It Simple
Before you dive in, let’s talk gear. You don’t need a fancy greenhouse or expensive equipment to start peach seeds indoors easily. Here’s what you’ll need: fresh peach pits (straight from a ripe peach, ideally organic to avoid chemical treatments), a small knife or nutcracker for cracking the pit, potting soil (a well-draining mix works best), small pots or containers with drainage holes, a spray bottle for misting, and a sunny spot or grow light. Oh, and don’t forget patience—it’s not on Amazon, but you’ll need plenty of it!
If you’re like me, you might’ve saved a peach pit from a particularly delicious fruit last summer, thinking, “I’ll grow this someday.” That’s a great start! Just ensure the pit is clean—rinse off any leftover flesh to prevent mold. A quick tip from my own trial and error: label your pots if you’re starting multiple seeds. I once mixed up my peach and apricot seeds and spent weeks guessing which was which. Learn from my chaos—label everything!
Preparing Peach Seeds: The Cold Stratification Trick
Peach seeds aren’t like your average bean or pea seed that sprouts with a bit of water and warmth. They’ve got a hard shell and a built-in dormancy mechanism, meaning they need a cold period to “wake up.” This process, called stratification, mimics the natural winter chill they’d experience outdoors. To start peach seeds indoors easily, you’ll need to crack the hard outer pit to access the seed inside (be gentle—don’t crush it!) and then give it a faux winter.
Here’s how: After extracting the seed, wrap it in a damp paper towel, pop it into a plastic baggie, and refrigerate it at about 35-40°F (2-4°C) for 6-12 weeks. Check weekly to ensure the towel stays moist but not soggy—mold is the enemy here. The Missouri Botanical Garden notes that this cold period is crucial for breaking dormancy in stone fruit seeds like peaches. I’ve had success with this method by setting a reminder on my phone to check the seeds every Sunday. One year, I forgot a batch in the fridge for an extra month, and guess what? They still sprouted. Nature’s pretty forgiving sometimes!
Planting Your Peach Seeds: Set the Stage for Growth
Once stratification is done, it’s showtime! Fill your small pots with a lightweight, well-draining potting mix—think equal parts peat moss, perlite, and compost if you’re mixing your own. Plant the seed about an inch deep, with the pointed end facing up if you can tell which is which. Lightly water the soil with a spray bottle to avoid displacing the seed, then cover the pot with plastic wrap or a clear lid to trap humidity. Place it in a warm spot, ideally 70-80°F (21-27°C), like near a sunny window or under a grow light.
Now, here’s where patience kicks in. Germination can take anywhere from 2-6 weeks, sometimes longer. Keep the soil consistently moist but not waterlogged—imagine you’re giving it a gentle hug, not a swamp bath. I’ve found that placing a small tray of water near the pots (not under them) helps maintain humidity without overwatering. And if you’re itching for results, resist the urge to dig up the seed to “check” on it. I did that once and accidentally snapped the tiny root. Lesson learned: trust the process.
Caring for Peach Seedlings: Nurture with Love
Congratulations, you’ve got a sprout! Seeing that first green peek through the soil is pure magic, isn’t it? But don’t pop the champagne just yet—young peach seedlings need TLC to thrive. Once the sprout appears, remove the plastic cover to prevent mold and ensure good air circulation. Keep the soil moist and provide plenty of light—about 12-16 hours daily. If natural sunlight is scarce, a simple LED grow light works wonders. The University of California Agriculture and Natural Resources suggests that inadequate light can lead to leggy, weak seedlings, so don’t skimp here.
As your seedling grows, watch for its first true leaves (not the initial cotyledon leaves). This is your cue to start fertilizing lightly—use a diluted, balanced liquid fertilizer (like a 10-10-10 mix) every 2-3 weeks. And here’s a personal tip: talk to your plant. Okay, I’m half-joking, but I swear my peach seedlings grew faster when I’d chat with them during morning coffee. Maybe it’s the carbon dioxide from my breath, or maybe it’s just good vibes—either way, it can’t hurt!
Transplanting and Beyond: Planning for the Future
After a few months, when your peach seedling is about 6-12 inches tall and has a sturdy stem, it’s time to think about moving it outdoors—provided the weather’s right. Harden off the plant by gradually exposing it to outdoor conditions over a week or two. Start with an hour outside in a shaded spot, then increase the time and sunlight daily. Imagine you’re acclimating a kid to a new school—slow and steady wins the race. The North Carolina State Extension warns that skipping this step can shock the plant, stunting growth or worse.
Choose a sunny, well-drained spot in your garden for the final planting, and remember that peach trees grown from seed might not produce fruit identical to the parent peach—genetics are a bit of a gamble here. But isn’t that part of the adventure? You might end up with a unique, one-of-a-kind peach! I planted a seed-grown peach tree five years ago, and while the fruit isn’t as sweet as the original, it’s still a conversation starter at every summer barbecue.
References
- University of Georgia Extension – Growing Peaches
- Missouri Botanical Garden – Seed Stratification
- University of California Agriculture and Natural Resources – Growing from Seeds
- North Carolina State Extension – Growing Peaches
Disclaimer: This article is for informational purposes only, based on general research and personal experience—it’s not a substitute for professional advice. Gardening conditions, seed viability, and regional climates can vary widely, so results may differ from those described. Always consult a qualified horticulturist, local extension service, or other professional for personalized guidance tailored to your specific situation. Your safety and the health of your plants are paramount, so proceed with care and informed decision-making when starting peach seeds indoors or undertaking any gardening project.
This content is for informational purposes only and not a substitute for professional advice.


