There’s something deeply satisfying about harvesting your first squash of the season while others are still waiting for their plants to bear fruit. If you’re itching to get a head start on your garden, learning how to sow squash seeds for early harvest is the way to go. I’ve been growing squash for over a decade, and I’ve picked up a few tricks along the way that can help you beat the calendar and enjoy those tender zucchini or hearty butternuts sooner than expected. In this guide, I’ll walk you through the ins and outs of timing, preparation, and care to ensure your squash plants thrive from the get-go. Let’s dig in—pun intended—and explore how to make early harvesting a reality!
Why Aim for an Early Squash Harvest?
Ever wondered why gardeners get so excited about an early harvest? It’s not just about bragging rights at the local farmers’ market—though that’s a nice perk! Getting your squash to fruit sooner means you can enjoy fresh, homegrown produce while prices at the grocery store are still sky-high. Plus, an early start often helps you dodge late-season pests and diseases that can plague squash plants. Imagine you’re dealing with a sudden heatwave or an unexpected squash vine borer infestation in mid-summer; having mature plants by then gives you a buffer to harvest before things go south. In my own garden, I’ve noticed that early harvests also mean I can succession-plant for a second crop, maximizing my yield in a single season.
Choosing the Right Squash Varieties for Early Results
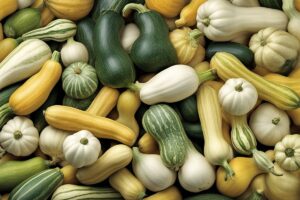
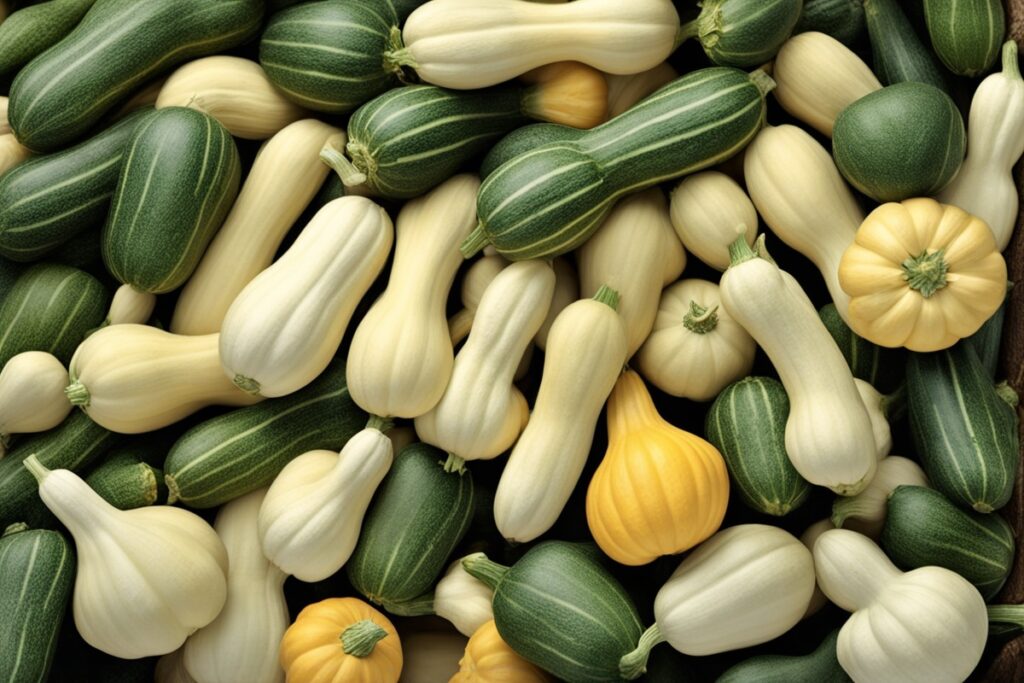
Not all squash are created equal when it comes to early maturity. If you’re set on sowing squash seeds for early harvest, picking varieties known for quick growth is half the battle. Summer squash like ‘Early Prolific Straightneck’ or ‘Black Beauty’ zucchini often mature in as little as 40-50 days from seed. Winter squash take longer—think 80-100 days—but varieties like ‘Delicata’ or ‘Table Queen’ acorn squash can be on the faster end of that spectrum. I remember the first time I planted ‘Early Summer Crookneck’—I was floored when I had squash ready to pick in just over a month! Check seed packets for “days to maturity” and prioritize those with shorter timelines. Pro tip: If you’re in a cooler climate, opt for varieties bred for cold tolerance to give your seeds a fighting chance against early-season chills.
Timing Is Everything: When to Sow Squash Seeds
Squash loves warmth, so timing your planting is crucial for an early harvest. Most gardeners wait until after the last frost to sow seeds directly outdoors, but if you want a jumpstart, start indoors 3-4 weeks before that date. In my area (Zone 6), that means starting seeds in mid-April for transplanting in mid-May. Use a heat mat if you’re starting indoors—squash seeds germinate best at 70-85°F. I’ve had batches fail to sprout because I underestimated how chilly my basement was, so don’t skimp on warmth! If you’re direct-sowing, wait until soil temperatures hit at least 60°F; anything cooler, and germination slows to a crawl. A soil thermometer is a cheap investment that’s saved me from guesswork more times than I can count. Remember, the goal isn’t just to plant early—it’s to plant smart so your seeds don’t stall out.
Preparing Your Soil and Site for Success
Let’s talk dirt. Squash are heavy feeders, so prepping your soil is non-negotiable if you’re aiming for an early harvest. Before you sow squash seeds, work in plenty of organic matter—think compost or well-rotted manure—to boost fertility and drainage. I once made the rookie mistake of planting in heavy clay without amending it, and my plants sulked for weeks before producing anything. Aim for a pH of 6.0-6.8; a quick soil test kit can tell you if you need to add lime or sulfur. Choose a sunny spot with at least 6-8 hours of direct light daily—squash won’t thrive in shade, no matter how early you start. And don’t forget spacing: give each plant 3-5 feet to sprawl, or use trellises for vertical growth if you’re short on room. Good airflow early on prevents fungal issues like powdery mildew, which can derail your harvest plans faster than you can say “fungicide.”
Planting Techniques for Early Growth
Whether you’re starting indoors or direct-sowing, how you plant matters just as much as when. For indoor starts, use biodegradable peat pots to minimize root disturbance during transplanting—squash hate having their roots messed with. Plant 2-3 seeds per pot, about an inch deep, and thin to the strongest seedling after they sprout. I’ve found that a little bottom heat and a grow light can shave days off germination time. If you’re sowing outside, create small hills or mounds (about 12 inches high) to improve drainage and warm the soil faster. Plant 4-5 seeds per hill, thinning to 2-3 plants once they’re established. Here’s a trick I learned from a fellow gardener: cover freshly sown seeds with a floating row cover to trap heat and protect against early pests. Just remove it once flowers appear to let pollinators do their thing. These small tweaks can mean the difference between a sluggish start and a sprint to harvest.
Caring for Seedlings to Speed Up Maturity
Once your seeds are in the ground—or pots—it’s all about giving them the TLC they need to grow fast. Water deeply but infrequently to encourage strong roots; aim for about an inch per week, more if it’s hot and dry. I’ve seen gardeners overwater early on, thinking they’re helping, only to end up with root rot. Mulch with straw or wood chips to retain moisture and keep soil temps steady—squash seedlings are finicky about fluctuations. Feed them with a balanced fertilizer (like a 10-10-10) at planting, then switch to a higher-potassium mix once flowers form to boost fruiting. And keep an eye out for pests like squash bugs or cucumber beetles; a few years back, I lost half my early crop to those critters because I didn’t check under the leaves often enough. Hand-pick them or use neem oil as a natural deterrent. The faster your plants grow healthy and strong, the sooner you’ll be slicing into that first squash.
One last thought on care: don’t underestimate the power of pollination. If bees are scarce early in the season, you might need to play matchmaker. Grab a small paintbrush and transfer pollen from male to female flowers (the females have a tiny squash at their base). I’ve done this on chilly mornings when pollinators were nowhere in sight, and it’s bumped up my early yields significantly. Little efforts like this can turn “maybe” into “definitely” when it comes to harvesting ahead of schedule.
References
- University of Minnesota Extension – Growing Squash
- Penn State Extension – Squash and Pumpkins
- Missouri Botanical Garden – Squash Growing Guide
- Colorado State University Extension – Growing Squash
- Clemson University Cooperative Extension – Summer Squash
Disclaimer: This article is for informational purposes only, based on general research and personal experience. It is not intended to serve as a substitute for professional advice. Gardening conditions, climates, and individual circumstances can vary widely, so results may differ from those described. Always consult a qualified professional, such as a local agricultural extension agent or horticulturist, for personalized guidance tailored to your specific situation. I strive to provide accurate and helpful information, but I’m not responsible for any outcomes resulting from the application of these tips. Use discretion and prioritize safety when working in your garden.
This content is for informational purposes only and not a substitute for professional advice.