Starting a garden from scratch can feel like embarking on a grand adventure, can’t it? There’s something magical about planting tiny seeds and watching them transform into lush, aromatic plants like sage. If you’ve recently sown sage seeds and are now wondering how to harvest sage leaves from seedlings, you’re in the right place. Sage, with its earthy fragrance and versatile culinary uses, is a rewarding herb to grow, but harvesting at the seedling stage requires a gentle touch and a bit of know-how. I’ve been growing sage for years, and I’ve learned through trial and error what works best—trust me, I’ve had my share of overzealous snips that set plants back! In this guide, I’ll walk you through the process step by step, sharing practical tips, personal anecdotes, and expert-backed insights to help you nurture your sage seedlings while enjoying their bounty.
Understanding Sage Seedlings: When Are They Ready to Harvest?
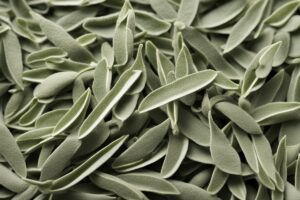
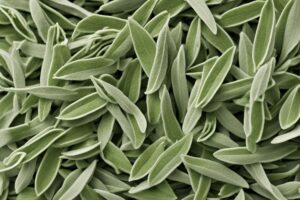
Before you even think about grabbing those scissors, let’s talk about timing. Sage seedlings are delicate little things in their early stages, and harvesting too soon can stunt their growth or, worse, kill them off. Generally, you’ll want to wait until your seedlings are at least 6-8 weeks old and have developed several sets of true leaves—not just the initial cotyledons (those first baby leaves that pop up after germination). True leaves are a sign that the plant is establishing itself and can handle a light trim.
Picture this: you’ve got a tray of sage seedlings on your windowsill, and they’re looking perky with a few sets of silvery-green leaves. It’s tempting to pluck a leaf or two for that soup you’re making, but hold off if they’re under 3 inches tall. I made that mistake once with a batch of seedlings, thinking a tiny harvest wouldn’t hurt. Spoiler alert: it did. The plants struggled to recover, and I had to start over. A good rule of thumb is to let them reach a height where they look sturdy enough to withstand a small loss—patience is your friend here.
Tools and Preparation for Harvesting Sage Leaves
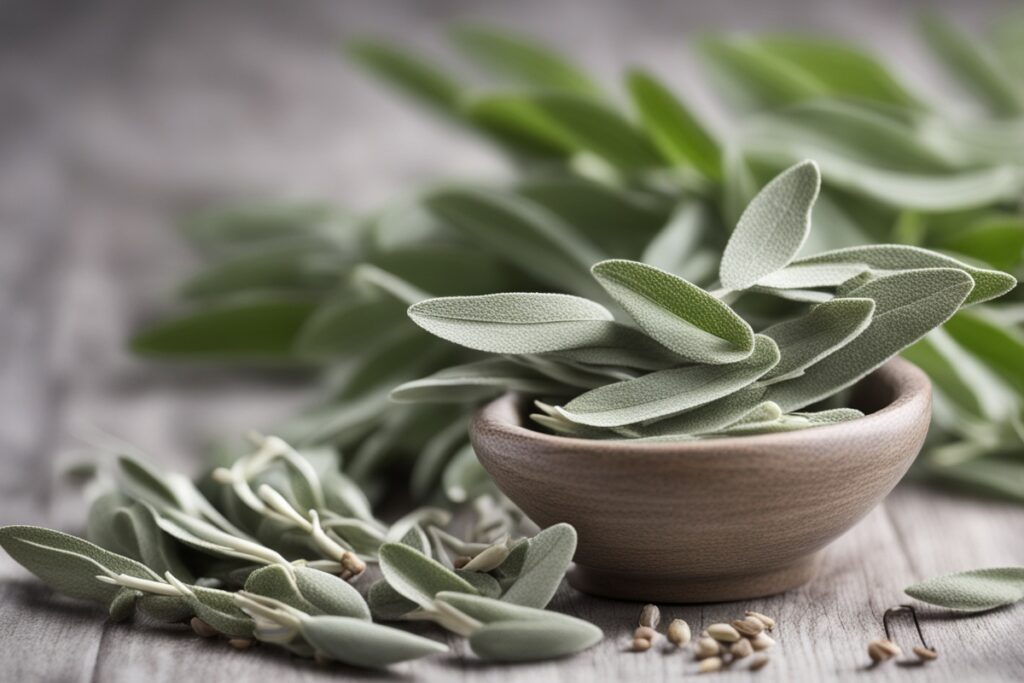
When it comes to harvesting sage leaves from seedlings, less is more. You don’t need fancy equipment, but you do need the right mindset: treat your plants with care. A pair of small, clean scissors or pruning shears works best—avoid using your fingers to pinch leaves, as this can damage the tender stems. I keep a dedicated pair of mini shears just for my herbs; they’re sharp enough to make clean cuts without crushing the plant tissue. Sterilize your tools with rubbing alcohol before and after use to prevent spreading any diseases—think of it as giving your seedlings a little extra TLC.
Also, harvest in the morning if possible. Why? Plants are most hydrated after the night’s rest, and their essential oils (which give sage its signature aroma) are at their peak. I’ve noticed that leaves picked in the early hours seem to have a stronger flavor compared to those snipped in the heat of the afternoon. Set up a small bowl or basket to collect your harvest, and don’t forget to wash your hands—cleanliness goes a long way in keeping your garden healthy.
How to Harvest Sage Leaves Without Harming Seedlings
Alright, let’s get to the nitty-gritty of harvesting sage leaves from seedlings. The key here is to be conservative—don’t go overboard. Start by selecting the outermost leaves from the top of the plant, as these are the oldest and most mature. Use your scissors to snip the leaf close to the stem, leaving the central growing point (the tip where new leaves emerge) intact. Never take more than 10-15% of the plant’s foliage at this stage; seedlings need their leaves for photosynthesis to keep growing strong.
Imagine you’re dealing with a tiny sage plant that’s just starting to find its footing. Last summer, I had a row of sage seedlings in my backyard, and I got a bit too eager during my first harvest. I snipped off nearly half the leaves from one poor plant, thinking it’d bounce back. It didn’t. The lesson? Always err on the side of caution. If you’re unsure, harvest just one or two leaves per plant and observe how they respond over the next few days. If they perk up and keep growing, you’re on the right track.
Caring for Sage Seedlings Post-Harvest
Harvesting is just half the story—caring for your sage seedlings afterward is where the real magic happens. After you’ve taken a few leaves, give your plants a little boost to help them recover. Water them gently if the soil looks dry, but don’t drown them; sage prefers well-drained soil and can rot if overwatered. I’ve found that a light misting works wonders for seedlings, as it avoids disturbing their delicate roots.
Also, keep an eye on sunlight and temperature. Sage loves full sun, so ensure they’re getting at least 6 hours of direct light daily. If you’re growing indoors, a south-facing window is ideal, or consider a grow light if natural light is scarce. Post-harvest stress can make seedlings vulnerable, so monitor for signs of wilting or yellowing. A friend of mine once harvested too aggressively and didn’t adjust watering—her plants drooped within days. A quick tweak to her routine (less harvest, more consistent moisture) saved the rest. Learn from others’ missteps, and don’t hesitate to adapt your care based on what your plants tell you.
Using and Storing Your Harvested Sage Leaves
Now that you’ve got a small handful of sage leaves, what’s next? Fresh sage is a powerhouse in the kitchen—think roasted potatoes, creamy pasta sauces, or even a simple butter glaze for veggies. But since you’re harvesting from seedlings, you’re likely working with a small yield, so use them wisely. I love tossing a few leaves into a pot of soup for a subtle, earthy kick; it’s a small reward for the effort of growing from seed.
If you can’t use them right away, storage is key. Wrap fresh leaves in a damp paper towel and pop them into a plastic bag in the fridge—they’ll stay good for about a week. For longer storage, drying is your best bet. Lay the leaves flat on a screen or hang small bundles in a dry, airy spot out of direct sunlight. I’ve dried sage on my kitchen counter before, and within a week, the leaves were crispy and ready to crumble into a jar. Just remember: dried sage is more potent than fresh, so adjust quantities in recipes accordingly. Have you ever overdone it with dried herbs? I have, and let’s just say my stew tasted like a sage forest—lesson learned!
Common Mistakes to Avoid When Harvesting Sage Seedlings
Let’s wrap up with a few pitfalls to dodge when you’re learning to harvest sage leaves from seedlings. First, don’t harvest too early or too much—I can’t stress this enough. It’s like taking candy from a baby; the plant just isn’t ready to give up its resources yet. Second, avoid cutting into the main stem or central growth point; this can halt growth entirely. Stick to the outer leaves and let the core thrive.
Another common blunder is neglecting post-harvest care. Skipping watering or ignoring light needs can weaken your seedlings fast. And finally, don’t harvest during a heatwave or drought stress—plants are already struggling, and taking leaves then is like adding insult to injury. I’ve seen gardeners (myself included, years ago) make these mistakes, only to wonder why their sage didn’t survive. Take it slow, observe your plants, and remember that gardening is as much about listening to nature as it is about action.
References
- University of Minnesota Extension – Growing Herbs
- Missouri Botanical Garden – Salvia officinalis
- Colorado State University Extension – Growing Herbs
- Royal Horticultural Society – Growing Sage
- Clemson University Cooperative Extension – Herbs
Disclaimer: This article is for informational purposes only, based on general research and personal experience—it’s not a substitute for professional advice. Gardening conditions, plant health, and individual needs can vary widely, so results may differ from what’s described here. Always consult a qualified horticulturist, agricultural extension service, or other professional for personalized guidance tailored to your specific situation. Your sage seedlings deserve the best care, and expert input can make all the difference in achieving a thriving herb garden.
This content is for informational purposes only and not a substitute for professional advice.