Ever dreamed of stepping into your backyard and plucking a vibrant, homegrown squash straight from the vine? There’s something magical about nurturing a tiny seed into a sprawling plant bursting with flavor. If you’re eager to grow healthy squash seeds at home, you’re in the right place. I’ve spent years tinkering in my garden, learning the ins and outs of squash cultivation, and I’m thrilled to share the tips, tricks, and hard-earned lessons that’ll help you succeed. Whether you’re a newbie with a windowsill pot or a seasoned gardener with acres to spare, this guide will walk you through every step to ensure your squash thrives. Let’s dig in—pun intended!
Why Grow Squash Seeds at Home?
Why bother growing squash from seed when you can grab seedlings from the local nursery? For starters, starting from seed gives you control over every stage of growth. You get to pick the variety—be it a buttery butternut or a quirky pattypan—and ensure it’s free from the pesticides or rushed growing conditions some commercial plants endure. Plus, it’s incredibly rewarding. I still remember the first time I cracked open a squash I’d grown from a tiny speck of a seed; it felt like I’d unlocked a secret of nature. Beyond the personal win, growing your own squash seeds at home saves money in the long run and lets you experiment with heirloom or rare varieties you won’t find at the store. And let’s be real: nothing tastes better than food you’ve grown yourself.
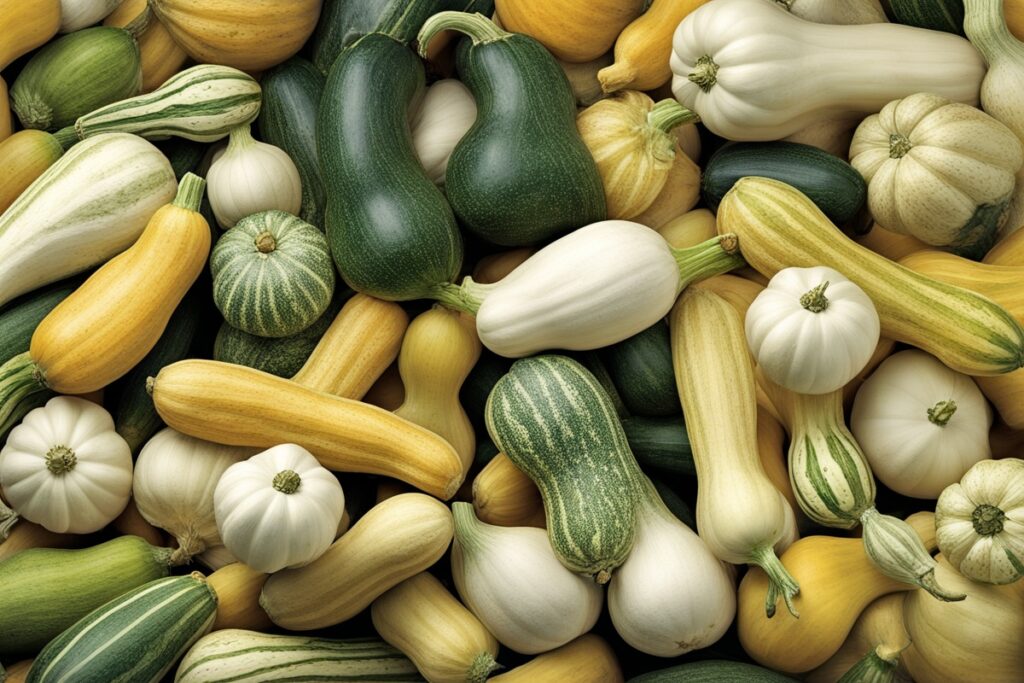
Choosing the Right Squash Seeds for Your Garden
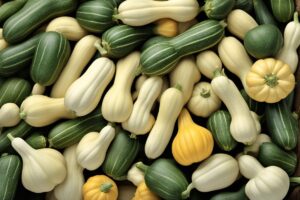
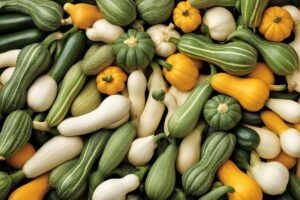
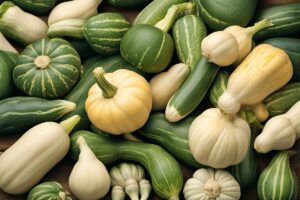
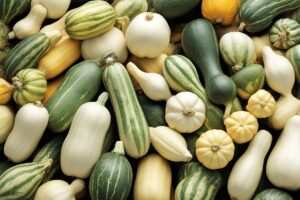
Not all squash seeds are created equal. Before you start, you’ve got to pick a variety that suits your climate, space, and taste buds. Summer squash like zucchini grows fast and yields quickly, perfect if you’re impatient like I was when I first started. Winter squash, such as acorn or spaghetti squash, takes longer but stores well for months—ideal for colder regions. Check your USDA Hardiness Zone (if you’re in the U.S.) to see what thrives in your area. I learned this the hard way after planting a heat-loving variety in my cool, Pacific Northwest garden only to watch it struggle. Look for seeds labeled as “disease-resistant” if pests are a concern, and always buy from reputable suppliers to avoid duds. Pro tip: Save seeds from your best harvest each year to grow again—nature’s way of recycling!
Preparing to Grow Healthy Squash Seeds at Home
Preparation is half the battle when it comes to growing healthy squash seeds at home. First, timing is everything. Squash loves warmth, so aim to plant after the last frost date in your area—usually late spring or early summer. I’ve made the mistake of jumping the gun and losing seedlings to a surprise cold snap, so trust me, patience pays off. Next, choose a sunny spot with at least 6-8 hours of direct light daily; squash plants are sun-worshippers. Soil-wise, they’re not too picky, but they do best in well-draining, nutrient-rich earth with a pH between 6.0 and 6.8. Mix in some compost or aged manure a few weeks before planting to give those seeds a head start. And don’t skimp on space—squash vines sprawl like nobody’s business. If you’re tight on room, consider a trellis for vertical growth. Imagine you’re dealing with a tiny apartment garden; a simple bamboo stake setup can turn a cramped corner into a squash haven.
Planting and Germinating Your Squash Seeds
Now for the fun part—getting those seeds in the ground! Soak your squash seeds in lukewarm water for 24 hours before planting to soften the tough outer shell and speed up germination. I stumbled upon this trick after a batch of seeds took forever to sprout, and it’s been a game-changer. Plant them about an inch deep, spacing them 2-3 feet apart if you’re going for rows, or in small hills with 3-4 seeds per mound if you’ve got a more casual setup. Cover lightly with soil, water gently, and keep the area moist but not soggy. Germination usually takes 7-10 days, depending on temperature—warmer is better. One year, I planted during a cool spell, and it took nearly two weeks; I thought I’d failed until those tiny green shoots finally peeked through. Keep an eye out for critters like birds or squirrels that might dig up your seeds. A light netting can save you a lot of heartache.
Caring for Squash Seedlings to Ensure Healthy Growth
Once your seedlings emerge, the real work begins. Watering is key—squash plants need about an inch of water per week, more if it’s scorching out. I use a soaker hose to keep the soil consistently moist without drowning the roots, a lesson learned after overwatering turned my first crop into a mushy mess. Mulch around the base with straw or wood chips to lock in moisture and keep weeds at bay. As the plants grow, feed them every 2-3 weeks with a balanced fertilizer (like a 10-10-10 mix) to support those big, hungry vines. Watch for pests like squash bugs or powdery mildew, which can sneak up on you. I’ve had luck with neem oil for bugs and removing affected leaves to stop mildew spread. And here’s a quirky tip: talk to your plants. Okay, maybe that’s just me, but a little encouragement (or at least regular check-ins) helps you spot issues early. Isn’t it wild how much attention a plant can demand?
Harvesting and Saving Squash Seeds for Future Planting
After all that TLC, harvest time is your reward. Pick summer squash when they’re small and tender—about 6-8 inches for zucchini—because waiting too long makes them tough. Winter squash is ready when the skin hardens and resists a fingernail scratch, usually after 80-120 days. But don’t stop there; saving seeds from your healthiest plants ensures you can grow healthy squash seeds at home year after year. Scoop out the seeds from a fully ripe squash, rinse off the pulp, and let them dry completely on a paper towel for a week or two. Store them in a cool, dry place in an airtight container. I’ve got a little jar of seeds from a bumper crop three years ago, and they still sprout like champs. Just remember, if you’re growing multiple varieties, cross-pollination might affect seed purity—keep them separated if you’re a purist. Why not turn this into a family tradition, passing down seeds like heirlooms?
References
- University of Minnesota Extension – Growing Squash
- Penn State Extension – Growing Squash in the Home Garden
- Missouri Botanical Garden – Squash Growing Guide
- Colorado State University Extension – Growing Squash
- Clemson University Cooperative Extension – Squash Factsheet
Disclaimer: This article is for informational purposes only, based on general research and personal gardening experience. It is not intended to serve as a substitute for professional advice. Gardening conditions, pest issues, and plant health can vary widely based on location, climate, and individual circumstances. Always consult a qualified horticulturist, agricultural extension agent, or other professional for personalized guidance tailored to your specific needs and environment. While every effort has been made to provide accurate and helpful information, results may vary, and the author assumes no responsibility for any outcomes resulting from the application of the advice shared in this content.
This content is for informational purposes only and not a substitute for professional advice.