Have you ever dreamed of snipping fresh, aromatic parsley right from your kitchen counter or balcony? If so, you’re in for a treat! Growing parsley seeds in containers is not only doable but also incredibly rewarding, even if you’re short on space or new to gardening. Parsley, with its vibrant green leaves and earthy flavor, is a kitchen staple that elevates everything from soups to salads. And the best part? You don’t need a sprawling backyard to make it happen. Whether you’re in a tiny apartment or just want to keep your herbs close at hand, container gardening is your ticket to fresh, homegrown parsley. Let’s dive into the ins and outs of how to grow parsley seeds in containers, with practical tips and a sprinkle of personal insight to guide you along the way.
Why Grow Parsley Seeds in Containers?
Container gardening is a game-changer for herb enthusiasts, and parsley is no exception. For starters, containers give you control—over the soil, the location, and even the aesthetics of your setup. Got a shady balcony? No problem. You can move your pot to catch those precious rays of sunlight. Plus, growing parsley in containers means you’re not at the mercy of poor garden soil or pesky ground-dwelling pests. I remember my first attempt at growing parsley in a backyard plot—half the crop got munched by slugs before I could blink! Switching to containers was like flipping a switch; suddenly, I had healthier plants and fewer headaches.
Beyond practicality, there’s something deeply satisfying about having a mini herb garden right where you cook. Imagine you’re whipping up a batch of homemade tabbouleh, and instead of running to the store, you just reach over to your windowsill pot for a handful of fresh parsley. It’s the little things, right? Containers also let you experiment with parsley varieties—curly or flat-leaf—without committing a huge chunk of garden space. So, whether you’re a city dweller or just love the idea of portable plants, this method is worth a shot.
Choosing the Right Container and Soil
Let’s get down to brass tacks: not all containers are created equal. When growing parsley seeds in containers, size matters. Parsley has a long taproot, so opt for a pot that’s at least 10-12 inches deep and wide enough to give the roots room to spread—think 8-10 inches in diameter for a single plant. I’ve used everything from classic terracotta pots to repurposed plastic buckets, and while terracotta looks charming, it dries out faster. If you’re forgetful about watering (guilty as charged), a plastic or glazed ceramic pot might be your best bet since they retain moisture longer. Just make sure whatever you choose has drainage holes—soggy roots are a recipe for disaster.
Soil is the next piece of the puzzle. Parsley thrives in well-draining, nutrient-rich soil with a pH between 6.0 and 7.0. A good potting mix with compost or organic matter works wonders. I usually mix in a handful of perlite to keep things light and airy—parsley hates compacted soil. One tip I picked up from a local gardening club? Add a bit of crushed eggshell to the mix for calcium; it’s a small trick, but I’ve noticed sturdier stems since I started doing it. Avoid heavy garden soil straight from the yard—it’s often too dense for containers and can harbor unwanted pests or pathogens.
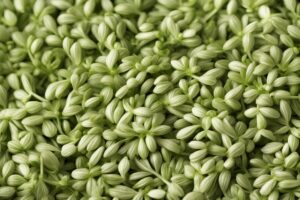
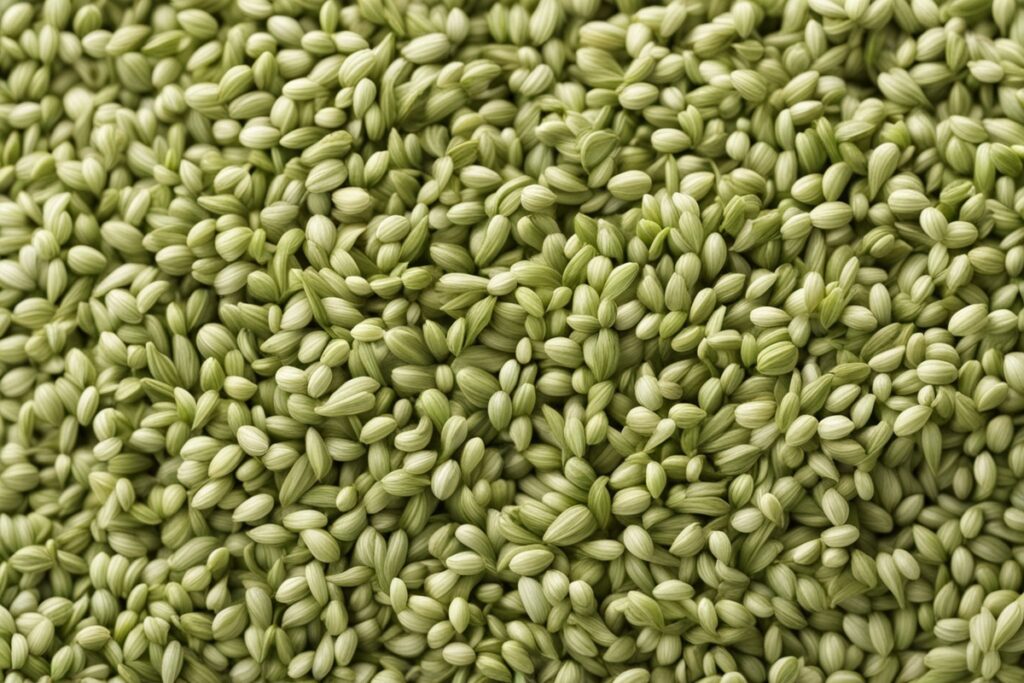
Sowing Parsley Seeds: Patience Is Key
Here’s where things get real: parsley seeds are notoriously slow to germinate. We’re talking 2-5 weeks, sometimes even longer. Don’t let that discourage you, though—it’s just part of the journey. To speed things up, soak the seeds in warm water for 24 hours before planting. I’ve done this with every batch since a friend tipped me off, and I swear it shaves off a few days of waiting. Plant the seeds about ¼ inch deep in your container, spacing them 6-8 inches apart if you’re sowing multiple plants. Cover lightly with soil, water gently, and keep the soil consistently moist but not waterlogged.
Location-wise, parsley likes partial shade to full sun—aim for 6 hours of light daily. I keep my pots on a south-facing windowsill in winter, but come summer, I move them to a spot with afternoon shade to prevent bolting (that’s when the plant shoots up a flower stalk and stops producing leaves). If you’re new to this, start with just one pot and see how it fares. There’s nothing worse than biting off more than you can chew and ending up with a bunch of neglected plants. Trust me, I’ve been there!
Watering and Care: Finding the Sweet Spot
Parsley isn’t fussy, but it does have a Goldilocks vibe when it comes to water—not too much, not too little, just right. Keep the soil evenly moist, especially during germination, but don’t drown it. I’ve found that sticking my finger an inch into the soil is the best test; if it feels dry, it’s time to water. Overwatering can lead to root rot, which I learned the hard way after leaving a pot in a saucer of standing water for too long. Now, I always empty excess water after a good soak.
Fertilizing is another balancing act. A liquid seaweed or fish emulsion fertilizer every 4-6 weeks keeps parsley happy without overdoing it. Too much nitrogen, and you’ll get lush leaves with no flavor—yuck. Also, watch for pests like aphids. They’re tiny but mighty annoying. A quick blast of water or a dab of neem oil usually does the trick for me. And don’t forget to pinch off any yellowing leaves to keep the plant looking tidy and encourage new growth. It’s like giving your parsley a little haircut!
Harvesting Parsley: Savor the Rewards
After all that waiting and nurturing, harvesting is the moment you’ve been waiting for. Parsley is usually ready to snip about 70-90 days after sowing, once the leaves are full and bushy. Cut the outer stems first, close to the base, using scissors or your fingers—never yank the plant, as it can stress the roots. I harvest a little at a time, maybe a handful for a recipe, which keeps the plant producing for months. Fun fact: parsley is a biennial, meaning it can live for two years, but most folks treat it as an annual since it often bolts in the second year.
One of my favorite memories is hosting a dinner party and garnishing every dish with parsley straight from my container garden. Guests couldn’t stop raving about the freshness, and honestly, it made me feel like a pro chef. Store any extras by wrapping them in a damp paper towel in the fridge, or chop and freeze them in ice cube trays with a bit of water. That way, you’ve got parsley on tap even in the dead of winter. How cool is that?
Troubleshooting Common Issues
Even with the best intentions, things can go sideways when you grow parsley seeds in containers. Slow germination is the big one—don’t panic if nothing sprouts after two weeks. Keep the soil moist and warm (around 70°F is ideal), and give it time. If you’re still seeing nada after a month, the seeds might be duds; it happens, especially with older batches. I’ve had to toss a packet or two in my day and start fresh.
Yellowing leaves are another red flag. It could be overwatering, poor drainage, or a nutrient deficiency. Check your watering habits first, then consider a light dose of fertilizer if the problem persists. And if your parsley bolts prematurely, it’s likely due to heat stress. Move the container to a cooler spot or provide some shade. Gardening is all about trial and error, so don’t beat yourself up if things aren’t perfect right away. Every mishap is a lesson in disguise.
References
- University of Minnesota Extension – Growing Parsley
- Clemson University Cooperative Extension – Parsley Factsheet
- Missouri Botanical Garden – Parsley Plant Profile
- Penn State Extension – Growing Herbs Indoors
- Royal Horticultural Society – How to Grow Parsley
Disclaimer: This article is for informational purposes only, based on general research and personal experience. It is not intended to serve as a substitute for professional advice. Gardening conditions, plant health, and individual circumstances can vary widely, so results may differ from those described. Always consult a qualified horticulturist, agricultural extension service, or other professional for personalized guidance tailored to your specific situation. The author and publisher are not responsible for any adverse effects or consequences resulting from the application of the information provided in this content.
This content is for informational purposes only and not a substitute for professional advice.