Harvesting winter squash seeds successfully is one of those gardening tasks that feels like uncovering hidden treasure. There’s something deeply satisfying about cracking open a squash you’ve grown, scooping out those seeds, and knowing you’ve got the potential for next year’s crop right in your hands. But let’s be honest—have you ever ended up with a batch of seeds that just wouldn’t germinate, no matter how much care you gave them? I’ve been there, and it’s frustrating. That’s why I’m diving deep into the art and science of harvesting winter squash seeds, sharing tips and tricks I’ve picked up over years of trial and error, along with insights from trusted horticultural experts. Whether you’re a seasoned gardener or a curious newbie, this guide will walk you through every step to ensure your seeds are viable, healthy, and ready to sprout come spring.
Why Harvest Winter Squash Seeds?
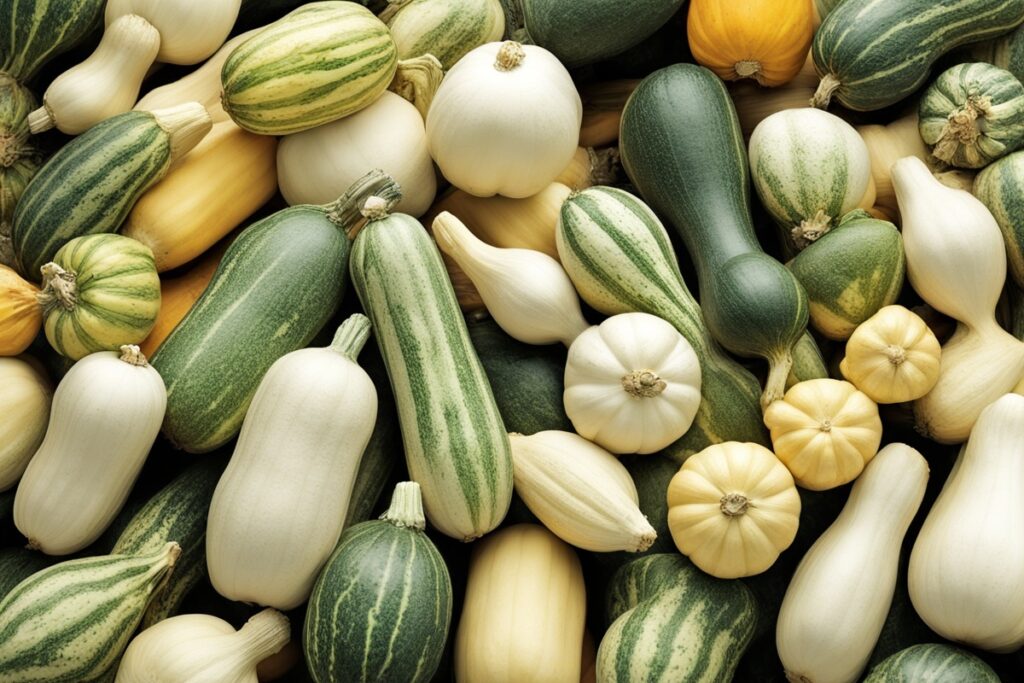
Before we get our hands dirty, let’s talk about why you’d even want to harvest winter squash seeds in the first place. Sure, you could buy a packet of seeds from the store for a couple of bucks, but saving your own seeds is like putting money in the bank. It’s cost-effective, sustainable, and gives you control over the varieties you grow. Plus, there’s a certain pride in knowing your garden is a closed loop—your harvest today becomes your planting tomorrow. Winter squash, like butternut, acorn, or Hubbard, are particularly great for seed saving because they’re hardy and often produce a bounty of seeds in each fruit. But here’s the kicker: not all seeds are created equal. Harvesting them the right way is crucial if you want a successful crop next season.
Choosing the Right Squash for Seed Harvesting
Imagine you’ve got a beautiful winter squash sitting on your kitchen counter, and you’re itching to crack it open for seeds. Hold on a sec—not every squash is a good candidate for seed saving. First off, you want to pick a fully mature squash. How do you know it’s ready? Look for a hard rind that doesn’t dent under your thumbnail and a stem that’s dry and woody. I learned this the hard way a few seasons back when I harvested seeds from an underripe butternut. The seeds looked fine, but most of them failed to germinate. Maturity matters because it ensures the seeds inside have fully developed.
Another thing to consider is whether your squash is an open-pollinated or heirloom variety versus a hybrid. Hybrids might produce seeds, but the resulting plants often don’t “come true”—meaning they won’t look or taste like the parent plant. Stick to heirlooms if you’re serious about consistency. And if you’ve got multiple squash varieties growing close together, beware of cross-pollination. According to the University of Minnesota Extension, squash can cross-pollinate if planted within 400 feet of each other, which could mess with the genetics of your seeds. If you’re in a small garden, consider hand-pollinating or spacing varieties far apart to keep things pure.
Step-by-Step Guide to Harvesting Winter Squash Seeds
Alright, let’s get down to business. Harvesting winter squash seeds isn’t rocket science, but there’s a method to the madness. Here’s how I do it, step by step, to maximize viability:
- Cut Open the Squash: Grab a sharp knife and carefully slice your squash in half lengthwise. Be cautious—winter squash rinds are tough! Scoop out the pulp and seeds with a spoon into a bowl.
- Separate Seeds from Pulp: This part’s a bit messy, but it’s gotta be done. Fill the bowl with water and use your hands to break apart the stringy pulp. The good seeds will sink to the bottom, while the pulp and dud seeds float. Skim off the junk and drain the water.
- Rinse Thoroughly: Give those seeds a good rinse under running water to remove any lingering pulp. Leftover gunk can lead to mold during storage, and trust me, you don’t want that headache.
- Dry Completely: Spread the seeds in a single layer on a paper towel or screen in a warm, well-ventilated spot. Let them dry for 1-2 weeks, stirring occasionally to prevent sticking. I usually set mine near a sunny window, but avoid direct heat like an oven—it can kill the embryos inside.
Once they’re bone-dry, you’ll hear a satisfying rattle when you shake them. That’s your cue they’re ready for storage.
Storing Winter Squash Seeds for Long-Term Success
Now that you’ve harvested your seeds, don’t just toss them in a drawer and call it a day. Proper storage is the name of the game if you want them to stay viable for years. I’ve had seeds last up to 5 years using this method, though germination rates do drop over time. Store them in a cool, dark, and dry place—think a basement shelf or a sealed jar in the fridge. Use an airtight container like a glass jar or a zip-top bag with a silica gel packet to absorb any stray moisture. Label them with the variety and harvest date; I can’t tell you how many times I’ve mixed up my acorn and butternut seeds because I skipped this step!
A quick tip from personal experience: avoid plastic containers if you live in a humid area. I once stored seeds in a plastic baggie, only to find them moldy a few months later due to trapped moisture. Glass is your friend here. And if you’re curious about viability before planting, the Missouri Botanical Garden suggests doing a simple germination test—place a few seeds on a damp paper towel in a sealed bag and see how many sprout after a week.
Common Pitfalls to Avoid When Harvesting Seeds
Even with the best intentions, things can go south when harvesting winter squash seeds. Let’s talk about a few common mistakes I’ve seen (and made myself) so you can sidestep them. First, don’t rush the drying process. If seeds aren’t fully dry, they’re prone to rot. I once thought a few days in a warm room was enough, only to find half my batch spoiled by spring. Patience pays off.
Another trap is harvesting from diseased or unhealthy plants. If your squash had signs of powdery mildew or rot, those issues can carry over to the seeds. Always choose the healthiest fruits from vigorous plants. And finally, don’t ignore cross-pollination risks. If your neighbor’s zucchini patch is right next door, you might end up with some funky hybrids. When in doubt, isolate your plants or buy certified seeds for one season to start fresh.
Using Your Harvested Seeds: Planting and Beyond
So, you’ve harvested and stored your winter squash seeds successfully—now what? Come planting time, give them a head start by soaking them in water for 24 hours before sowing. This softens the hard seed coat and boosts germination. I’ve found this trick especially helpful with older seeds that might be a bit stubborn. Plant them in well-draining soil after the last frost, about 1 inch deep, in a spot with full sun. Winter squash love warmth, so don’t rush to plant if the ground’s still chilly.
Here’s a little story to illustrate the payoff: Last spring, I planted seeds I’d saved from a particularly sweet Blue Hubbard squash. I wasn’t sure they’d take after two years in storage, but with a little TLC, I ended up with a bumper crop that tasted just as good as the original. It felt like a full-circle moment, and it’s why I keep saving seeds year after year. Beyond planting, you can also roast extra seeds for a tasty snack—just toss them with oil and salt and bake at 300°F for 20 minutes. Double win!
References
- University of Minnesota Extension – Growing Winter Squash
- Missouri Botanical Garden – Seed Saving Guide
- Penn State Extension – Seed Saving Basics
- Royal Horticultural Society – Growing Squashes
- Oregon State University Extension – Saving Vegetable Seeds
Disclaimer: This article is for informational purposes only, based on general research and personal experience. It is not intended to serve as a substitute for professional advice. Gardening conditions, seed viability, and individual circumstances can vary widely, so results may differ from those described. Always consult a qualified professional, such as a local extension service or certified horticulturist, for personalized guidance tailored to your specific situation. The author and publisher are not responsible for any adverse outcomes resulting from the application of the information provided in this content.
This content is for informational purposes only and not a substitute for professional advice.