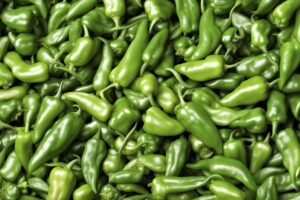
Starting bell pepper seeds early in the season can feel like a roll of the dice if you’re not prepared, but with the right approach, it’s a surefire way to get a head start on a bountiful harvest. Bell peppers, with their crisp texture and sweet flavor, are a garden favorite, but they’re also notoriously slow to grow. That’s why timing is everything. If you’ve ever found yourself staring at tiny seedlings in late spring, wondering if they’ll ever catch up, you’re not alone. I’ve been there—fretting over whether my plants would fruit before the first frost. But over the years, I’ve learned that starting bell pepper seeds early isn’t just a strategy; it’s a game-changer. Let’s dive into why and how you should start bell pepper seeds early season, with practical tips to ensure your plants thrive.
Why Start Bell Pepper Seeds Early Season?
Bell peppers are warm-weather lovers, hailing from the same family as tomatoes and eggplants. They need a long growing season—often 60 to 90 days from transplant to harvest—to produce those vibrant, crunchy fruits we all crave in salads and stir-fries. If you’re in a region with a short summer, waiting until the last frost to sow seeds outdoors is like trying to win a race with a late start. You’re setting yourself up for disappointment. Starting bell pepper seeds early, indoors, gives them a 6- to 8-week head start before the ground even thinks about warming up. I remember the first year I tried this; I had peppers ready to pick by mid-summer while my neighbor, who direct-sowed, was still waiting for flowers in August. That’s the difference early planting can make.
Beyond timing, early starts let you control the growing environment. Imagine you’re dealing with unpredictable spring weather—sudden cold snaps or torrential rains. Indoors, you’re the boss. You can manage light, temperature, and moisture to coax those tiny seeds into sturdy seedlings, ready to tackle the outdoors when the time is right.
Choosing the Right Bell Pepper Varieties for Early Starts
Not all bell peppers are created equal when it comes to early-season planting. Some varieties mature faster, making them ideal if you’re itching to harvest sooner rather than later. Look for early-maturing types like ‘Ace’ (50-60 days to maturity) or ‘King of the North’ (around 70 days), which are bred to perform in shorter seasons. I’ve grown ‘Ace’ with great success in my Zone 5 garden, where summers are fleeting. By starting seeds in late winter, I had ripe peppers by July—a small miracle in my book.
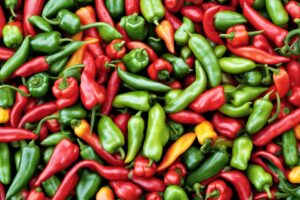
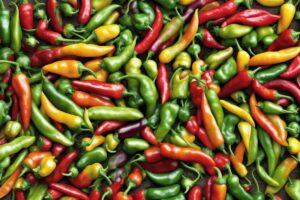
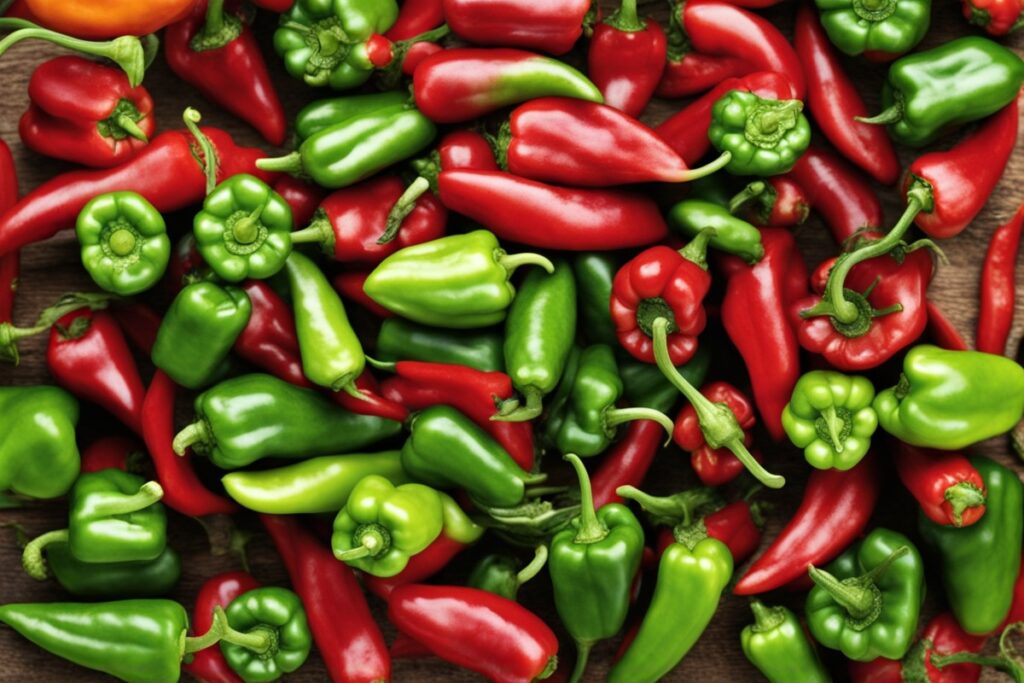
Don’t just pick based on speed, though. Consider your taste and climate. If you’re after sweetness, go for classic reds like ‘California Wonder.’ Craving something unique? Try a purple or chocolate bell for a pop of color. Check seed packets or catalogs for “days to maturity” and match them to your growing window. A little research here saves a lot of heartache later.
Timing: When to Start Bell Pepper Seeds Indoors
Timing is the backbone of starting bell pepper seeds early season. The sweet spot? About 8-10 weeks before your area’s last expected frost date. For most gardeners in the U.S., that means late February to early March. I live in the Midwest, so I aim for mid-February, knowing my last frost usually hits around late April. Use a frost date calculator (many university extension sites have them) to nail down your date if you’re unsure. Why so early? Peppers germinate slowly—sometimes taking 10-14 days—and need time to develop strong roots and leaves before transplanting.
Here’s a pro tip from trial and error: don’t start too early. I made that mistake once, sowing in January, only to end up with leggy, weak seedlings by April because they outgrew their indoor space. If they’re ready too soon, you’re stuck babysitting overgrown plants or risking a cold snap if you plant out early. Stick to the 8-10 week rule, and you’ll hit the ground running.
Setting Up for Success: Supplies and Conditions
Starting bell pepper seeds early season doesn’t require fancy gear, but a few essentials make a world of difference. Grab some seed-starting trays or small pots—recycled yogurt cups work in a pinch if you poke drainage holes. Fill them with a sterile seed-starting mix, not garden soil, to avoid diseases. I learned this the hard way after a batch of seedlings damped off from using unsterilized compost. Trust me, it’s not worth the risk.
Temperature is critical. Bell peppers need warmth to germinate—aim for 75-80°F (24-27°C). A heat mat under your trays can work wonders if your house is chilly. I keep mine on a heat mat near a south-facing window, though grow lights are a lifesaver if natural light is scarce. Give them 14-16 hours of light daily to prevent spindly growth. And don’t forget to keep the soil moist but not soggy—think damp sponge, not swamp. Cover trays with plastic wrap or a dome until sprouts appear to lock in humidity, then remove it to avoid mold.
Transplanting Seedlings: Timing and Hardening Off
Once your bell pepper seedlings have 2-4 true leaves—usually 6-8 weeks after sowing—it’s time to think about transplanting. But hold your horses! You can’t just plop them outside without prep. Hardening off is the process of gradually introducing indoor plants to outdoor conditions, and it’s non-negotiable. Start by setting them outside for an hour or two in a shaded spot, increasing exposure over 7-10 days. I remember skipping this step years ago, thinking my plants were “tough enough.” Half of them wilted from sun shock within a day. Lesson learned.
Wait until soil temps hit at least 65°F (18°C) and nighttime lows stay above 50°F (10°C) before planting out. Use a soil thermometer if you’re unsure—guessing isn’t worth losing your hard work. When you transplant, space plants 18-24 inches apart in well-drained, fertile soil enriched with compost. I always add a handful of organic fertilizer at planting to give them a boost. Water deeply, and consider black plastic mulch to retain heat if your summers are cool.
Troubleshooting Common Issues with Early-Season Starts
Even with the best intentions, starting bell pepper seeds early season can hit snags. Ever seen tiny seedlings keel over for no reason? That’s damping off, a fungal issue from overwatering or poor air circulation. Prevent it by using fresh mix, watering from below, and adding a small fan near your trays. Another headache is leggy growth—tall, weak stems from insufficient light. If this happens, bump up your light hours or move grow lights closer (2-4 inches above plants).
Pests like aphids can also sneak indoors. I’ve battled these tiny suckers on seedlings before, using a gentle spray of soapy water to knock them off. If you’re struggling, don’t despair. Gardening is a learning curve, and every mishap teaches you something. Keep notes on what works and what doesn’t—I’ve got a notebook full of scribbled lessons from over a decade of pepper-growing blunders and wins.
References
- University of Minnesota Extension – Growing Peppers
- Penn State Extension – Starting Seeds Indoors
- Missouri Botanical Garden – Pepper Growing Guide
- Colorado State University Extension – Vegetable Gardening: Peppers
- Royal Horticultural Society – Grow Your Own Peppers
Disclaimer: This article is for informational purposes only, based on general research and personal experience. It is not intended to serve as a substitute for professional advice. Gardening conditions, climates, and individual circumstances can vary widely, so results may differ from those described. Always consult a qualified professional, such as a local agricultural extension agent or horticulturist, for personalized guidance tailored to your specific situation. The author and publisher are not responsible for any adverse effects or outcomes resulting from the application of the information provided in this content.
This content is for informational purposes only and not a substitute for professional advice.