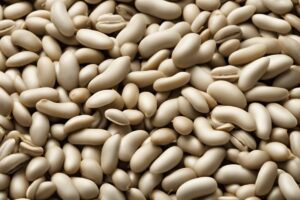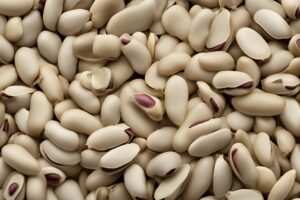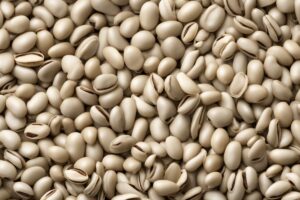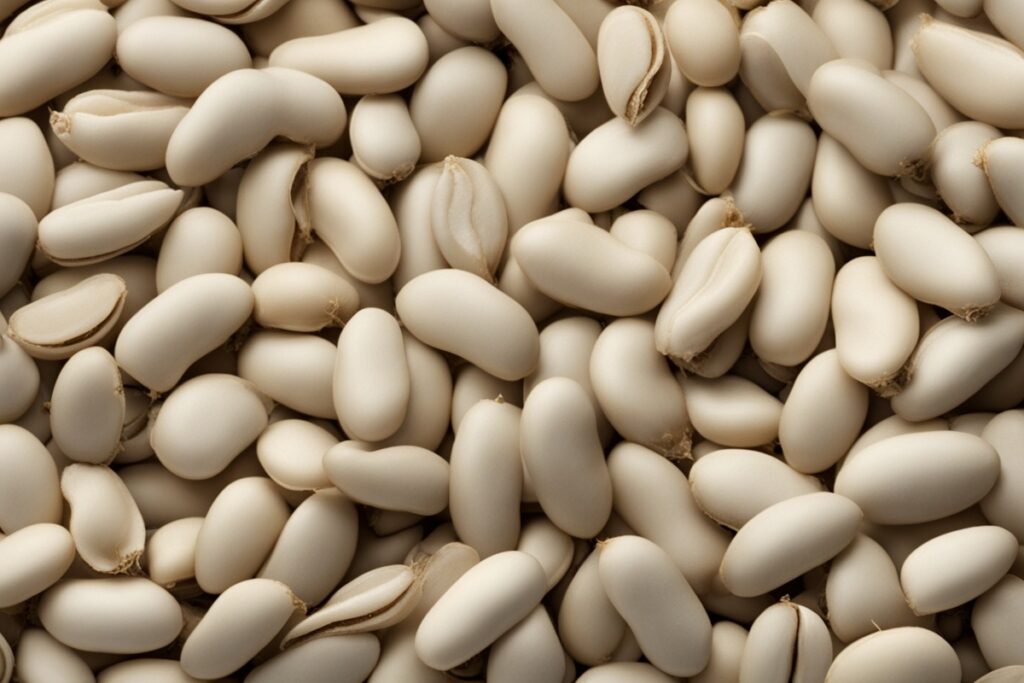
Ever stared at a packet of lima bean seeds and wondered how to get those little guys sprouting fast? I’ve been there, itching to see green shoots pop up in my garden bed. Lima beans, with their hearty texture and rich flavor, are a staple in many home gardens, but they can be a bit stubborn to germinate if you don’t know the tricks. Let’s dive into how to germinate lima bean seeds quickly, using tried-and-true methods that I’ve honed over years of trial and error. Whether you’re a seasoned gardener or just starting out, this guide is packed with actionable steps, personal insights, and expert-backed advice to help you succeed.
Why Lima Beans Can Be Slow to Germinate
Lima beans, like many legumes, have a tough outer seed coat that acts as a protective shield. It’s nature’s way of ensuring survival, but it can slow down water absorption, which is critical for germination. Imagine you’re dealing with a seed that’s basically wearing armor—it’s not going to let water in without a little coaxing. Temperature also plays a huge role. Lima beans thrive in warmth, ideally between 70-85°F (21-29°C). If it’s too cold, they’ll just sit there, sulking in the soil. And let’s not forget soil conditions; poor drainage or compacted dirt can stall the process. Understanding these hurdles is the first step to speeding things up.
Pre-Soaking: The Secret to Faster Germination
One of the most effective ways to germinate lima bean seeds quickly is pre-soaking. I learned this trick years ago when I was impatient to get my garden started. Fill a bowl with lukewarm water—think baby-bath warm, not scalding—and drop your seeds in for 12-24 hours. This softens that tough seed coat, allowing water to penetrate and kickstart the germination process. A word of caution, though: don’t soak them for too long, or they might start to rot. I’ve made that mistake before, and trust me, mushy seeds are a sad sight. After soaking, drain them and pat them dry with a paper towel before planting. You’ll often see sprouts in as little as 3-5 days with this method, compared to a week or more without it.
Scarification: Breaking Through the Tough Exterior
If pre-soaking feels too slow, or if you’ve got particularly stubborn seeds, scarification might be your next best bet. This involves physically nicking or sanding the seed coat to create a tiny opening for water to sneak in. I’ve done this with a small piece of sandpaper, gently rubbing the seed until I see a slight change in texture. You can also use a nail file or even carefully nick it with a knife—just don’t go too deep and damage the embryo inside. It’s a bit like giving the seed a tiny wake-up call. Does it sound tedious? Maybe, but when you’re desperate to get those lima beans growing, it’s worth the extra minute per seed. Studies from agricultural extensions, like the University of Kentucky, back this up, noting that scarification can significantly reduce germination time for hard-coated seeds.
Optimal Planting Conditions for Speedy Sprouts
Even with pre-soaking or scarification, your lima bean seeds won’t germinate quickly if the environment isn’t right. Soil temperature is non-negotiable—aim for at least 70°F. I remember one spring when I planted too early, and my seeds just sat there for weeks because the ground was too chilly. If you’re unsure, grab a soil thermometer (they’re cheap!) or wait until after the last frost. Plant them about 1-2 inches deep in well-draining, loamy soil with a pH of 6.0-6.8. Spacing matters too; give them 2-4 inches apart so they’re not fighting for resources. And here’s a little tip from my own garden: add a bit of compost to the soil before planting. It not only boosts nutrients but also keeps the soil loose, which helps those tender roots push through faster.
Using Heat Mats or Indoor Starts for a Head Start
Let’s face it, not all of us live in tropical climates where the ground is naturally warm enough for lima beans to thrive right away. That’s where heat mats or indoor starting comes in clutch. I’ve used a seedling heat mat under trays of lima bean seeds during cooler months, and it’s like giving them a cozy blanket—germination often happens in just a few days. Set the mat to around 75-80°F and place your planted seeds (in pots or trays) on top. If you don’t have a heat mat, starting indoors near a sunny window or under grow lights works too. Just remember to harden off the seedlings before transplanting them outside, or they’ll throw a fit from the shock. A gradual introduction to outdoor conditions over a week does the trick. Have you ever tried starting seeds indoors? If not, it’s a game-changer for speeding things up.
Troubleshooting Slow Germination: What’s Going Wrong?
Sometimes, despite your best efforts, those lima bean seeds just refuse to budge. Don’t throw in the towel yet—let’s troubleshoot. First, check your soil moisture. It should be consistently damp but not waterlogged. I’ve drowned seeds before by overwatering, thinking more was better, only to realize they need air as much as water. Second, double-check the temperature; if it’s below 65°F, germination will crawl. Third, consider seed viability. Old seeds lose their vigor over time. I once planted a packet that’d been sitting in my shed for three years, and not a single one sprouted. A quick viability test—place a few seeds in a damp paper towel for a few days—can save you the frustration. If none sprout, it’s time to buy fresh ones. And finally, watch for pests or diseases. Fungi can attack seeds in overly wet conditions, so ensure good drainage and avoid planting in areas with poor air circulation.
Getting lima bean seeds to germinate quickly isn’t just about one magic trick—it’s about stacking the odds in your favor with a combination of techniques. From pre-soaking and scarification to nailing the perfect soil and temperature conditions, every step counts. I’ve seen firsthand how a little patience and tweaking can turn a slow start into a thriving garden bed full of lush lima bean plants. Picture this: in just a week or so, you could be marveling at those first green shoots, knowing you made it happen. Isn’t that worth a little extra effort upfront? Follow these steps, adapt them to your unique setup, and you’ll be harvesting those buttery beans before you know it.
References
- University of Kentucky Cooperative Extension Service – Seed Germination Basics
- University of Minnesota Extension – Growing Beans in Home Gardens
- Clemson University Home & Garden Information Center – Lima Beans
- Missouri Botanical Garden – Seed Starting Tips
- Penn State Extension – Starting Seeds Indoors
Disclaimer: This article is for informational purposes only, based on general research and personal gardening experience. It is not intended to serve as a substitute for professional advice. Gardening conditions, seed quality, and environmental factors can vary widely, and results may differ from those described. Always consult a qualified horticulturist, agricultural extension service, or other professional for personalized guidance tailored to your specific situation. The methods and suggestions provided here are meant to offer a starting point, and the author assumes no responsibility for any outcomes resulting from their application.
This content is for informational purposes only and not a substitute for professional advice.