Starting a garden indoors can feel like a little act of rebellion against the seasons. While the world outside is still cloaked in winter’s chill, you’re coaxing life from tiny seeds in the warmth of your home. If you’ve got your heart set on growing lavender, you’re in for a treat. Sowing lavender seeds indoors isn’t just a practical way to get a head start on the growing season; it’s also a deeply rewarding process that fills your space with the promise of fragrant blooms. But let’s not sugarcoat it—lavender can be a bit of a diva in the germination department. With the right approach, though, you can master the art of starting these seeds indoors and set yourself up for a garden that’s the envy of the neighborhood. Let’s dive into how to sow lavender seeds indoors with tips and tricks I’ve gathered from years of trial and error, plus insights from trusted horticultural experts.
Why Sow Lavender Seeds Indoors?
Have you ever wondered why gardeners bother with the hassle of indoor seed starting when they could just wait for spring? Well, lavender is a slow starter, often taking 14 to 21 days to germinate—and that’s if conditions are just right. Starting indoors gives you control over those conditions, from temperature to light, ensuring those finicky seeds have the best shot at sprouting. Plus, in regions with short growing seasons, sowing lavender seeds indoors can extend your timeline, letting plants mature enough to bloom by summer. Imagine the satisfaction of stepping outside to a garden buzzing with bees, all because you took the time to nurture those seeds in February. I’ve seen firsthand how starting indoors can turn a patchy lavender patch into a lush, fragrant border—it’s worth the effort.
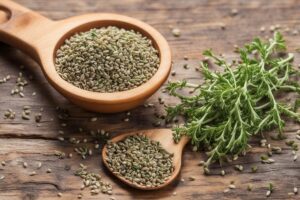
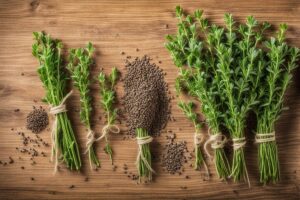
Choosing the Right Lavender Seeds
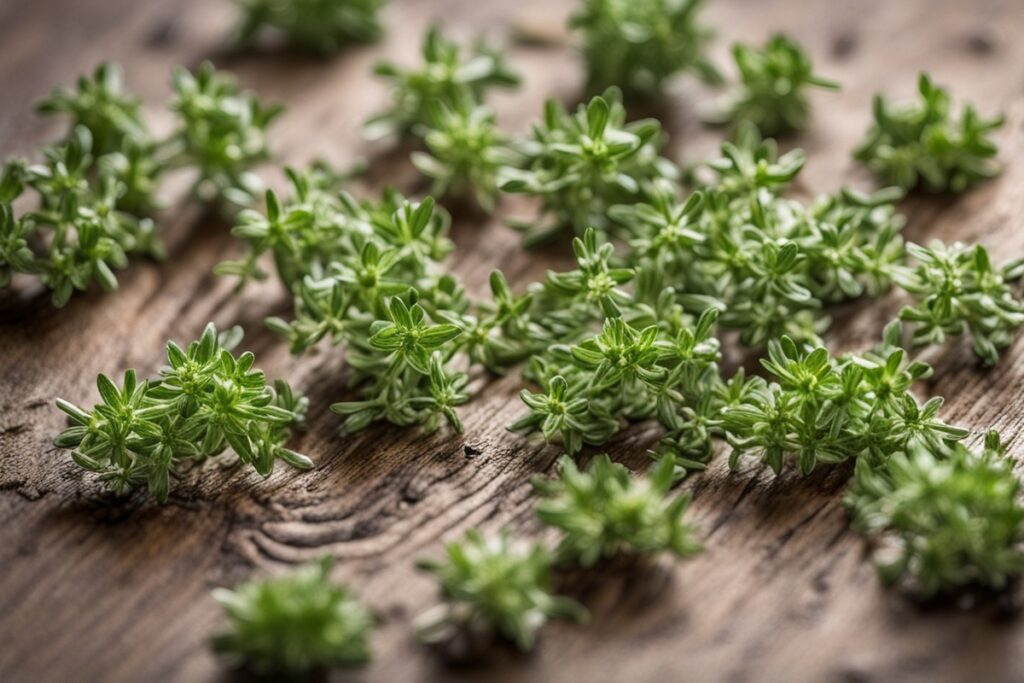
Not all lavender is created equal, and picking the right variety is half the battle when you sow lavender seeds indoors. English lavender (Lavandula angustifolia) is a popular choice for its hardiness and classic scent, thriving in USDA zones 5-9. If you’re in a warmer climate, Spanish lavender (Lavandula stoechas) might be your go-to with its unique, pineapple-shaped blooms. I once made the mistake of buying a generic “lavender mix” without checking the species, only to end up with plants that couldn’t survive my chilly winters. Lesson learned: read the packet or ask your supplier for specifics. Look for seeds from reputable sources—local nurseries or trusted online retailers like Baker Creek Heirloom Seeds often provide detailed germination info. And here’s a pro tip: fresher seeds germinate better, so don’t let them sit in your drawer for years before planting.
Timing and Preparation for Indoor Sowing
Timing is everything when you sow lavender seeds indoors. Aim to start 10-12 weeks before your last expected frost date—think late winter or early spring for most regions. For me, in Zone 6, that means mid-February. Why so early? Lavender’s slow germination and growth rate mean it needs a long head start to be ready for outdoor transplanting by late spring. Before you even touch a seed, gather your supplies: seed trays with drainage holes, a quality seed-starting mix (not regular potting soil—it’s too heavy), a spray bottle for gentle watering, and plastic covers or cling wrap to trap humidity. I’ve found that pre-moistening the soil mix prevents seeds from floating away during initial watering. Oh, and don’t skip labeling your trays. I once mixed up lavender with basil seeds and spent weeks wondering why my “lavender” smelled like pesto!
The Step-by-Step Process to Sow Lavender Seeds Indoors
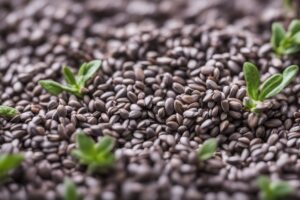
Ready to get your hands dirty? Here’s how to sow lavender seeds indoors with precision. First, fill your seed trays with a light, well-draining seed-starting mix, leaving about a quarter-inch of space at the top. Lavender seeds need light to germinate, so don’t bury them deep—just press them gently into the surface or sprinkle a whisper-thin layer of soil over them. Next, mist the soil with a spray bottle until it’s evenly damp, not soggy. Cover the tray with a plastic dome or wrap to lock in moisture, and place it in a warm spot—ideally 70-75°F (21-24°C). A heat mat can be a game-changer if your home is drafty; I’ve used one for years with great success. Check daily for condensation inside the cover, venting it slightly if it’s too wet to prevent mold. Once sprouts appear—usually in 2-3 weeks—remove the cover and move the tray to a sunny windowsill or under grow lights. Speaking of lights, they’re non-negotiable if your natural light is limited. I learned this the hard way when my first batch of lavender seedlings grew leggy and weak from insufficient light. Aim for 14-16 hours of bright, indirect light daily to keep them sturdy.
Common Challenges and How to Overcome Them
Let’s face it—lavender seeds can test your patience. One common hiccup is poor germination rates. If you’ve waited a month and nothing’s happening, don’t throw in the towel just yet. Some lavender seeds benefit from a process called stratification, where they’re chilled in the fridge for 3-4 weeks before sowing to mimic winter conditions. I’ve tried this with stubborn batches, mixing seeds with damp sand in a baggie, and it often does the trick. Another issue is damping-off, a fungal disease that causes seedlings to collapse. Keep air circulating by cracking the cover after germination, and avoid overwatering—use that spray bottle sparingly. If you’re dealing with leggy seedlings, like I did in my early gardening days, it’s usually a sign of insufficient light. Move them closer to a window or invest in a grow light setup. Remember, troubleshooting is part of the journey. Every gardener, even the pros, has lost a few seedlings along the way.
Caring for Lavender Seedlings and Transplanting Outdoors
Once your lavender seedlings have their first true leaves—those tiny, recognizable lavender-shaped ones—it’s time to thin them out if they’re crowded. Use scissors to snip weaker plants at the soil line rather than pulling them, which can disturb roots. Keep the soil consistently moist but not waterlogged, and gradually reduce humidity by leaving the tray uncovered for longer periods. When seedlings are 3-4 inches tall, usually after 8-10 weeks, start “hardening off” by exposing them to outdoor conditions for a few hours daily, increasing the time over a week. I’ve rushed this step before, and let me tell you, sunburned lavender isn’t pretty—those tender leaves can’t handle sudden full sun. Transplant them to a sunny, well-drained spot in your garden after the last frost, spacing plants 12-18 inches apart. Add a bit of grit or sand to the soil if drainage is poor; lavender hates “wet feet.” With proper care, those indoor-started seeds will transform into hardy plants that reward you with waves of purple and a scent that’s pure summer.
As a final thought, sowing lavender seeds indoors isn’t just about growing plants—it’s about growing as a gardener. There’s something magical about watching those first green specks emerge, knowing you’ve outsmarted nature’s timeline. Sure, it takes patience and a bit of fussing, but isn’t that the point of gardening? You’re not just cultivating lavender; you’re cultivating a connection to the earth, one tiny seed at a time. So, grab your trays, get started, and let me know how it goes—I’d love to hear about your successes (and inevitable mishaps) in the comments.
References
- University of Minnesota Extension – Growing Lavender
- Missouri Botanical Garden – Lavandula angustifolia
- Colorado State University Extension – Herbaceous Perennials: Lavender
- Royal Horticultural Society – Growing Lavender
- Clemson University Cooperative Extension – Lavender
Disclaimer: This article is for informational purposes only, based on general research and personal experience. It is not intended to serve as a substitute for professional advice. Gardening conditions, seed viability, and individual circumstances can vary widely, so results may differ from those described. Always consult a qualified horticulturist, agricultural extension service, or other professional for personalized guidance tailored to your specific situation and region. The author and publisher are not responsible for any adverse effects or consequences resulting from the application of the information provided in this content. Use discretion and conduct additional research as needed to ensure the best outcomes for your gardening endeavors.
This content is for informational purposes only and not a substitute for professional advice.