Growing your own bell peppers at home is one of those simple joys that never gets old. There’s something incredibly satisfying about plucking a vibrant, crunchy pepper straight from a plant you nurtured from a tiny seed. If you’re tight on space or just prefer the convenience of container gardening, planting bell pepper seeds in pots is a fantastic option. Whether you’ve got a sunny balcony, a small patio, or even a bright windowsill, you can cultivate these colorful veggies with a little know-how and patience. I’ve been growing bell peppers in pots for years, and I’m excited to share my tips, tricks, and hard-learned lessons to help you succeed. Let’s dig into everything you need to know to get started, from choosing the right seeds to harvesting your first crop.
Why Choose Pots for Planting Bell Pepper Seeds?
Have you ever wondered why some gardeners swear by container gardening? Well, planting bell pepper seeds in pots offers a slew of benefits, especially if you’re working with limited space or tricky outdoor conditions. For starters, pots give you control—control over the soil, the location, and even the microclimate around your plants. If a sudden cold snap hits, you can whisk your pots indoors. If your backyard soil is more clay than loam, you don’t have to spend hours amending it; just fill a pot with the perfect mix.
I remember my first attempt at growing peppers in the ground—disaster! The soil was too compacted, and my poor plants barely survived. Switching to pots the next season was a game-changer. Not only did my yield improve, but I could also move the pots around to chase the sun. Bell peppers love warmth and light, and with pots, you’re not stuck in one spot. Plus, containers reduce the risk of soil-borne pests and diseases, which can be a real headache in traditional gardens.
Selecting the Right Bell Pepper Seeds and Supplies
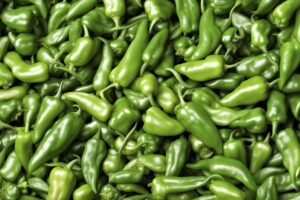
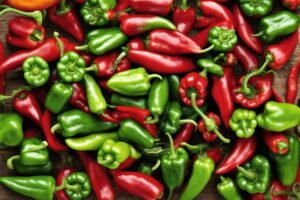
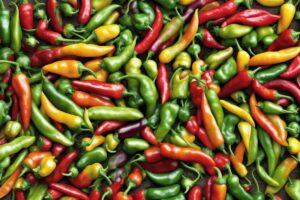
Before you get your hands dirty, let’s talk seeds. Not all bell pepper seeds are created equal, and choosing the right variety can make or break your harvest. Look for seeds labeled as “container-friendly” or “compact” if space is a concern—varieties like ‘Yolo Wonder’ or ‘California Wonder’ thrive in pots. If you’re dreaming of a rainbow harvest, grab a mix of colors—red, yellow, and green peppers all start from the same seeds; they just ripen at different stages.
You’ll also need a few essentials: a pot (at least 12-18 inches deep and wide with drainage holes), a saucer to catch excess water, high-quality potting mix (not garden soil—it’s too heavy), and a sunny spot with 6-8 hours of direct light. Don’t skimp on the potting mix; bell peppers need well-draining, nutrient-rich soil to flourish. I once made the mistake of using cheap, dense soil, and my plants sulked for weeks before I repotted them. Lesson learned: invest in a mix with perlite or vermiculite for aeration.
Step-by-Step Guide to Planting Bell Pepper Seeds in Pots
Ready to plant? Let’s walk through the process step by step. First, timing is everything. Bell peppers are warm-season crops, so start your seeds indoors 8-10 weeks before your area’s last frost date. I usually kick things off in late winter, using a sunny windowsill or a grow light to give them a head start. Fill your pots or seed trays with moist potting mix, plant the seeds about ¼ inch deep, and cover them lightly. Keep the soil consistently moist but not soggy—think damp sponge, not swamp.
Germination can take 7-14 days, sometimes longer if it’s chilly. Once those little green shoots pop up, celebrate, but don’t slack off! Move them to a warm spot (70-80°F is ideal) and thin out weaker seedlings if you’ve planted multiples in one pot. When the seedlings have 2-3 true leaves, and the danger of frost is past, harden them off by gradually exposing them to outdoor conditions over a week. Then, transplant them into their final pots if you started in trays. Space them well—one plant per pot unless it’s a massive container. Trust me, overcrowding leads to stunted growth; I learned that the hard way during a particularly ambitious planting spree.
Caring for Bell Pepper Plants in Pots
Now that your seeds are in the ground—er, pot—it’s time to play the nurturing game. Bell peppers aren’t high-maintenance, but they do have specific needs. Watering is key; keep the soil evenly moist, especially during hot spells. I’ve found that sticking my finger an inch into the soil is the best test—if it’s dry, it’s time to water. Overwatering, though, can lead to root rot, so ensure those drainage holes are doing their job.
Feeding is another must. Use a balanced fertilizer (like a 10-10-10) every 2-3 weeks once the plants start flowering. I’ve also had great success with organic options like compost tea—it’s like a superfood smoothie for plants. And don’t forget to stake or cage taller varieties; a sudden gust of wind can topple a fruit-heavy plant faster than you can say “pepper harvest.” Lastly, keep an eye out for pests like aphids or spider mites. A blast of water or a dab of neem oil usually does the trick without resorting to harsh chemicals.
Troubleshooting Common Issues When Planting Bell Pepper Seeds in Pots
Even with the best care, things can go sideways. Imagine you’re checking on your pots one morning, only to find yellowing leaves or droopy stems. What gives? Yellow leaves often signal overwatering or a nutrient deficiency—cut back on H2O and check your fertilizer routine. If the plants aren’t setting fruit despite plenty of flowers, it could be a pollination issue. Bell peppers are self-pollinating, but a gentle shake of the plant or a helping hand with a small brush can work wonders, especially if you’re growing indoors with no breeze.
Then there’s the dreaded blossom end rot—those ugly, sunken spots on the fruit. It’s usually caused by inconsistent watering or a calcium deficiency. I’ve battled this myself and found that adding crushed eggshells to the soil and sticking to a strict watering schedule helps. If pests or diseases strike, don’t panic. Remove affected leaves, isolate the pot if possible, and consult resources like your local extension service for tailored advice. Gardening is as much about problem-solving as it is about planting, and every hiccup teaches you something new.
Harvesting and Enjoying Your Bell Peppers
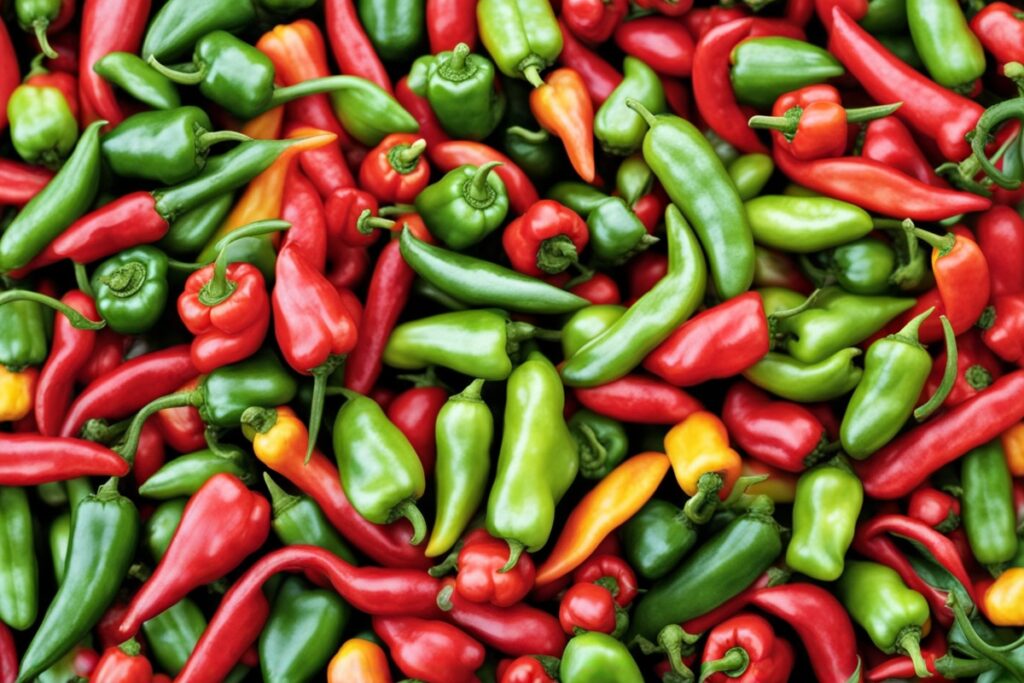
After all that TLC, the moment of truth arrives: harvest time. Bell peppers can be picked when they’re green (about 60-70 days after transplanting) or left to ripen into red, yellow, or orange hues for sweeter flavor (another 2-3 weeks). Use scissors or pruners to snip them off—yanking can damage the plant. I love harvesting a mix of colors; it’s like creating a living palette on my patio. Last summer, I grew so many peppers in pots that I ended up grilling, stuffing, and freezing them for months of meals. There’s nothing quite like the taste of homegrown, and knowing you did it all in a humble container makes it even sweeter.
Keep harvesting regularly to encourage more fruit production, and don’t be shy about experimenting with recipes. Whether you’re tossing them into a stir-fry or slicing them for a fresh salad, your pot-grown peppers will steal the show. And hey, if you’ve got extras, share them with neighbors or friends—gardening is a great way to build community, one pepper at a time.
References
- University of Minnesota Extension – Growing Peppers
- Colorado State University Extension – Growing Peppers
- Missouri Botanical Garden – Pepper Growing Guide
- Penn State Extension – Growing Peppers in the Home Garden
- Clemson University Cooperative Extension – Peppers
Disclaimer: This article is for informational purposes only, based on general research and personal experience in gardening. It is not intended to serve as a substitute for professional advice. Gardening conditions, plant needs, and outcomes can vary widely based on location, climate, and individual circumstances. Always consult a qualified professional, such as a local horticulturist or extension service, for personalized guidance tailored to your specific situation. The tips and recommendations provided here are meant to inspire and educate, but they may not apply universally to every gardener or growing environment.
This content is for informational purposes only and not a substitute for professional advice.