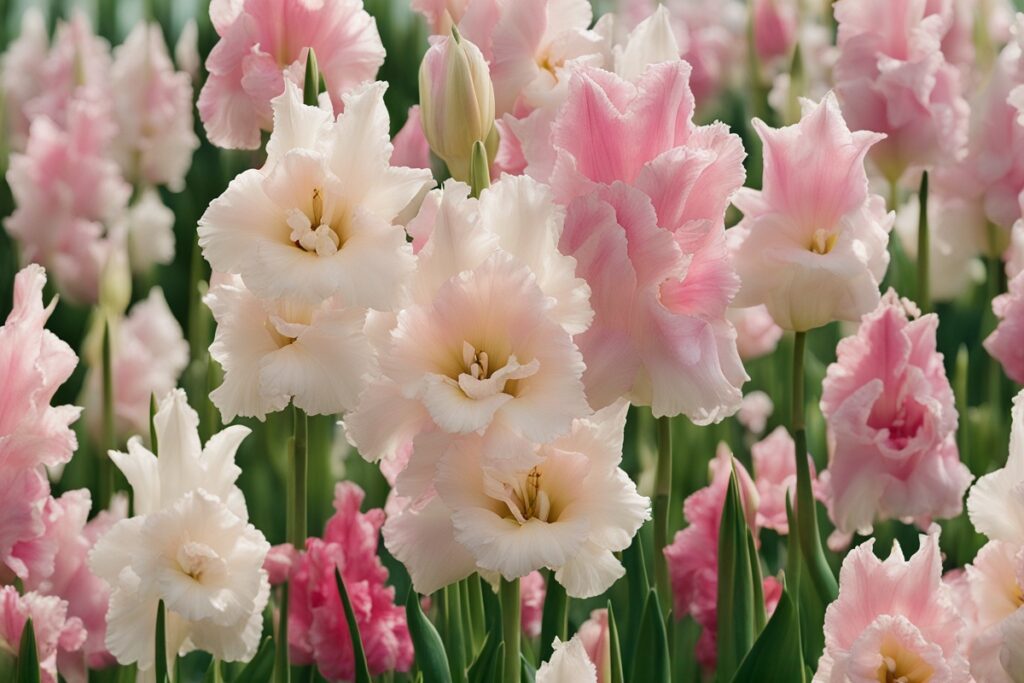
Ahh, the gladiolus—those towering spikes of vibrant blooms that can turn any garden into a showstopper. If you’ve ever dreamed of growing these stunning flowers, you’re in for a treat. But here’s the thing: the secret to jaw-dropping gladiolus isn’t just in planting the bulbs; it’s in how you prepare the soil for gladiolus bulbs. Get this step right, and you’re halfway to a garden that’ll have your neighbors peeking over the fence with envy. Mess it up, and, well, let’s just say you might be staring at a sad patch of dirt instead of those glorious flower spikes. So, how do you prepare soil for gladiolus bulbs to ensure they thrive? Stick with me, and I’ll walk you through every detail, from understanding your soil to tweaking it for perfection, with a few hard-earned tips from my own garden mishaps along the way.
Why Soil Preparation Matters for Gladiolus Bulbs
Let’s start with the basics. Gladiolus bulbs, or corms as they’re technically called, are picky little things. They’re not like some hardy wildflowers that’ll grow just about anywhere. No, these beauties demand well-drained, nutrient-rich soil to send up those tall, sturdy stems loaded with blooms. Poor soil prep can lead to stunted growth, weak stems that flop over in the first gust of wind, or, worst of all, rot setting in before they even get a chance to sprout. I learned this the hard way a few summers back when I planted a batch of gladiolus in heavy clay soil without amending it. Half of them rotted, and the other half barely made it to ankle height. Lesson learned: preparing the soil isn’t just a suggestion; it’s a must.
Know Your Soil Before You Start
Before you even think about digging, you’ve got to know what you’re working with. Is your soil sandy, clay-heavy, or somewhere in between? Gladiolus bulbs thrive in loamy soil—a balanced mix of sand, silt, and clay that drains well but holds just enough moisture. If you’re unsure, grab a handful of your garden dirt and squeeze it. Does it crumble easily, or does it stick together like modeling clay? Sandy soil falls apart too quickly and doesn’t hold nutrients, while clay soil compacts and traps water—both are bad news for gladiolus. A simple soil test kit from your local garden center can also tell you the pH level. Aim for a slightly acidic to neutral range, between 6.0 and 7.0. If your soil’s way off, don’t worry; we’ll get to fixing it. But knowing where you stand is the first step to preparing soil for gladiolus bulbs that’ll actually grow.
Here’s a quick tip from experience: if you’re new to gardening, don’t skip this step. I once assumed my backyard dirt was “good enough” without testing it. Turns out, it was too alkaline, and my gladiolus struggled to take up nutrients. A $10 soil test would’ve saved me a season of frustration. Live and learn, right?
Amend Your Soil for Optimal Drainage and Nutrients
Once you’ve got a handle on your soil type, it’s time to roll up your sleeves and make it gladiolus-ready. Drainage is non-negotiable—these bulbs hate sitting in water. If you’ve got heavy clay soil, mix in some organic matter like compost or well-rotted manure to loosen it up. For sandy soil, the same organic matter helps retain moisture and nutrients without turning it into a swamp. Aim to work in about 2-3 inches of compost into the top 12 inches of soil. I usually spread it out with a garden fork and mix it in over a weekend. It’s a workout, but trust me, your gladiolus will thank you with blooms that seem to reach for the sky.
Don’t forget nutrients while you’re at it. Gladiolus are heavy feeders, so a balanced fertilizer with a 10-10-10 ratio (nitrogen, phosphorus, potassium) can give them a head start. Mix it into the soil a couple of weeks before planting to let it settle. But here’s a word of caution: don’t overdo it. Too much nitrogen, and you’ll get lush leaves with no flowers. Been there, done that, and it’s not a good look.
Choose the Right Spot and Prep the Bed
Where you plant matters just as much as how you prepare soil for gladiolus bulbs. These flowers need full sun—think 6 to 8 hours of direct light daily—to strut their stuff. Pick a spot that’s sheltered from strong winds too; those tall stems can snap if they’re battered around. I’ve got a corner of my garden near a fence that works perfectly—it gets morning sun and a bit of protection from afternoon gusts. If you’re dealing with a windy area, consider staking your gladiolus later or planting near a natural windbreak like a hedge.
When prepping the bed, loosen the soil to a depth of at least 12-15 inches. Gladiolus bulbs need room for their roots to stretch out. Remove any rocks, weeds, or debris while you’re at it. Imagine you’re creating a cozy, fluffy bed for your bulbs to nestle into—because that’s exactly what you’re doing. I like to double-check the drainage by digging a small hole, filling it with water, and seeing how fast it disappears. If it’s still there after an hour, you’ve got more amending to do. Better to catch it now than after you’ve planted.
Timing and Seasonal Considerations for Soil Prep
Timing can make or break your gladiolus game. Most gardeners plant these bulbs in spring after the last frost, but soil prep can start weeks or even months earlier. If you’re in a colder climate like I am (Zone 5), fall is a great time to amend your soil with compost and let it break down over winter. By spring, it’s ready to go. In warmer zones, you might prep just a few weeks before planting. Either way, don’t rush it. Rushing leads to shortcuts, and shortcuts lead to sad gladiolus—or so I’ve learned after one too many last-minute planting disasters.
Another thing to consider: if you’re succession planting for continuous blooms (a trick I love), prepare multiple beds at once. Last year, I staggered my plantings by two weeks, prepping each spot ahead of time. The result? Gladiolus blooming from July straight through to September. It’s like having a floral relay race in your backyard. Just make sure each bed gets the same TLC in terms of soil prep, or you’ll notice the difference in bloom quality.
Common Mistakes to Avoid When Preparing Soil
Let’s talk about the pitfalls, because even seasoned gardeners can slip up. First, don’t skimp on drainage. I’ve already mentioned my clay soil fiasco, but it bears repeating—waterlogged soil is a death sentence for gladiolus bulbs. If you’re not sure, err on the side of adding more organic matter or even raising the bed slightly. Second, avoid planting in compacted soil. If you can’t easily push a shovel in, neither can the roots. Take the time to loosen it up. And finally, don’t ignore pH. I’ve seen folks online shrug it off, but a quick adjustment with lime (for acidic soil) or sulfur (for alkaline soil) can make a world of difference. Wondering if you’ve made these mistakes before? You’re not alone. Gardening’s a learning curve, and every flop teaches you something new.
Preparing soil for gladiolus bulbs isn’t just a chore—it’s the foundation of a spectacular garden display. Get to know your soil, amend it with care, pick the perfect spot, time it right, and sidestep those common blunders, and you’ll be rewarded with blooms that stop you in your tracks. I still remember the first time I got it right: a row of crimson gladiolus towering over my garden bed, swaying gently in the breeze. It felt like a personal victory. So, grab that shovel, test your soil, and start prepping. Have you grown gladiolus before, or is this your first go? Either way, I’d love to hear how it turns out—or share a laugh over the flops. We’ve all been there!
References
- University of Minnesota Extension – Growing Gladiolus
- Missouri Botanical Garden – Gladiolus
- Penn State Extension – Gladiolus
- Royal Horticultural Society – Growing Gladiolus
- Iowa State University Extension – Gladiolus
Disclaimer: This article is for informational purposes only, based on general research and personal gardening experience. It is not intended to serve as a substitute for professional advice. Soil conditions, climate, and individual garden needs can vary widely, and what works in one scenario may not apply to another. Always consult a qualified horticulturist, local extension service, or other gardening professional for personalized guidance tailored to your specific situation. Gardening involves trial and error, and while the tips shared here aim to help, results are not guaranteed. Use your best judgment and prioritize safety when working with soil amendments, tools, and fertilizers.
This content is for informational purposes only and not a substitute for professional advice.


