Have you ever dreamed of bringing the soothing scent of lavender into your home, even if you’re short on space? Growing lavender seeds in small pots is not only possible but also incredibly rewarding. Whether you’ve got a tiny apartment balcony or just a sunny windowsill, you can cultivate this fragrant herb with a little know-how and patience. I’ve dabbled in growing lavender myself—starting with a cramped kitchen counter setup—and let me tell you, the first whiff of those blooms made every bit of effort worthwhile. In this guide, I’ll walk you through everything you need to know to grow lavender seeds in small pots, from choosing the right materials to troubleshooting common hiccups. Let’s dig in, shall we?
Why Grow Lavender Seeds in Small Pots?
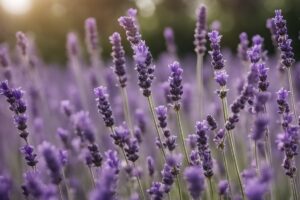
Lavender isn’t just a pretty face; it’s a powerhouse of calm. Its scent can ease stress, and its flowers add a pop of purple to any space. But why opt for small pots? For starters, they’re perfect for urban gardeners or anyone with limited outdoor real estate. Small pots are also easier to manage—less soil to haul, less space to worry about. Plus, they let you control the environment more precisely, which is a lifesaver when you’re dealing with finicky lavender seeds that need just the right conditions to sprout. Imagine you’re juggling a busy schedule; a few small pots on your desk or patio can be your low-maintenance slice of nature without overwhelming you.
That said, growing from seeds rather than cuttings or established plants adds a layer of challenge. Seeds take longer to germinate and require patience, but the cost savings and the sheer satisfaction of nurturing a plant from scratch can’t be beat. I remember sowing my first batch of lavender seeds and checking on them daily like a nervous parent—when those tiny green shoots finally appeared, it felt like a personal victory!
Choosing the Right Lavender Seeds and Pots
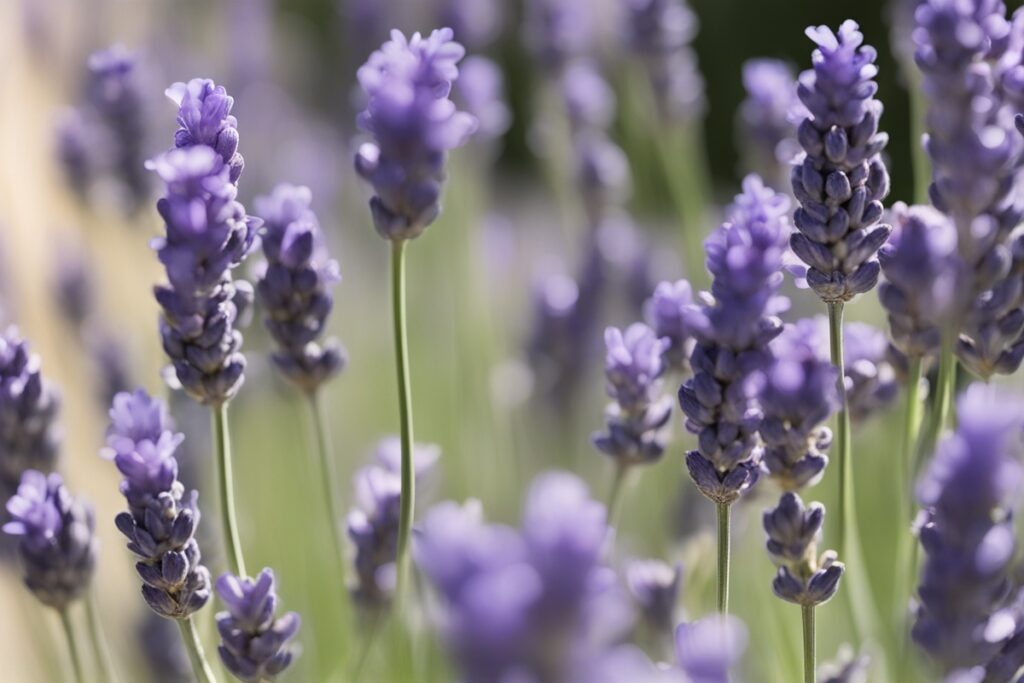
Not all lavender is created equal. If you’re growing in small pots, opt for compact varieties like Lavandula angustifolia ‘Munstead’ or ‘Hidcote.’ These types stay smaller—usually under 18 inches tall—and won’t outgrow their containers as quickly as larger species like Lavandula x intermedia. Check seed packets for terms like “dwarf” or “compact” to ensure you’re picking a variety suited for confined spaces.
As for pots, size and material matter. Aim for containers that are at least 6-8 inches deep and wide with drainage holes—lavender hates “wet feet.” Terracotta pots are my go-to because they’re breathable and help prevent overwatering, though they can dry out fast in hot climates. Plastic pots work too if you’re on a budget; just don’t skimp on drainage. I learned this the hard way when I used a cute decorative pot without holes, and my poor lavender drowned within weeks. Add a layer of pebbles or broken pottery at the bottom for extra drainage insurance, and you’re golden.
Preparing to Sow: Soil and Timing Tips
Lavender seeds are picky about their bed. They thrive in well-draining, slightly alkaline soil with a pH between 6.7 and 7.3. Mix equal parts potting soil, perlite, and coarse sand for a gritty texture that mimics their native Mediterranean habitat. Avoid heavy, water-retaining soils or compost-rich mixes—too much organic matter can lead to root rot. If you’re unsure about your soil’s pH, grab a cheap testing kit from a garden center. I once skipped this step, assuming my store-bought mix was fine, only to watch my seedlings struggle in overly acidic conditions. Lesson learned: test first, plant later.
Timing is another hurdle. Lavender seeds need a cold stratification period—mimicking winter—to break dormancy. Pop your seeds in a damp paper towel inside a plastic bag and refrigerate them for 3-6 weeks before sowing. I usually do this in late winter, aiming to plant in early spring when indoor temperatures are easier to control. If you’re in a rush, some gardeners skip stratification by soaking seeds in water for 24 hours, though germination rates might dip. Sow seeds on the soil surface (they need light to germinate) and lightly press them in—don’t bury them deep. Cover the pot with plastic wrap to lock in humidity, and place it in a warm spot, around 70°F (21°C), until sprouts appear in 14-21 days. Patience is key here; don’t give up if it takes longer!
Caring for Lavender Seedlings in Small Pots
Once your lavender seeds sprout, it’s like welcoming a new pet into your home—they need consistent care but not constant fussing. First, remove the plastic cover to prevent mold and give them plenty of light. A sunny windowsill with 6-8 hours of direct sunlight works, but if you’re in a dim space like I was during a dreary winter, a grow light is a game-changer. Keep the soil lightly moist but never soggy; overwatering is the number one killer of lavender. I use the “finger test”—stick your finger an inch into the soil, and if it’s dry, water sparingly.
Thin out weaker seedlings if multiple sprout in one pot to avoid overcrowding. It feels harsh, but trust me, giving the strongest plant room to grow pays off. As they mature, rotate the pot every few days for even light exposure—lavender can get leggy and lean toward the sun if you don’t. And here’s a pro tip: resist the urge to fertilize heavily. A diluted, balanced liquid fertilizer (like a 10-10-10) once a month during the growing season is plenty. Too much nitrogen, and you’ll get lush leaves but no flowers. Been there, done that, and it’s a bummer.
Troubleshooting Common Issues When Growing Lavender in Pots
Let’s face it—growing lavender seeds in small pots isn’t always smooth sailing. One common headache is poor germination. If weeks pass with no sprouts, your seeds might be old (they lose viability after a year or two) or the stratification wasn’t long enough. Always buy fresh seeds from reputable suppliers, and double-check your cold treatment process. Another issue is damping off, a fungal disease that causes seedlings to collapse. I’ve lost a few batches to this sneaky culprit, and it’s usually due to overwatering or poor air circulation. Use sterile soil, water from the bottom by setting the pot in a tray, and keep a small fan nearby if you’re indoors.
Pests like aphids can also crash the party, especially if your pots are near other plants. Inspect leaves regularly, and if you spot these tiny suckers, a blast of water or a dab of insecticidal soap usually does the trick. And don’t ignore yellowing leaves—they often signal overwatering or poor drainage. Adjust your habits before it’s too late. Ever had a plant die on you and wondered, “What did I do wrong?” Yeah, me too. Keeping a little garden journal to track watering and light conditions helped me spot patterns and save future plants.
Harvesting and Long-Term Care for Potted Lavender
After all your hard work, harvesting those lavender blooms feels like striking gold. Most varieties grown from seed take 1-2 years to flower, so don’t expect instant results. When buds form, cut stems just above the leaves using clean scissors—harvest in the morning when essential oils are strongest. Dry the bundles upside down in a cool, dark place for crafts or sachets. I once made a lavender pillow from my first harvest, and it still sits on my couch, reminding me of that tiny pot’s big payoff.
For long-term care, lavender in small pots needs occasional repotting—every 1-2 years—into a slightly larger container to refresh the soil. Prune annually after flowering to keep the plant bushy and prevent woodiness; cut back about a third of the growth but avoid old wood, as it won’t regrow. If winters are harsh where you are, bring pots indoors or wrap them in burlap to protect roots. My first lavender survived a brutal Midwest winter only because I tucked it into my garage with a heat lamp nearby. Experiment with what works for your climate, but don’t let neglect sneak up on you—lavender’s tough, but it’s not invincible.
References
- University of Minnesota Extension – Growing Lavender
- Missouri Botanical Garden – Lavandula angustifolia
- Colorado State University Extension – Herbaceous Perennials: Lavender
- Royal Horticultural Society – Growing Lavender
- Clemson University Cooperative Extension – Lavender
Disclaimer: This article is for informational purposes only, based on general research and personal experience—it’s not a substitute for professional advice. Gardening conditions vary widely based on climate, soil, and individual setups, so results may differ from those described. Always consult a qualified horticulturist or local extension service for personalized guidance tailored to your specific environment and needs. I’ve shared what’s worked for me, but your journey with lavender might require unique adjustments, and I encourage seeking expert input for the best outcomes.
This content is for informational purposes only and not a substitute for professional advice.