Ah, freesias—those fragrant, colorful blooms that seem to capture the essence of spring in every petal. If you’ve ever caught a whiff of their sweet, citrusy scent wafting through a garden, you know why they’re a favorite among flower enthusiasts. But here’s the thing: growing vibrant freesias isn’t just a matter of tossing bulbs into the ground and hoping for the best. It takes a bit of know-how, a sprinkle of patience, and some tried-and-true planting tips to get those flowers popping with color and life. Whether you’re a seasoned gardener or a newbie with a green thumb itching to try something new, I’m here to walk you through the ins and outs of planting freesias that’ll steal the show in your garden. Let’s dig in—pun intended!
Why Freesias Deserve a Spot in Your Garden
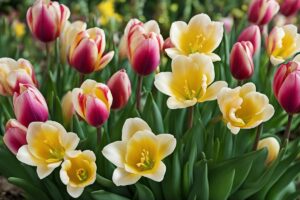
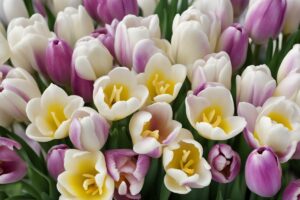
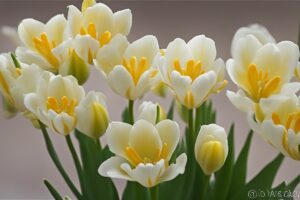
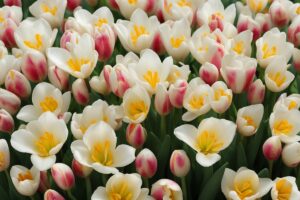
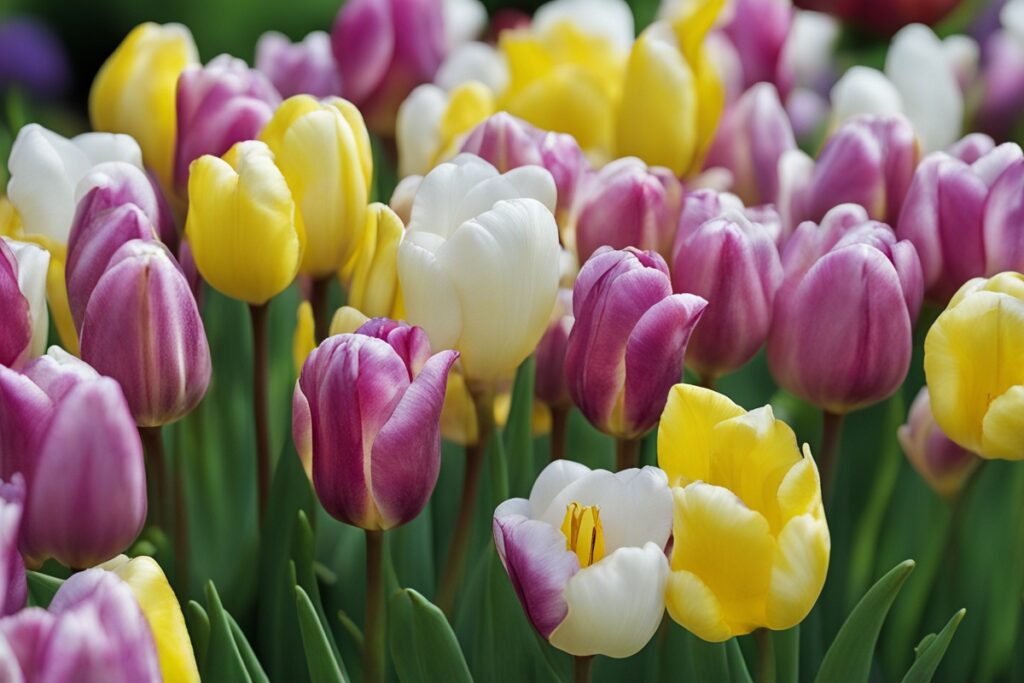
Before we get our hands dirty with planting tips for vibrant freesias, let’s chat about why these flowers are worth the effort. Native to South Africa, freesias are part of the iris family and come in a rainbow of hues—think sunny yellows, fiery reds, pristine whites, and even deep purples. They’re not just pretty faces, though; their fragrance is often described as a mix of citrus and jasmine, making them a go-to for cut flower arrangements or simply to elevate your backyard vibe. Plus, they’re relatively low-maintenance once you’ve got the planting down pat. Imagine strolling through your garden on a crisp morning, a cup of coffee in hand, and being greeted by a cluster of freesias in full bloom. Doesn’t that sound like a slice of heaven?
Timing Is Everything: When to Plant Freesia Bulbs
One of the first secrets to vibrant freesias is getting the timing right. Freesias are typically grown from corms (small, bulb-like structures), and when you plant them can make or break your success. If you’re in a milder climate—think USDA zones 9 to 11—you can plant freesia corms in the fall for a spring bloom. For those of us in colder regions, where frost is a real party pooper, it’s best to wait until spring, after the last frost has passed. I learned this the hard way a few years back when I got overzealous and planted too early in my Zone 6 garden. A late frost hit, and let’s just say my freesias didn’t make it to the blooming stage. Lesson learned: check your local frost dates and plan accordingly. A good rule of thumb? Aim for soil temperatures around 55°F (13°C) for optimal root growth.
Choosing the Perfect Spot: Location, Location, Location
Ever heard the real estate mantra “location, location, location”? Well, it applies to gardening too. Freesias thrive in full sun, so pick a spot in your garden that gets at least six hours of direct sunlight daily. They’re not too picky about soil type, but they do demand good drainage. Soggy soil is a freesia’s worst enemy—it can lead to rot before they even have a chance to sprout. If you’re dealing with heavy clay soil, consider amending it with compost or sand to improve drainage. I’ve got a little anecdote here: a friend of mine planted her freesias in a low-lying area of her yard where water tended to pool after rain. Despite her best efforts, the corms rotted, and she was left with nothing but disappointment. So, take it from her mistake—plant in a well-drained spot or even opt for raised beds if your yard’s a bit swampy.
Another tip? Freesias appreciate a bit of shelter from strong winds. Their delicate stems can snap under heavy gusts, so planting near a fence or taller plants can provide a natural windbreak. Trust me, a little foresight here goes a long way.
Planting Depth and Spacing: Give Them Room to Shine
Now, let’s get to the nitty-gritty of planting tips for vibrant freesias. When it comes to depth, plant those corms about 2 to 3 inches deep, with the pointed end facing up. That pointy bit is where the sprout emerges, so don’t bury it upside down—I’ve made that rookie mistake before, and it’s not a quick fix once they’re in the ground! Spacing is just as important. Give each corm about 3 to 4 inches of elbow room to prevent overcrowding, which can stunt growth or invite fungal issues. If you’re planting in rows for a cutting garden, keep rows about 8 inches apart. This setup not only promotes air circulation but also makes your garden look neat and intentional. Picture this: a tidy row of freesias swaying in the breeze, their colors popping against a backdrop of green. That’s the goal, right?
Watering and Feeding: The Balancing Act
Watering freesias is a bit like walking a tightrope—you’ve got to find the sweet spot. After planting, give the corms a good soak to help them settle in, then water sparingly until you see growth. Once they’re sprouting, keep the soil consistently moist but not waterlogged. Overwatering can cause rot, while underwatering can stress the plants and result in lackluster blooms. I usually stick my finger about an inch into the soil; if it feels dry, it’s time to water. As for feeding, a balanced, water-soluble fertilizer (like a 10-10-10 mix) applied every few weeks during the growing season can work wonders. But don’t go overboard—too much nitrogen can lead to lush foliage at the expense of flowers. It’s all about balance, folks.
Supporting Growth: Staking and Mulching Tips
Here’s a little heads-up: freesias can grow tall—sometimes up to 18 inches—and their slender stems might need a helping hand. If you notice them starting to flop over, especially after a heavy rain, staking is your friend. Use small bamboo stakes or even twiggy branches for a natural look, and tie the stems loosely with garden twine. I’ve found that doing this early, before they get too tall, saves a lot of hassle. Mulching is another game-changer. A 2-inch layer of organic mulch, like shredded bark or straw, helps retain moisture, keeps weeds at bay, and regulates soil temperature. Just be sure not to pile it right up against the stems—leave a little breathing room to avoid rot.
Pest and Disease Prevention: Stay One Step Ahead
No garden is immune to pests or diseases, and freesias are no exception. Aphids and spider mites can be a nuisance, sucking the sap from leaves and weakening the plants. If you spot these tiny troublemakers, a blast of water from the hose or a dab of insecticidal soap usually does the trick. Fungal issues like botrytis can also creep in, especially in humid conditions or if air circulation is poor. To prevent this, avoid overhead watering and ensure proper spacing. I recall a particularly damp spring a few years ago when I noticed gray mold on a few of my freesia plants. I quickly removed the affected parts and increased airflow by thinning out nearby plants, and thankfully, the rest of the patch survived. Vigilance is key—catch problems early, and you’ll save yourself a world of hurt.
Aftercare: Ensuring Blooms Year After Year
Once your freesias have bloomed and dazzled you with their beauty, don’t just call it a day. Proper aftercare can set you up for success next season. After the flowers fade, let the foliage die back naturally—don’t cut it off prematurely, as the leaves are busy storing energy in the corm for next year’s show. In warmer climates, you can leave the corms in the ground over winter with a protective layer of mulch. In colder zones, dig them up after the foliage yellows, store them in a cool, dry place, and replant in spring. I’ve been doing this for years with my freesias, and it’s like reuniting with old friends each season when those first green shoots pop up.
Final Thoughts on Planting Tips for Vibrant Freesias
Growing freesias is a labor of love, but with the right planting tips, it’s a journey well worth taking. From timing your planting to choosing the perfect spot, watering with care, and staying ahead of pests, every step plays a part in coaxing out those vibrant, fragrant blooms. So, why not give it a shot? Whether you’re dreaming of a cutting garden or just a small patch to brighten your yard, freesias can deliver. And hey, if I can turn my once-frostbitten failures into a thriving freesia haven, I’m betting you can too. Roll up your sleeves, grab those corms, and let’s make your garden the talk of the town!
References
- Royal Horticultural Society – Growing Guide for Freesias
- University of Minnesota Extension – Growing Freesias
- BBC Gardeners’ World – How to Grow Freesias
Disclaimer: This article is for informational purposes only and is based on general research, personal experience, and insights gathered from reputable gardening resources. It is not intended to serve as professional horticultural advice or a substitute for expert guidance. Gardening conditions, climates, and individual circumstances can vary widely, so results may differ from those described. Always consult a qualified professional or local extension service for personalized recommendations tailored to your specific garden environment and needs. The author and publisher are not responsible for any adverse effects or damages resulting from the application of the information provided in this article.
This content is for informational purposes only and not a substitute for professional advice.