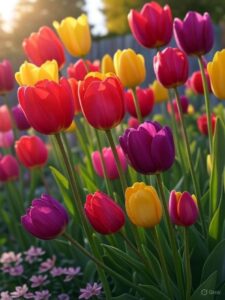
Ahh, the magic of spring! There’s nothing quite like the sight of vibrant tulips swaying in the breeze, their bold colors popping against the fresh green of a new season. If you’ve ever dreamed of transforming your garden into a kaleidoscope of hues, planting vibrant spring tulips is the way to go. But let’s be honest—getting those bulbs to bloom like a masterpiece takes a bit of know-how. Don’t worry, though; I’ve got you covered. With years of trial and error in my own backyard (and a few muddy mishaps to prove it), I’m here to share everything you need to know to make your tulip dreams a reality. From choosing the right bulbs to timing your planting just right, let’s dig into the art of cultivating a stunning spring display.
Why Tulips Are the Ultimate Spring Showstopper
Ever wonder why tulips are synonymous with spring? It’s not just their beauty—though those cup-shaped blooms in every shade imaginable certainly don’t hurt. Tulips symbolize renewal and hope, a perfect match for the season of fresh starts. But beyond the poetry, they’re also incredibly versatile. Whether you’re aiming for a formal garden bed or a wild, naturalistic drift, there’s a tulip variety for you. From classic Darwin hybrids to fringed or parrot tulips with their funky edges, the options are endless. I remember the first time I planted a mix of ‘Queen of Night’ (a deep, almost black tulip) alongside bright yellow ‘Golden Apeldoorn’—the contrast was jaw-dropping. It’s like painting with flowers, and trust me, once you start, you’ll be hooked.
Choosing the Best Bulbs for Vibrant Spring Tulips
Let’s get down to brass tacks: not all tulip bulbs are created equal. If you’re serious about planting vibrant spring tulips, quality matters. Look for bulbs that are firm, plump, and free of mold or soft spots—think of them as the foundation of your garden’s future. Size is key too; larger bulbs (usually 12+ cm in circumference) tend to produce stronger, more impressive blooms. I learned this the hard way a few years back when I cheaped out on some discount bulbs. Half of them didn’t even sprout, and the ones that did were… underwhelming, to say the least. Stick to reputable suppliers or local nurseries for the best results.
Variety selection is where the fun begins. For a classic look, go for single early or triumph tulips—they’re sturdy and bloom mid-spring. Want something exotic? Try double late tulips for a peony-like effect. And if you’re curious about mixing colors and heights, check out our guide on Tulip Varieties for Every Garden for more inspiration. Pro tip: always buy more bulbs than you think you’ll need. You’ll thank me when you’re filling in those inevitable bare spots.
Timing Is Everything: When to Plant Your Tulip Bulbs
Here’s a question I get asked all the time: when should you plant tulip bulbs for that vibrant spring payoff? The answer is simpler than you might think, but it’s non-negotiable. Tulips need a period of cold dormancy to bloom, so planting in the fall—ideally 6 to 8 weeks before the ground freezes—is critical. In most regions, that means late September to early November. I aim for October in my Zone 5 garden, after the soil cools down to about 55°F (13°C). Plant too early, and they might sprout prematurely; too late, and they won’t have time to establish roots. One year, I procrastinated until mid-December, and let’s just say my tulip display was more of a tulip disappointment. Lesson learned!
If you’re unsure about your planting zone or local conditions, our Understanding Garden Zones post can help you pinpoint the perfect timing. Remember, nature doesn’t wait for anyone, so mark your calendar now.
Preparing the Perfect Spot for Planting Vibrant Spring Tulips
Imagine you’re a tulip bulb. What would you want? Sunshine, good drainage, and a comfy bed of nutrient-rich soil. That’s the trifecta for success. Tulips thrive in full sun—at least 6 hours a day—so pick a spot that isn’t shaded by trees or buildings. Drainage is non-negotiable; these bulbs hate “wet feet.” If your soil is heavy clay, consider raised beds or mix in some sand and compost to loosen things up. I’ve got a low-lying area in my garden that always puddles after rain, and after losing a batch of bulbs to rot, I now plant there only with extra grit for drainage.
Soil prep is where a little elbow grease pays off. Work in some well-rotted manure or a balanced fertilizer (like a 10-10-10) before planting. Aim for a pH of 6.0 to 7.0—tulips aren’t too fussy, but they do best in neutral to slightly acidic conditions. If you’re curious about testing your soil, a quick kit from your local garden center can save you a lot of guesswork.
How to Plant Tulip Bulbs for Maximum Impact
Now for the fun part—getting those bulbs in the ground! Planting vibrant spring tulips isn’t rocket science, but a few tricks can make a big difference. Dig holes about 6 to 8 inches deep (deeper in warmer climates to keep bulbs cool), and space them 4 to 6 inches apart. Place the bulb pointy side up—that’s where the stem emerges. If you’re not sure which end is which, don’t sweat it; the bulb will figure it out, though it might take a bit longer to sprout. Cover with soil, pat it down gently, and water thoroughly to settle the earth.
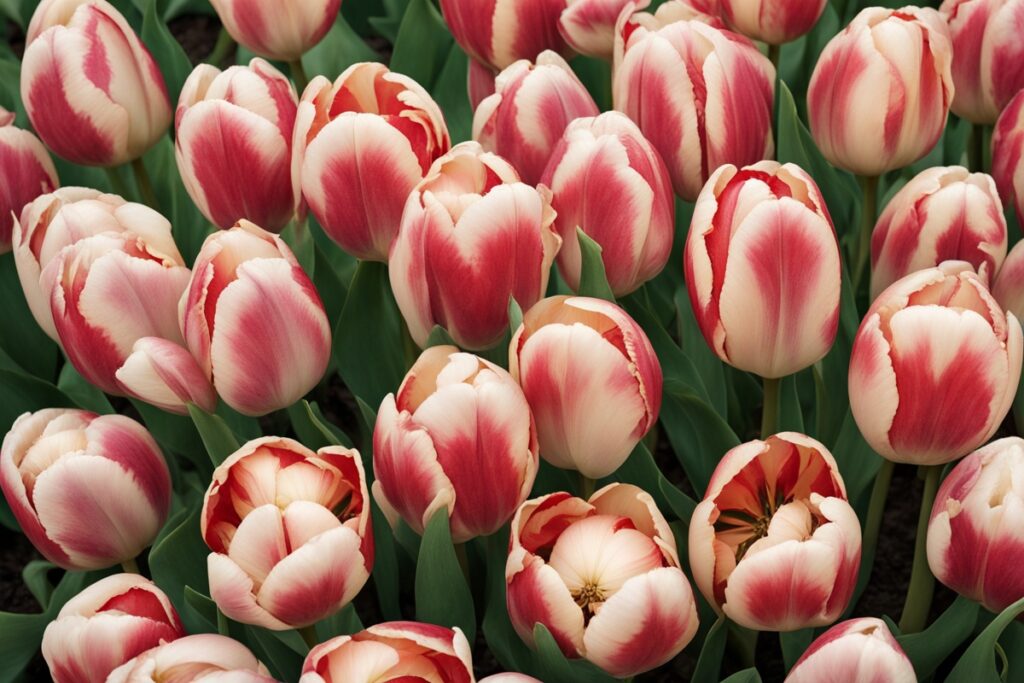
For a show-stopping display, plant in groups of at least 10 to 15 bulbs. Scattered singles look lonely, but a cluster creates that “wow” factor. Last spring, I grouped red ‘Apeldoorn’ tulips in a curving drift along my walkway, and every neighbor who passed by stopped to compliment it. Want ideas for designing with tulips? Our post on Creating Stunning Tulip Displays has some great layouts to try.
Caring for Tulips After Planting
Once your bulbs are tucked in, the real work is mostly done—but don’t kick back just yet. Water them well after planting to encourage root growth, then let nature take over unless you’re in a drought. A 2- to 3-inch layer of mulch (like straw or shredded bark) can help insulate the soil and keep weeds at bay. Come spring, when those green shoots poke through, resist the urge to overwater—tulips don’t like soggy conditions.
After they bloom, let the foliage die back naturally. I know, it’s tempting to chop it off when it turns yellow and ugly, but those leaves are feeding the bulb for next year’s show. I made this mistake early on, and my tulips barely returned the following spring. Patience is a virtue here. If you’re in a warmer climate, you might need to treat tulips as annuals and replant each year, as they often don’t perennialize well without a proper chill.
Troubleshooting Common Tulip Troubles
Even with the best intentions, things can go awry. Squirrels digging up bulbs? Been there. Try laying chicken wire over the soil after planting—it’s not pretty, but it works. Bulbs not blooming? It could be poor soil, insufficient chilling, or bulbs that are too small or old. And if you’re battling rot, double-check your drainage. I once lost a whole bed to a sneaky underground water pocket—now I always test new spots by digging a hole and seeing if it holds water after a rain.
For persistent pests or diseases, like tulip fire (a fungal issue), remove and destroy affected plants immediately to prevent spread. A little vigilance goes a long way in keeping your garden thriving.
Final Thoughts on Planting Vibrant Spring Tulips
Planting vibrant spring tulips is more than just a gardening task—it’s an investment in joy. There’s something deeply satisfying about watching those first green tips emerge after a long winter, knowing you made it happen. Sure, it takes some planning and a bit of patience, but the payoff is worth every minute. Whether you’re a seasoned gardener or a total newbie, start small, experiment with colors and varieties, and don’t be afraid to make mistakes. Gardening is a journey, after all, and every season teaches you something new. So, grab those bulbs, get your hands dirty, and let’s make next spring unforgettable!
References
- Royal Horticultural Society – Growing Tulips
- University of Minnesota Extension – Growing Tulips
- Old Farmer’s Almanac – Planting and Growing Tulips
Disclaimer: This article is for informational purposes only, based on general research and personal experience—it’s not a substitute for professional advice. Gardening conditions and outcomes can vary widely based on location, soil type, weather, and individual practices. Always consult a qualified horticulturist, extension service, or local gardening expert for personalized guidance tailored to your specific environment and needs. The tips and recommendations provided here are meant to inspire and educate, but they may not apply to every situation. Use discretion and prioritize safety when handling tools, fertilizers, or other gardening materials.
This content is for informational purposes only and not a substitute for professional advice.